How to Install and Use Vim on Ubuntu | Step-by-Step

Vim is cherished by developers, system administrators, and power users for its adaptability and extensibility. This step-by-step guide shows how to install Vim on Ubuntu 22.04. Besides navigating the installation of Vim on the latest version of Ubuntu, we provide a comprehensive exploration of Vim basics and customizations.
#What is Vim?
Vim, short for Vi IMproved, stands out as an exceptionally versatile, powerful, and efficient text editor. First released in 1991 by Dutch software engineer Bram Moolenaar, Vim is focused on efficiency through modal editing and extensive customization options.
Vim's lightweight and customizable nature and its powerful features make it a powerful editor of choice for many Linux users and administrators. Follow the below steps to learn how to install Vim on Ubuntu as well as how to use Vim in various ways.
#Prerequisites
You will need the latest Ubuntu to follow along with this tutorial.
#1. How to install Vim on Ubuntu?
Let’s begin and install Vim on Ubuntu 22.04 in three steps:
#Step 1: Update the package list
Before installing any software, we will update the package list using the following command in your terminal:
sudo apt update
You might be prompted to enter your password for authentication.
#Step 2: Install Vim
To install Vim, enter the following command:
sudo apt install vim -y
This command will retrieve and install Vim and its necessary components.
#Step 3: Verify the installation
Once the installation is complete, verify that Vim has been properly installed by running:
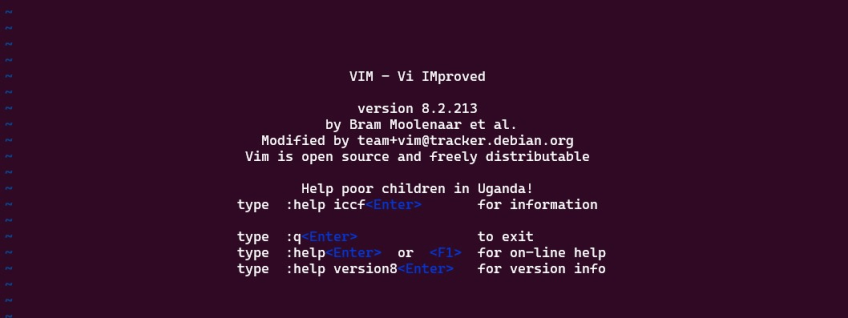
vim --version
You'll be presented with information regarding the Vim version you've installed, along with its compiled features.
#2. How to use Vim: Basic
Here are some basic steps to get started with Vim:
#Section 1: Creating a file
To create a new empty file, enter the vimcommand:
vim example.txt
Press i to enter insert mode and start wiring.
We will now proceed to the next sections, where you will learn about Vim modes and how to save and exit the application.
#Section 2: Modes
Vim has three modes: Normal mode, Insert mode, and Visual mode.
Normal mode: Vim opens in Normal mode by default. It is the ideal mode for text manipulation, and command execution. Press Esc to switch to this mode.
Insert mode: Insert mode is used to write content in your document. To switch to Insert mode from Normal mode, pressi.
Visual mode: Visual mode is used to select and edit text. You can switch to Visual mode from Normal mode by pressingv.
#Section 3: Navigation
In Normal mode, navigation is done with the arrow keys or h, j, k and l. For instance, to move the cursor to the end of a line, strike $, and to move to the beginning, press 0.
To navigate word by word, use w to move forward and b to move backward.
#Section 4: Editing
Deleting a character is as simple as ABC. Hover over the character in Normal mode and hit x.
To copy (yank) a line, position your cursor on the line and type yy.
To paste the copied text, move the cursor to the desired location and press p.
#Section 5: Saving and exiting
To save your content, switch to Normal mode and type :w.
To save and quit, type :wq.
If you need to quit without saving changes, type :q!.
Also read: How to install MongoDB on Ubuntu 24.04
#3: How to use Vim: Advanced
Here are some more advanced ways to use Vim:
#Section 1: Customizing Vim
Vim is known for its customizability, which is done mainly by editing .vimrc file in your home directory. For instance, you can enable syntax highlighting and add plugins.
Let's add line numbers in Vim. Open the configuration file:
vim ~/.vimrc
Insert the following configuration options in the file:
set number
Now, save and quit vim by typing :wq
#Section 2: Searching and replacing
Vim has a rich search and replace feature. In Normal mode, start a search by entering / followed by your search term. For instance, to locate occurrences of the word "example" in your document, key in /example and hit Enter.
To replace all instances of "old" with "new" throughout your document, use the following command:%s/old/new/g.
#Section 3: Multiple windows and tabs
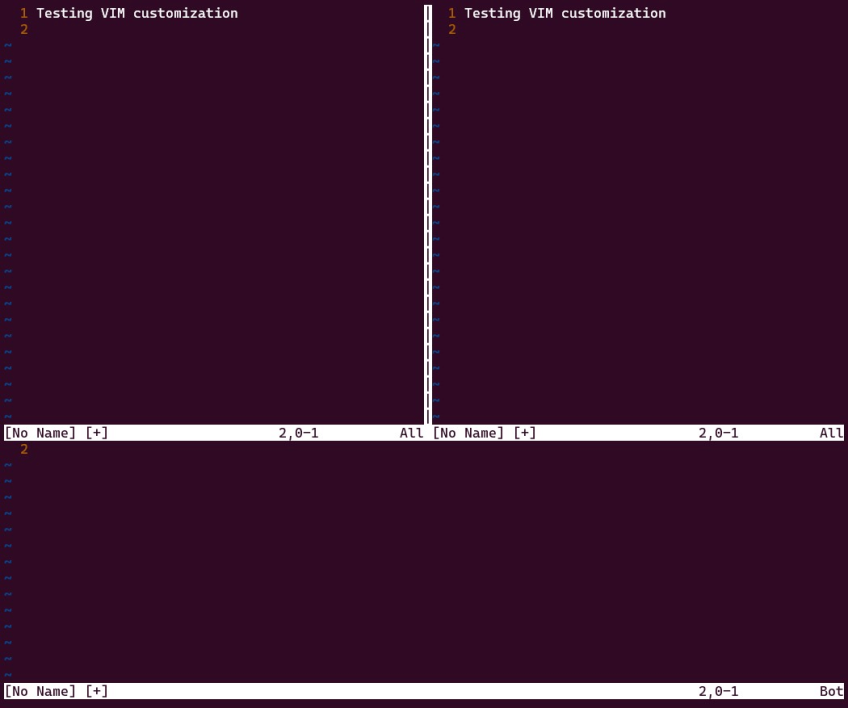
Vim lets you divide your workspace into multiple windows and organize it using tabs. To split your workspace horizontally, use :split, and for a vertical division, opt for :vsplit.
Vim also has a tab feature. To open a new tab, type:tabnew.
Toggle between tabs using :tabn and :tabp.
Also read: How to install Wine on Ubuntu 24.04
#Conclusion
In this guide, we've covered how to install Vim on Ubuntu 22.04, the latest version of Ubuntu, and how to use Vim, in both basic and advanced ways. We have also seen how efficient and customizable Vim can be, especially in server environments where most of the work is done on a terminal. While using it can be daunting at first, a good mastery of the application will boost your productivity in text manipulation. You can learn Vim while playing a game using Vim adventure!
Starting at just $3.24 / month, get virtual servers with top-tier performance.


