How to Install PIP on Ubuntu 24.04: Step-by-Step Guide


PIP is a recursive acronym for PIP Install Packages. It is the default package manager for Python. It lets users install and manage Python packages published on PyPI (Python Package Index), a repository for Python packages. A Python package ships with subpackages, modules, data files, and documentation.
This tutorial demonstrates the installation of PIP on Ubuntu 24.04.
#How to install PIP on Ubuntu 24.04
Ubuntu provides a straightforward method for installing PIP. In addition to installing PIP, you will also learn how to install and manage Python packages.
#Prerequisites
To follow along with installing PIP, ensure you have the following list of requirements:
An instance of Ubuntu 24.04 LTS. You can deploy a cloud VPS to get started.
A sudo user configured on the Linux instance.
#Step 1: Check if python is installed
The first step is to ensure that Python is installed. This is crucial since Python is a prerequisite for the installation of Pip. Typically, Ubuntu 24.04 ships with Python 3.12. You can verify this by running the command:
python3 -V

The output confirms that Python 3.12 is already installed. Let’s proceed and install PIP.
#Step 2: Install PIP on Ubuntu 24.04
With Python3 installed, install PIP as follows.
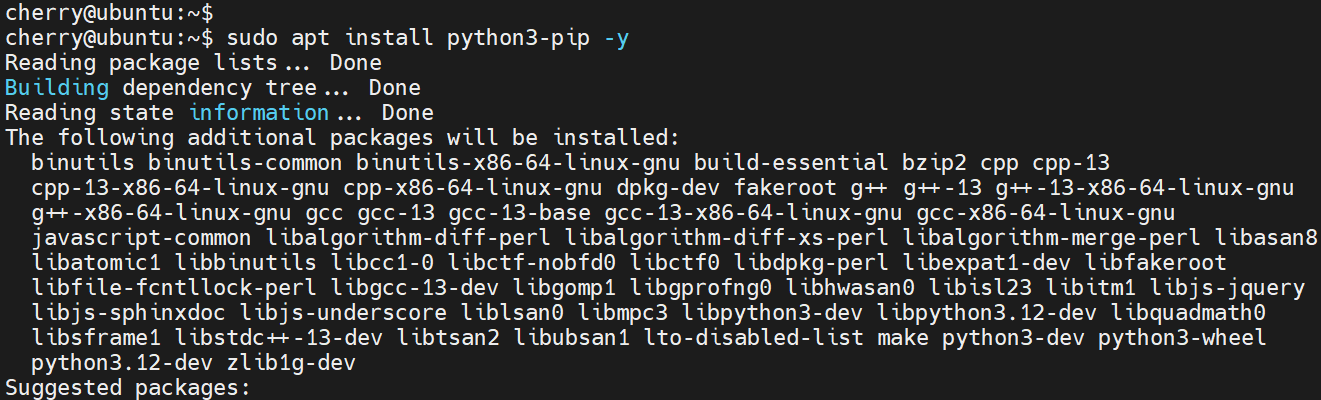
sudo apt install python3-pip -y
The command installs PIP alongside multiple packages, including GNU Binary Utilities and the GCC compiler, as well as other libraries and dependencies.
Once installed, verify the version of PIP installed by running:
pip3 --version

The output confirms the installation of PIP 24.0, the latest version when publishing this tutorial.
#Step 3: Installing packages using PIP
Installing packages using PIP takes the following syntax.
pip3 install package_name
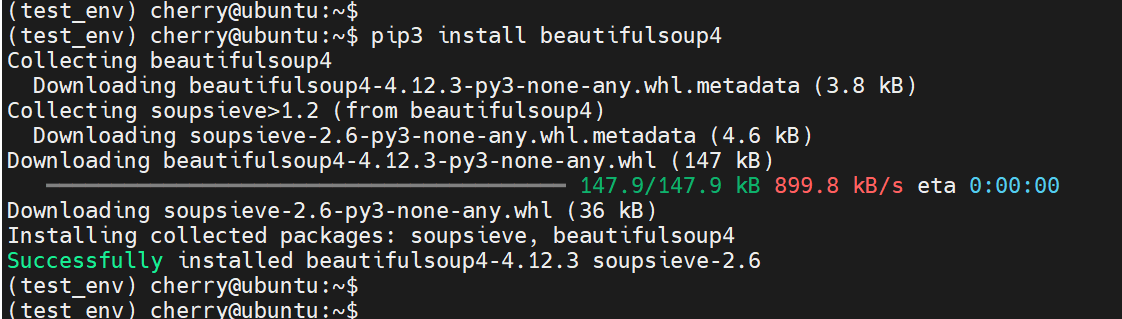
For example, to install the beautifulsoup4 Python package that is widely used in web scraping, run:
pip3 install beautifulsoup4
Note:
When you use pip globally to install Python packages, you will encounter the error:
error: externally-managed-environment.
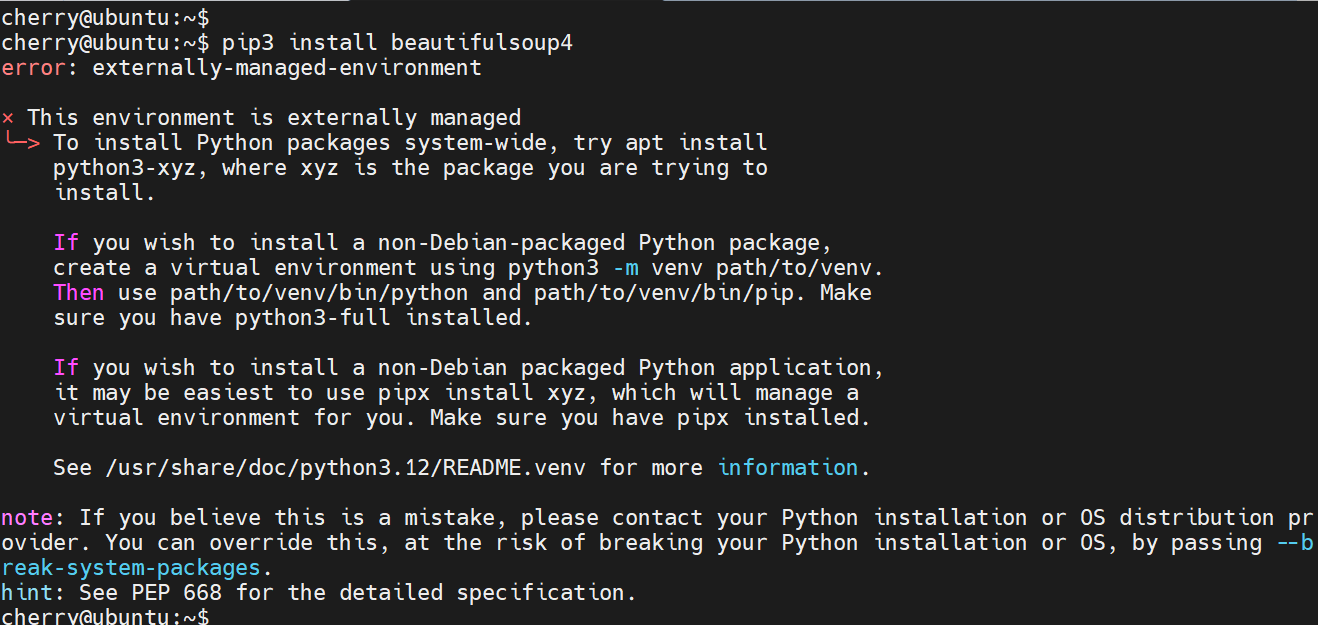
The error occurs because you are running Pip globally which is already managed by a package manager (in this case, apt and dpkg in Debian/Ubuntu systems). Pip prevents system-wide installation as a precaution against dependency conflicts or issues that may cause applications to fail to work properly.
There are two ways of resolving this error:
Using a virtual environment: This creates a sandboxed environment for installing and running Python packages in isolation from the rest of the system.
Force-installing packages: You can bypass environment restrictions by appending the --break-system-packages option at the end of the command. This force-installs packages in the system-wide environment. Exercise caution when using this option as it might disrupt the system’s environment.
Force-installing Python packages using PIP in the global environment can break your system's Python environment due to conflicts with existing system packages, resulting in errors and inconsistencies. A pre-existing application may encounter errors when running due to such problems. Even worse, uninstalling or upgrading a package may break the operating system entirely when you remove a core component, often accidentally.
Solution:
The recommended approach is to install Python packages in a virtual environment. This provides an isolated environment for running your packages and eliminates the chances of conflicts in packages that may break existing applications or the system.
With this in mind, we will demonstrate how to install and manage Python packages with pip in a virtual environment.
Also read: How to install Webmin on Ubuntu 24.04
#Install virtual environment package
To proceed, install the Virtual environment Python package as follows:
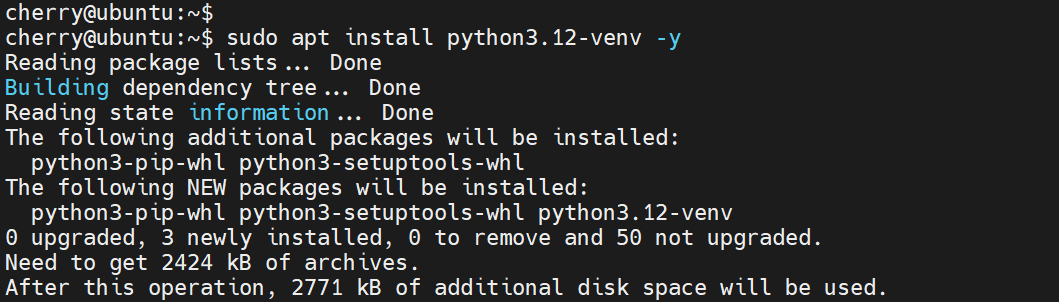
sudo apt install python3.12-venv -y
#Create and activate the virtual environment
Next, create the virtual environment. For demonstration, we are creating a virtual environment called test_env.
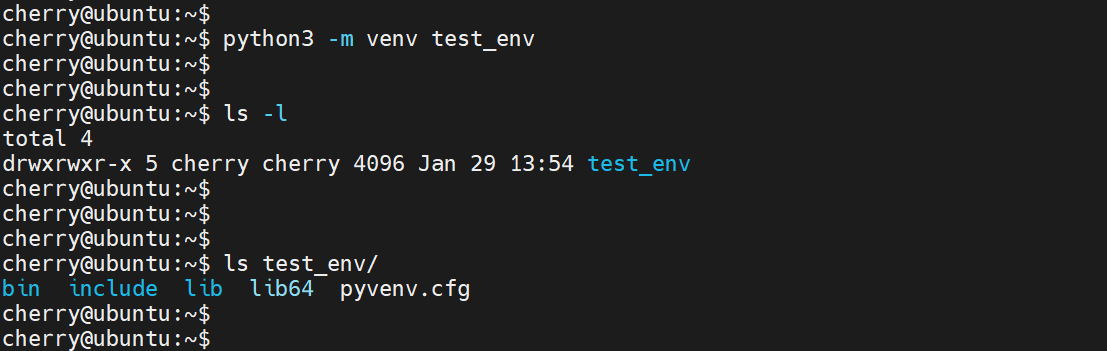
python3 -m venv test_env
The command creates a directory called test_env containing subdirectories and configuration files for the virtual environment.
To view the contents of the directory, run:
ls test_env
To activate the virtual environment, run the command:
source test_env/bin/activate

Once activated, you will notice that the prompt has changed with the virtual environment name in parenthesis, in this case (test_env).
Also read: How to Install Anaconda on Ubuntu 22.04
#Install a package using PIP
With the virtual environment activated, use the following syntax to install packages:
pip3 install package_name
To install the beautifulsoup4 package, run the command:
pip3 install beautifulsoup4
Once installed, you can view more information about the package using the syntax:
pip3 show package_name
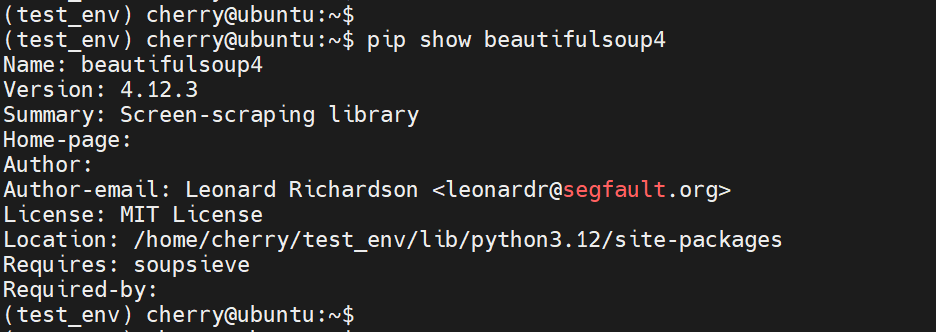
For example, to view information about the installed package, run the command:
pip3 show beautifulsoup4
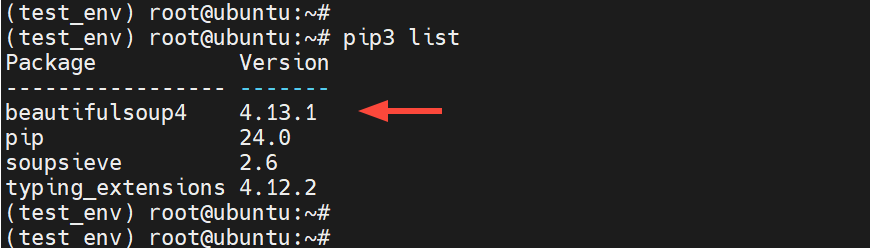
You can list installed packages using the command:
pip3 list
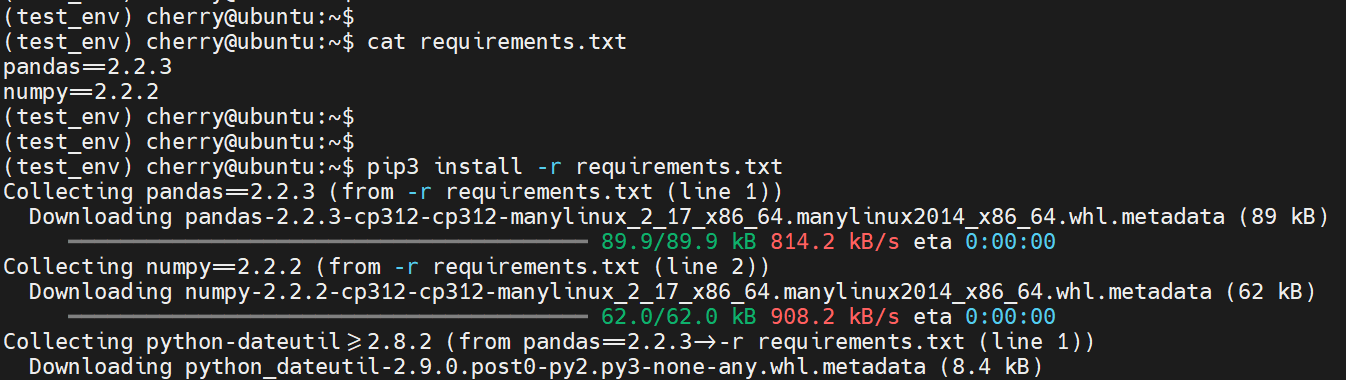
Additionally, you can install multiple packages saved in a text file. To do so, create a requirements.txt file.
nano requirements.txt
Specify the packages and their versions.
numpy==2.2.2
pandas==2.2.3
Save the changes and exit the file. Finally, run the pip command as shown to install all the specified packages.
pip3 install -r requirements.txt
#Uninstall a package using PIP
In case you no longer require a package, uninstall it using the syntax:
pip3 uninstall package_name
For example, to remove numpy run the command:
pip3 uninstall numpy

Once done with your Python project, you can exit the virtual environment by deactivating it as follows
deactivate

Also read: How to Reverse a List in Python
#Conclusion
This tutorial has walked you through installing PIP on Ubuntu 24.04. You have also learned to create a virtual environment and install and uninstall Python packages. From now on, you can comfortably use PIP to install and manage packages for your Python projects.