How to install phpMyAdmin on Ubuntu 24.04: Step-by-Step


phpMyAdmin is significantly useful for database administrators in managing their websites and databases. This web-based application functions as an open-source, free interface to oversee MySQL or MariaDB databases without your daily submission of terminal commands. Users can make tables, execute queries, and adjust permissions through simplified click actions that phpMyAdmin offers.
This guide demonstrates how to install phpMyAdmin on Ubuntu 24.04. The tutorial is for beginner server operators establishing their first machine and experienced administrators who need maintenance training. Let’s dive in!
#Prerequisites
The following criteria must be established before installing phpMyAdmin:
- Ubuntu 24.04 installed: The installation guide focuses on the Ubuntu 24.04 LTS version. The installation works across a local machine, virtual machine, and remote server.
- Administrative access: A sudo-privileged user account is needed to modify system elements through terminal commands.
- LAMP stack: This stack includes all necessary software components to support phpMyAdmin operation, including a combination of Apache web server, MySQL or MariaDB database server, and PHP.
- Internet connection: It is vital because you need it to execute packages and update downloads.
- Terminal access: The command-line interface function will be essential to execute the required commands.
If you haven’t set up a LAMP stack yet, don’t worry—we’ll include those steps here.
Deploy and scale your projects with Cherry Servers' cost-effective dedicated or virtual servers. Enjoy seamless scaling, pay-as-you-go pricing, and 24/7 expert support—all within a hassle-free cloud environment.
#What is phpMyAdmin?
phpMyAdmin is a praised open-source platform that enables users to handle MySQL and MariaDB databases. Through it, users can execute table creation, update and delete commands, insert data into the system, and perform data update and import-export functions. Tobias Ratschiller developed phpMyAdmin in 1998 as his web-based tool, which provides database monitoring capabilities beyond raw SQL command requirements through a user-friendly interface. Reliable management has made this tool a professional choice for those handling relational databases.
A cornerstone position in web development belongs to phpMyAdmin, which is used when developers need to manage data within dynamic sites and applications. The tool functions optimally within the LAMP stack—Linux, Apache, MySQL, PHP—and is a popular interface for cPanel hosting systems. PhpMyAdmin effectively fulfills database management tasks in personal projects and corporate systems. People in multiple commercial domains use this software because it functions reliably as a database management system.
Key features include:
- Users can create and edit databases and tables independently through simple actions and perform complete removal functions.
- Users can execute specific SQL queries and monitor rights assignment to database users.
- Data exchange through CSV, SQL, and XML file formats gets built-in support within the system.
- Users can maintain a clear view of their database design through visual elements displaying performance indicators.
- Across the globe, users can access phpMyAdmin because it supports multiple languages.
#How to install phpMyAdmin on Ubuntu 24.04: A step-by-step guide
The step 2 section of this article has information for new learners who have not installed the LAMP stack. People who already installed it should proceed straight to step 3 for the installation process after step 1.
#Step 1: Update your system
The first step in any software installation on Ubuntu is to ensure that your system is up to date. This minimizes compatibility issues and ensures you work with the latest security patches and package versions.
Open your terminal and run the following commands:
sudo apt update
OutputHit:1 http://ports.ubuntu.com/ubuntu-ports oracular InRelease
Hit:2 http://ports.ubuntu.com/ubuntu-ports oracular-updates InRelease
Hit:3 http://ports.ubuntu.com/ubuntu-ports oracular-backports InRelease
Get:4 http://ports.ubuntu.com/ubuntu-ports oracular-security InRelease [126 kB]
Get:5 http://ports.ubuntu.com/ubuntu-ports oracular-security/main arm64 Packages [219 kB]
Get:6 http://ports.ubuntu.com/ubuntu-ports oracular-security/main Translation-en [55.3 kB]
Fetched 400 kB in 2s (182 kB/s)
148 packages can be upgraded. Run 'apt list --upgradable' to see them.
sudo apt update refreshes the package lists for upgrades and new package installations. Once the process is completed, your system will be ready for the next steps.
#Step 2: Install the LAMP stack
phpMyAdmin relies on a LAMP stack (Linux, Apache, MySQL, PHP). Since Ubuntu 24.04 is your Linux base, I will install the remaining components: Apache (webserver), MySQL (database server), and PHP (scripting language).
#Install Apache
Apache is a widely used web server that will host the phpMyAdmin interface. Install it with:
sudo apt install apache2 -y
OutputReading package lists... Done
Building dependency tree... Done
Reading state information... Done
The following additional packages will be installed:
  apache2-bin apache2-data apache2-utils libapr1t64 libaprutil1-dbd-sqlite3 libaprutil1-ldap libaprutil1t64 liblua5.4-0 ssl-cert
Suggested packages:
  apache2-doc apache2-suexec-pristine | apache2-suexec-custom www-browser
The following NEW packages will be installed:
  apache2 apache2-bin apache2-data apache2-utils libapr1t64 libaprutil1-dbd-sqlite3 libaprutil1-ldap libaprutil1t64 liblua5.4-0 ssl-cert
0 upgraded, 10 newly installed, 0 to remove and 111 not upgraded.
After installation, start and enable Apache to run on boot:
sudo systemctl start apache2
sudo systemctl enable apache2
OutputSynchronizing state of apache2.service with SysV service script with /usr/lib/systemd/systemd-sysv-install.
Executing: /usr/lib/systemd/systemd-sysv-install enable apache2
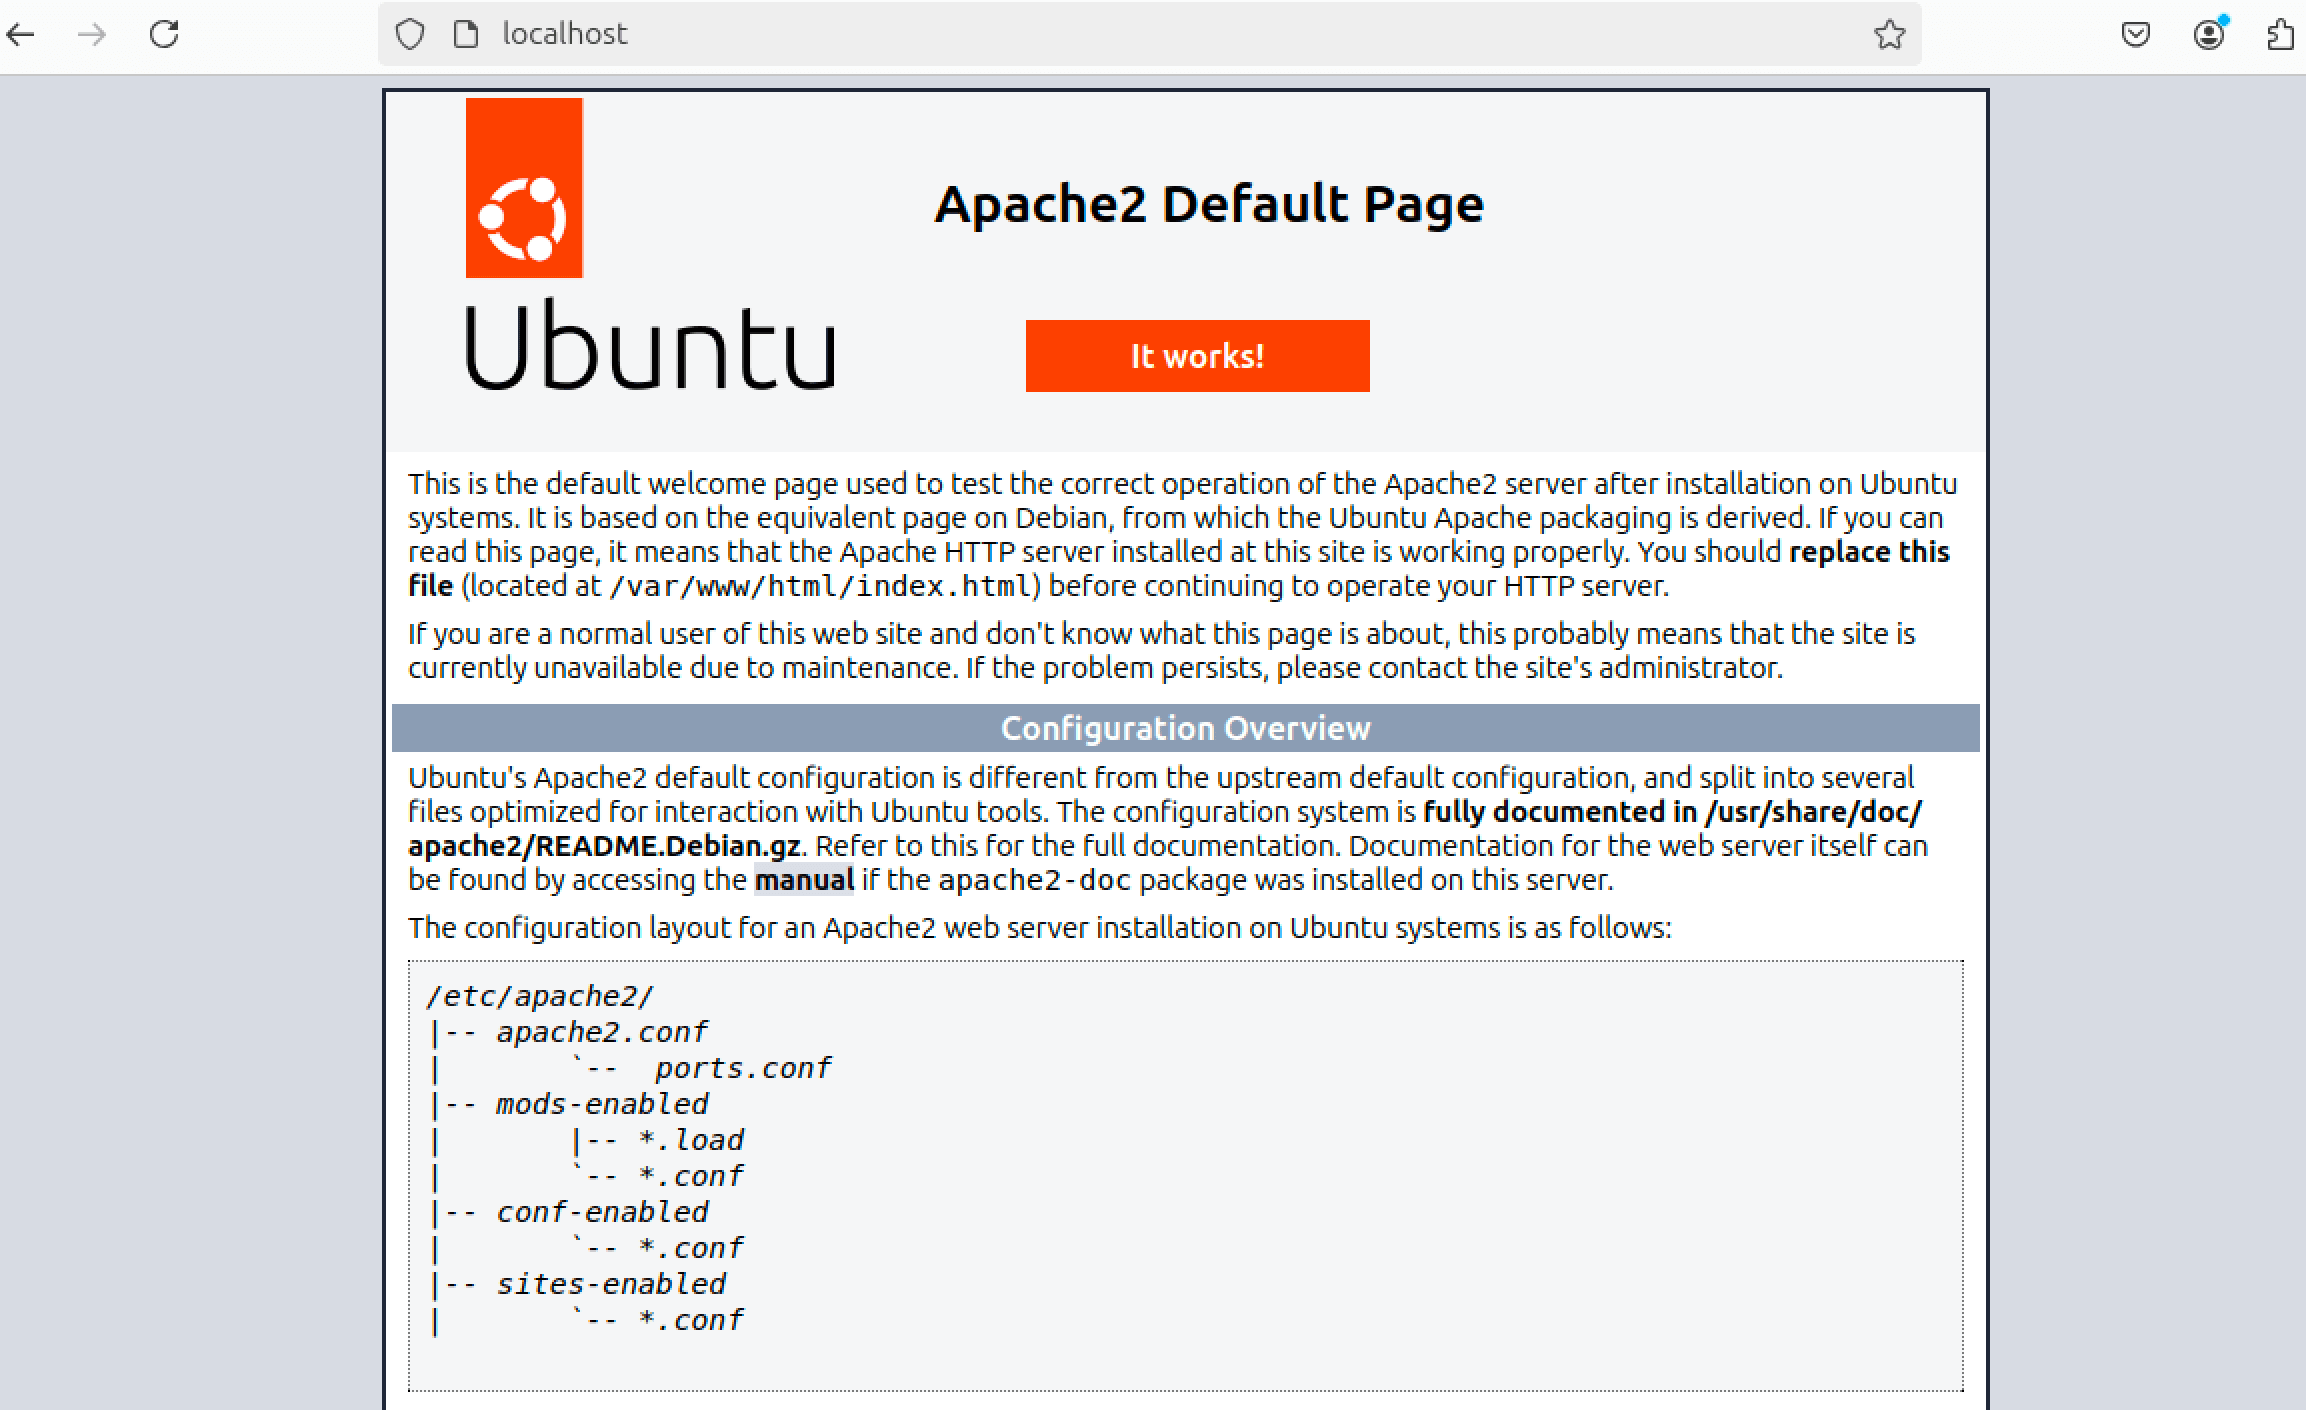
To verify that Apache is running, open a browser and navigate to http://localhost or your server’s IP address (e.g., http://your_server_ip). You should see the default Apache welcome page.
#Install MySQL
Next, install MySQL, the database management system phpMyAdmin will manage:
sudo apt install mysql-server -y
OutputThe following package was automatically installed and is no longer required:
  libargon2-1
Use 'sudo apt autoremove' to remove it.

Installing:
  mysql-server

Summary:
  Upgrading: 0, Installing: 1, Removing: 0, Not Upgrading: 148
  Download size: 9,520 B
  Space needed: 41.0 kB / 11.7 GB available

Get:1 http://ports.ubuntu.com/ubuntu-ports oracular-updates/main arm64 mysql-server all 8.0.41-0ubuntu0.24.10.1 [9,520 B]
Fetched 9,520 B in 0s (20.1 kB/s)
Selecting previously unselected package mysql-server.
(Reading database ... 156467 files and directories currently installed.)
Preparing to unpack .../mysql-server_8.0.41-0ubuntu0.24.10.1_all.deb ...
Unpacking mysql-server (8.0.41-0ubuntu0.24.10.1) ...
Setting up mysql-server (8.0.41-0ubuntu0.24.10.1) ...
Start and enable MySQL:
sudo systemctl start mysql
sudo systemctl enable mysql
OutputSynchronizing state of mysql.service with SysV service script with /usr/lib/systemd/systemd-sysv-install.
Executing: /usr/lib/systemd/systemd-sysv-install enable mysql
Secure your MySQL installation by running the security script:
sudo mysql_secure_installation
Follow the prompts:
- Remove anonymous users (answer Y).
- Disallow root login remotely (answer Y unless you need remote access).
- Remove the test database (answer Y).
- Reload privilege tables (answer Y).
OutputSecuring the MySQL server deployment.

Connecting to MySQL using a blank password.

VALIDATE PASSWORD COMPONENT can be used to test passwords
and improve security. It checks the strength of password
and allows the users to set only those passwords which are
secure enough. Would you like to setup VALIDATE PASSWORD component?

Press y|Y for Yes, any other key for No: Y

There are three levels of password validation policy:

LOW    Length >= 8
MEDIUM Length >= 8, numeric, mixed case, and special characters
STRONG Length >= 8, numeric, mixed case, special characters and dictionary                  file

Please enter 0 = LOW, 1 = MEDIUM and 2 = STRONG: 2

Skipping password set for root as authentication with auth_socket is used by default.
If you would like to use password authentication instead, this can be done with the "ALTER_USER" command.
See https://dev.mysql.com/doc/refman/8.0/en/alter-user.html#alter-user-password-management for more information.

By default, a MySQL installation has an anonymous user,
allowing anyone to log into MySQL without having to have
a user account created for them. This is intended only for
testing, and to make the installation go a bit smoother.
You should remove them before moving into a production
environment.


Remove anonymous users? (Press y|Y for Yes, any other key for No) : y
Success.

Normally, root should only be allowed to connect from
'localhost'. This ensures that someone cannot guess at
the root password from the network.

Disallow root login remotely? (Press y|Y for Yes, any other key for No) : y
Success.

By default, MySQL comes with a database named 'test' that
anyone can access. This is also intended only for testing,
and should be removed before moving into a production
environment.

Remove test database and access to it? (Press y|Y for Yes, any other key for No) : y
 - Dropping test database...
Success.

 - Removing privileges on test database...
Success.

Reloading the privilege tables will ensure that all changes
made so far will take effect immediately.

Reload privilege tables now? (Press y|Y for Yes, any other key for No) : y
Success.

All done!
#Install PHP
Finally, install PHP and necessary extensions for phpMyAdmin:
sudo apt install php libapache2-mod-php php-mysql php-mbstring php-zip php-gd php-json php-curl -y
- php: Core PHP package.
- libapache2-mod-php: Integrates PHP with Apache.
- php-mysql: Allows PHP to communicate with MySQL.
- Additional extensions (mbstring, zip, gd, json, curl) enhance phpMyAdmin functionality.
OutputInstalling:
  libapache2-mod-php  php-curl  php-json  	php-mysql
  php             	php-gd	php-mbstring  php-zip

Installing dependencies:
  libapache2-mod-php8.3  php8.3-cli 	php8.3-mbstring  php8.3-zip
  libzip4t64         	php8.3-common  php8.3-mysql
  php-common         	php8.3-curl	php8.3-opcache
  php8.3             	php8.3-gd  	php8.3-readline

Suggested packages:
  php-pear

Summary:
  Upgrading: 0, Installing: 21, Removing: 0, Not Upgrading: 148
  Download size: 5,831 kB
  Space needed: 26.8 MB / 11.7 GB available
Continue? [Y/n] Y
Restart Apache to apply PHP settings:
sudo systemctl restart apache2
To confirm PHP is working, create a test file:
sudo nano /var/www/html/info.php
Add the following content:
<?php
phpinfo();
?>
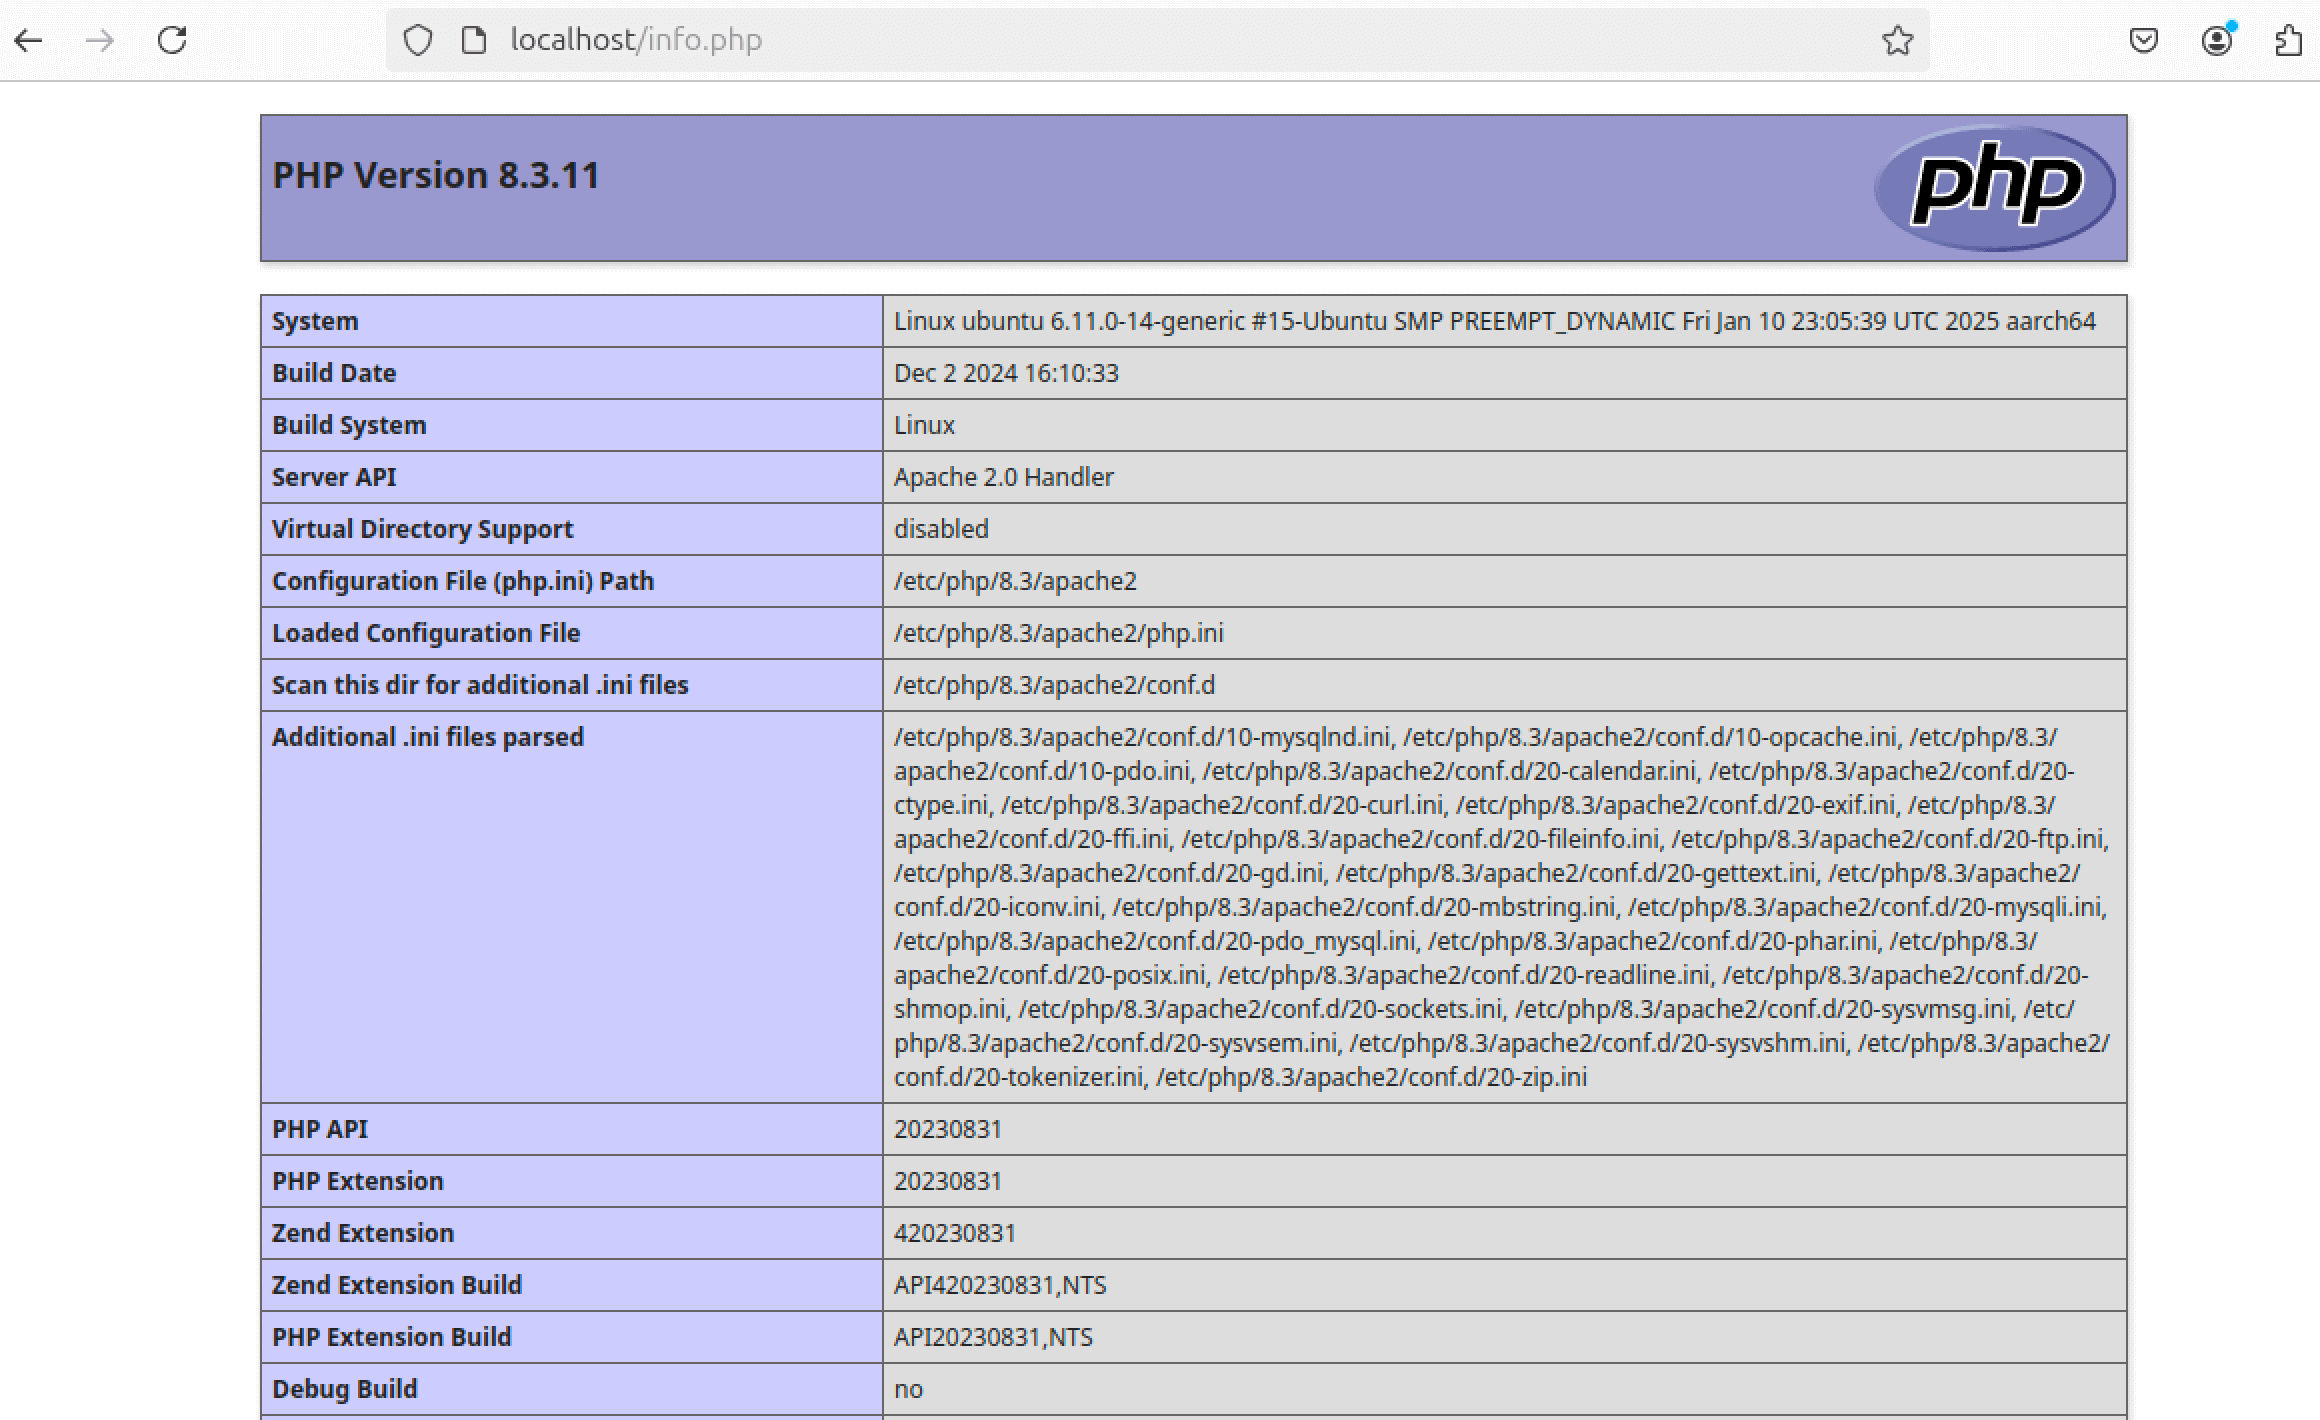
Save and exit (Ctrl+O, Enter, Ctrl+X). Visit http://localhost/info.php or http://your_server_ip/info.php in your browser. You should see a PHP information page.
Once confirmed, remove the file for security:
sudo rm /var/www/html/info.php
#Step 3: Install phpMyAdmin
With the LAMP stack in place, you’re ready to install phpMyAdmin. Ubuntu 24.04’s default repositories include phpMyAdmin, making installation straightforward.
sudo apt install phpmyadmin -y
During installation, you’ll encounter configuration prompts:
- Web Server Selection: A dialog will ask you to choose a web server. Use the arrow keys to highlight apache2, press the spacebar to select it (an asterisk * should appear), then press Tab and Enter to confirm.
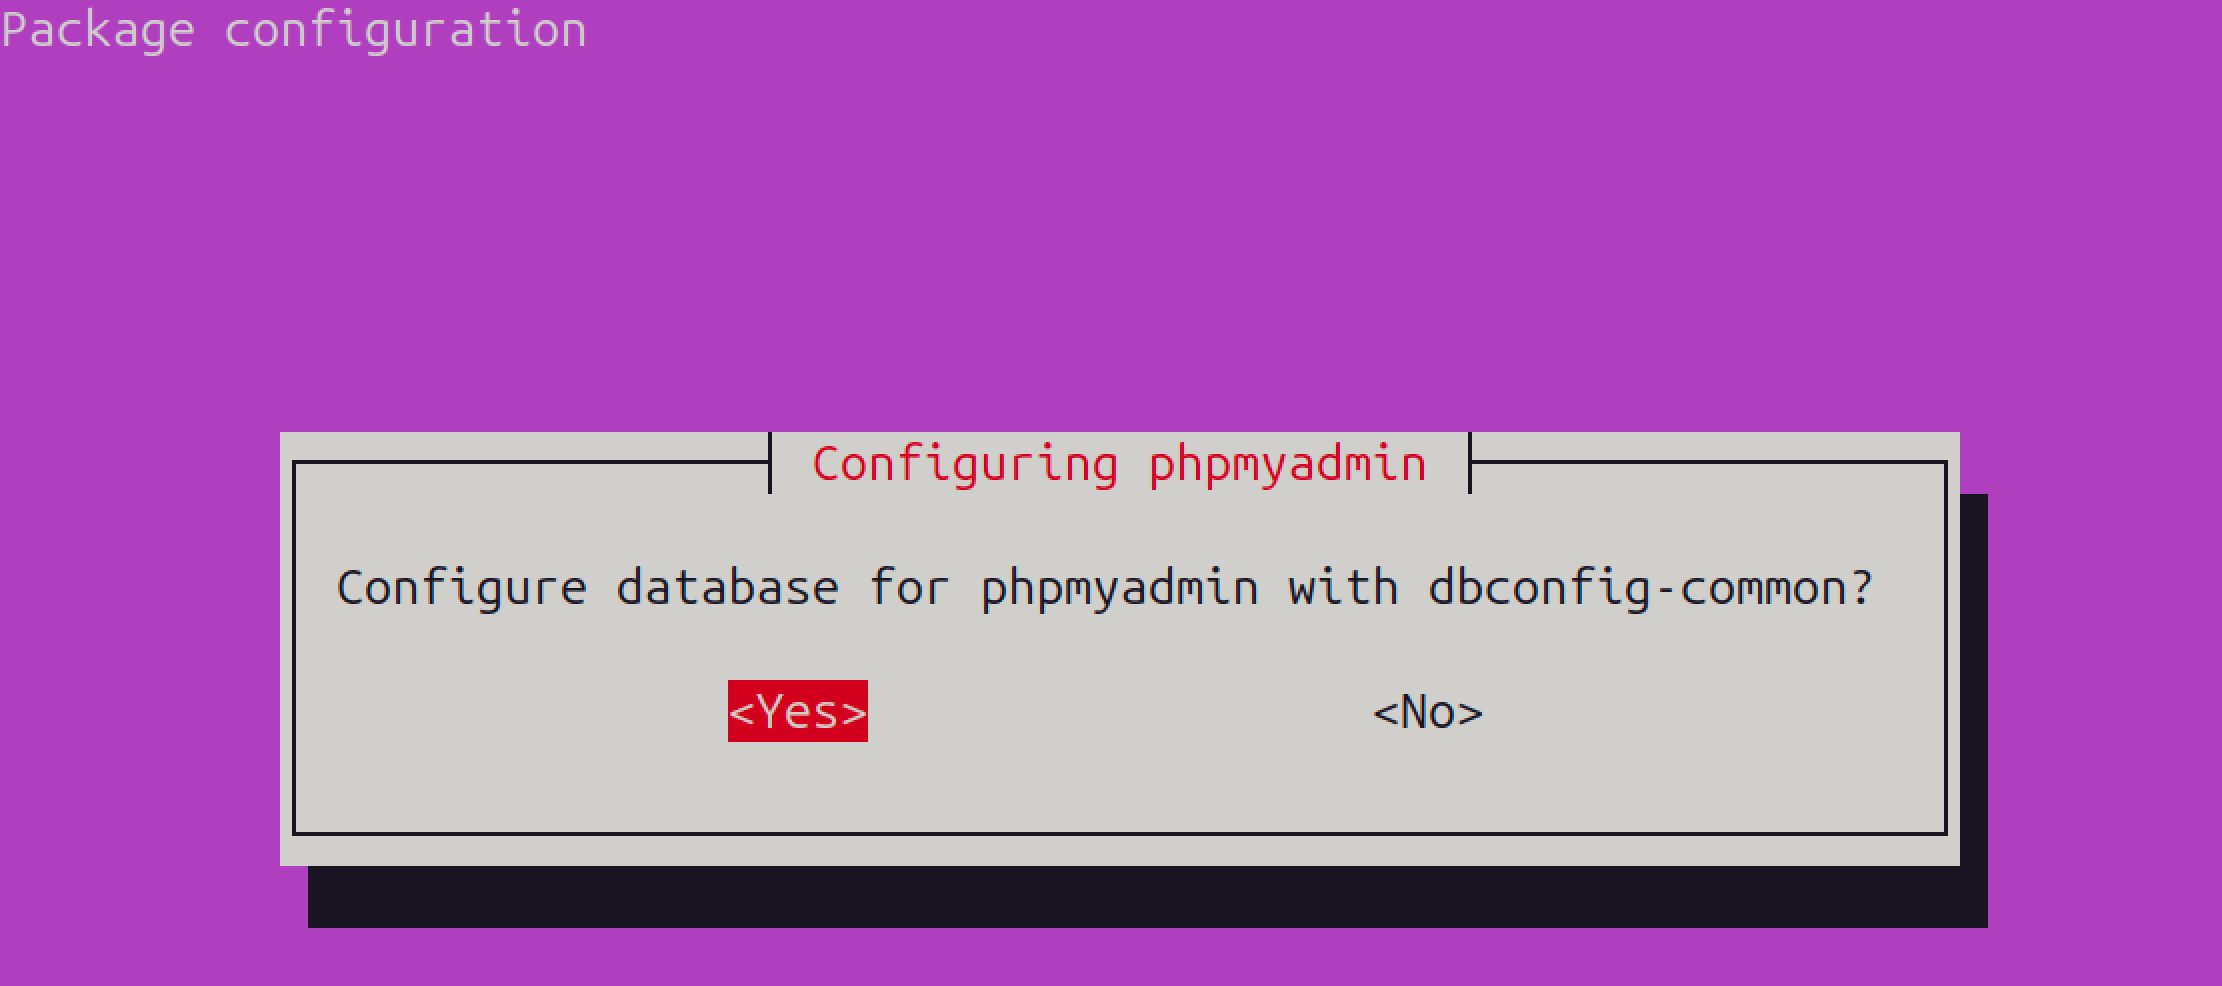
- Configure Database: Select Yes to configure phpMyAdmin with dbconfig-common, which sets up a database for phpMyAdmin’s internal use.
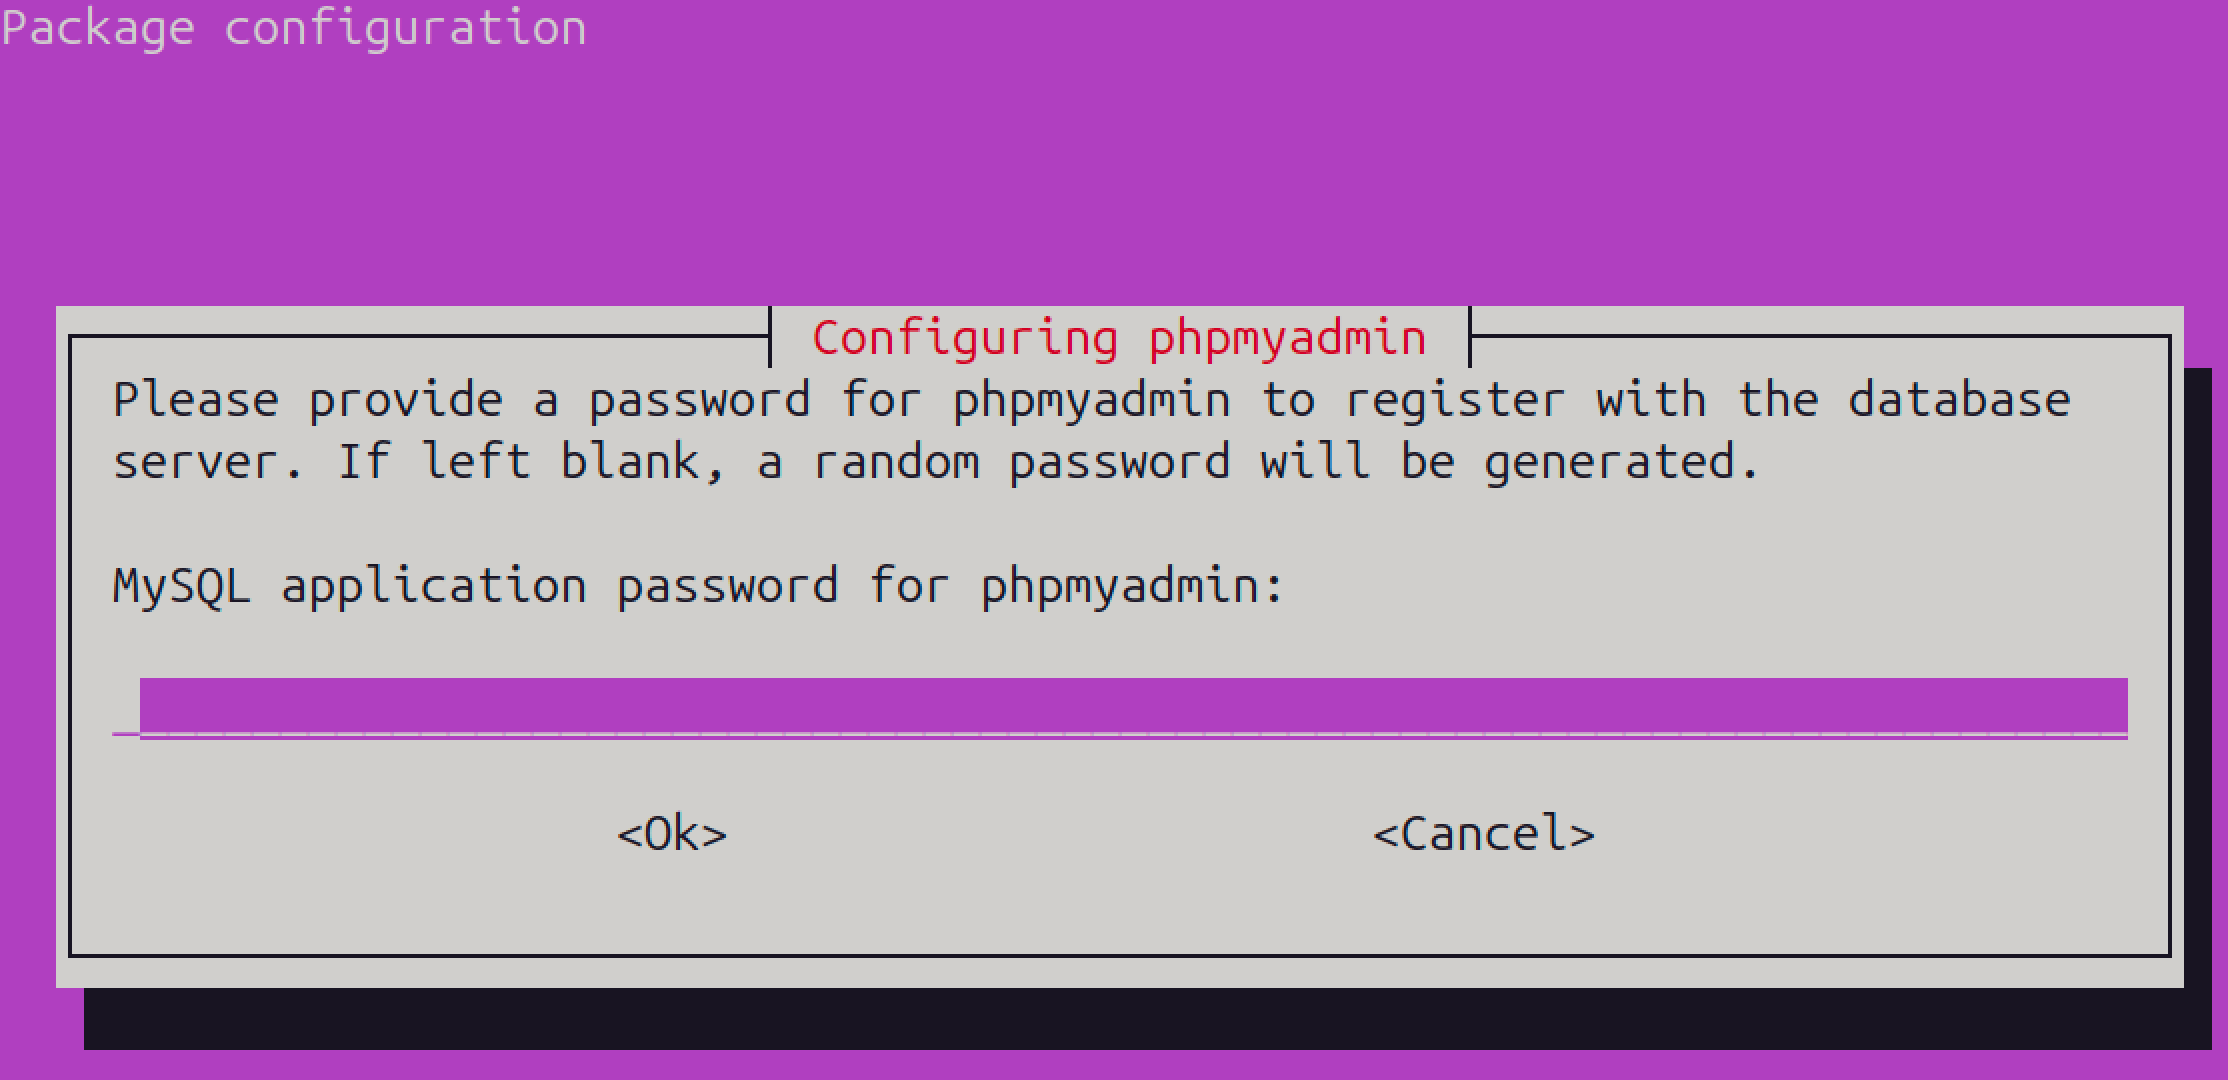
- Password Setup: Provide a password for the phpMyAdmin database user (phpmyadmin). Confirm it when prompted. If you leave it blank, a random password will be generated.
OutputInstalling:
  phpmyadmin

Installing dependencies:
  dbconfig-common          	php-phpmyadmin-shapefile
  dbconfig-mysql           	php-phpmyadmin-sql-parser
  icc-profiles-free        	php-psr-cache
  javascript-common        	php-psr-container
  libjs-bootstrap5         	php-psr-http-factory
  libjs-codemirror         	php-psr-http-message
  libjs-jquery             	php-psr-log
  libjs-jquery-metadata    	php-slim-psr7
  libjs-jquery-mousewheel  	php-symfony-cache
  libjs-jquery-tablesorter 	php-symfony-cache-contracts
  libjs-jquery-timepicker  	php-symfony-config
  libjs-jquery-ui          	php-symfony-dependency-injection
  libjs-popper.js          	php-symfony-deprecation-contracts
  libjs-sizzle             	php-symfony-expression-language
  libjs-sphinxdoc          	php-symfony-filesystem
  libjs-underscore         	php-symfony-polyfill-php80
  libmcrypt4               	php-symfony-service-contracts
  node-jquery              	php-symfony-var-exporter
  php-bz2                  	php-tcpdf
  php-composer-ca-bundle   	php-twig
  php-fig-http-message-util	php-twig-i18n-extension
  php-getallheaders        	php-webmozart-assert
  php-google-recaptcha     	php-xml
  php-mariadb-mysql-kbs    	php8.3-bz2
  php-mcrypt               	php8.3-mcrypt
  php-nikic-fast-route     	php8.3-xml
  php-phpmyadmin-motranslator

Suggested packages:
  bootstrap-icons   	mcrypt    	php-recode
  libjs-bootstrap5-doc  php-apcu  	php-gd2
  libjs-requirejs   	php-dbase 	php-pragmarx-google2fa-qrcode
  libjs-jquery-ui-docs  php-imagick   php-bacon-qr-code
  libmcrypt-dev     	php-twig-doc  php-code-lts-u2f-php-server

Summary:
  Upgrading: 0, Installing: 54, Removing: 0, Not Upgrading: 148
  Download size: 17.2 MB
  Space needed: 84.5 MB / 11.7 GB available
Continue? [Y/n] Y
You will receive a popup asking you to select the web server that should be automatically configured to run phpMyAdmin. Select apache2 and click OK.
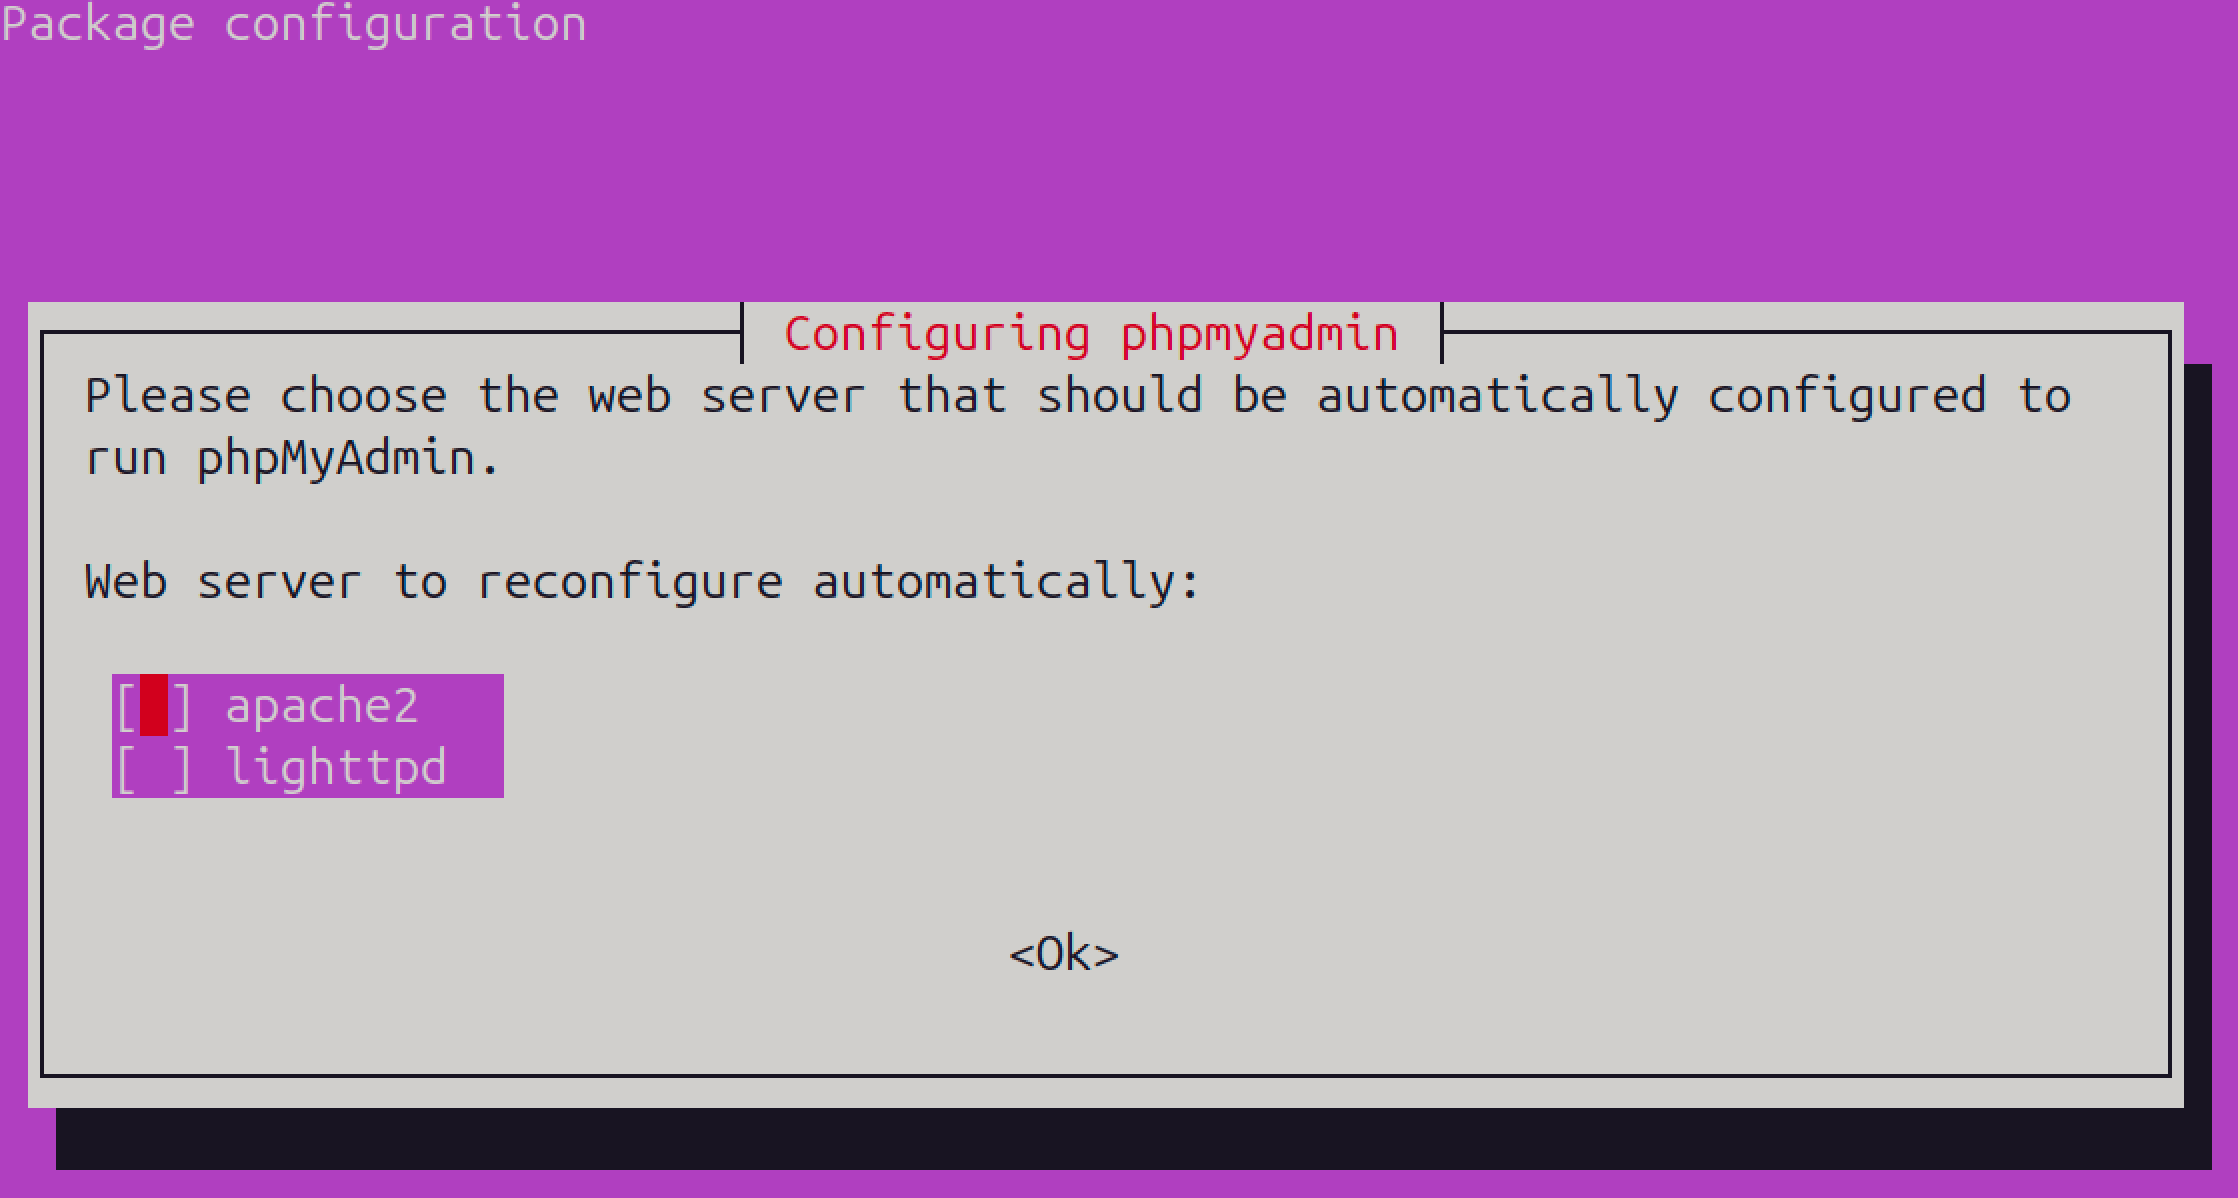
Click on Ok.
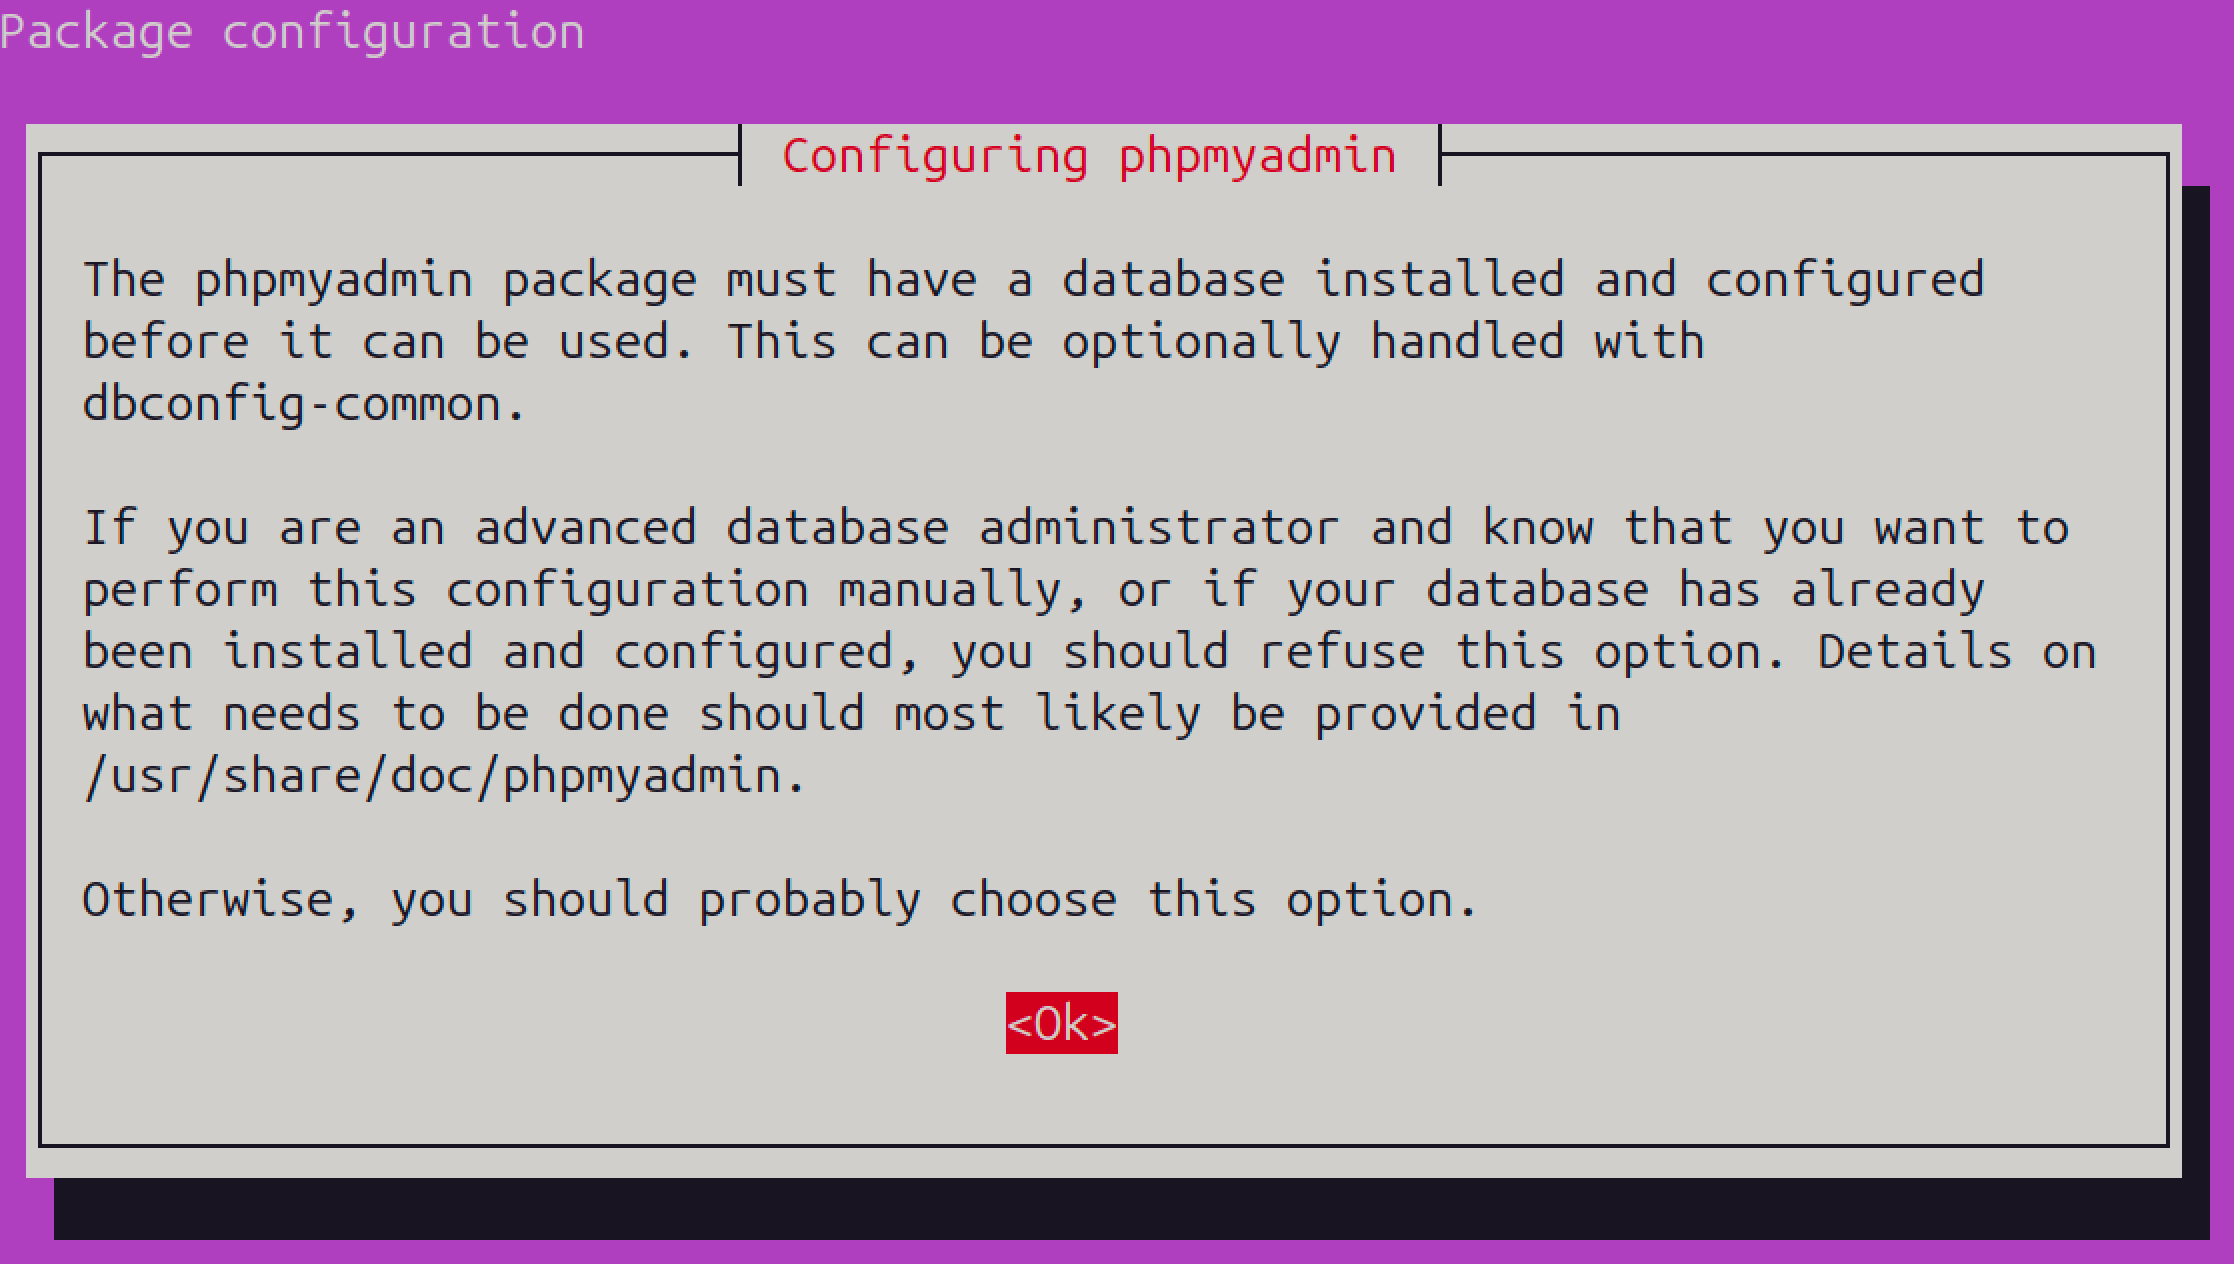
The following prompt asks for instructions on setting up a database for the phpMyAdmin installation. You can choose not to proceed since we have already installed the MySQL server.
However, if you choose yes in the above prompt, you must create a password for your new database. You must confirm the password entry at the next step in the process. The system will request you to re-enter your password for verification once the security requirements are not met (for example, when your password lacks sufficient strength). From the options, select retry to enter an enhanced password. After the completion of each step, the program installation process will be finished.
The installer will automatically configure Apache to serve phpMyAdmin and link the necessary files.
#Step 4: Enable PHP extensions
Some PHP extensions (like mbstring) required by phpMyAdmin might not be enabled by default. Enable them manually:
sudo phpenmod mbstring
Restart Apache to apply the changes:
sudo systemctl restart apache2
#Step 5: Access phpMyAdmin
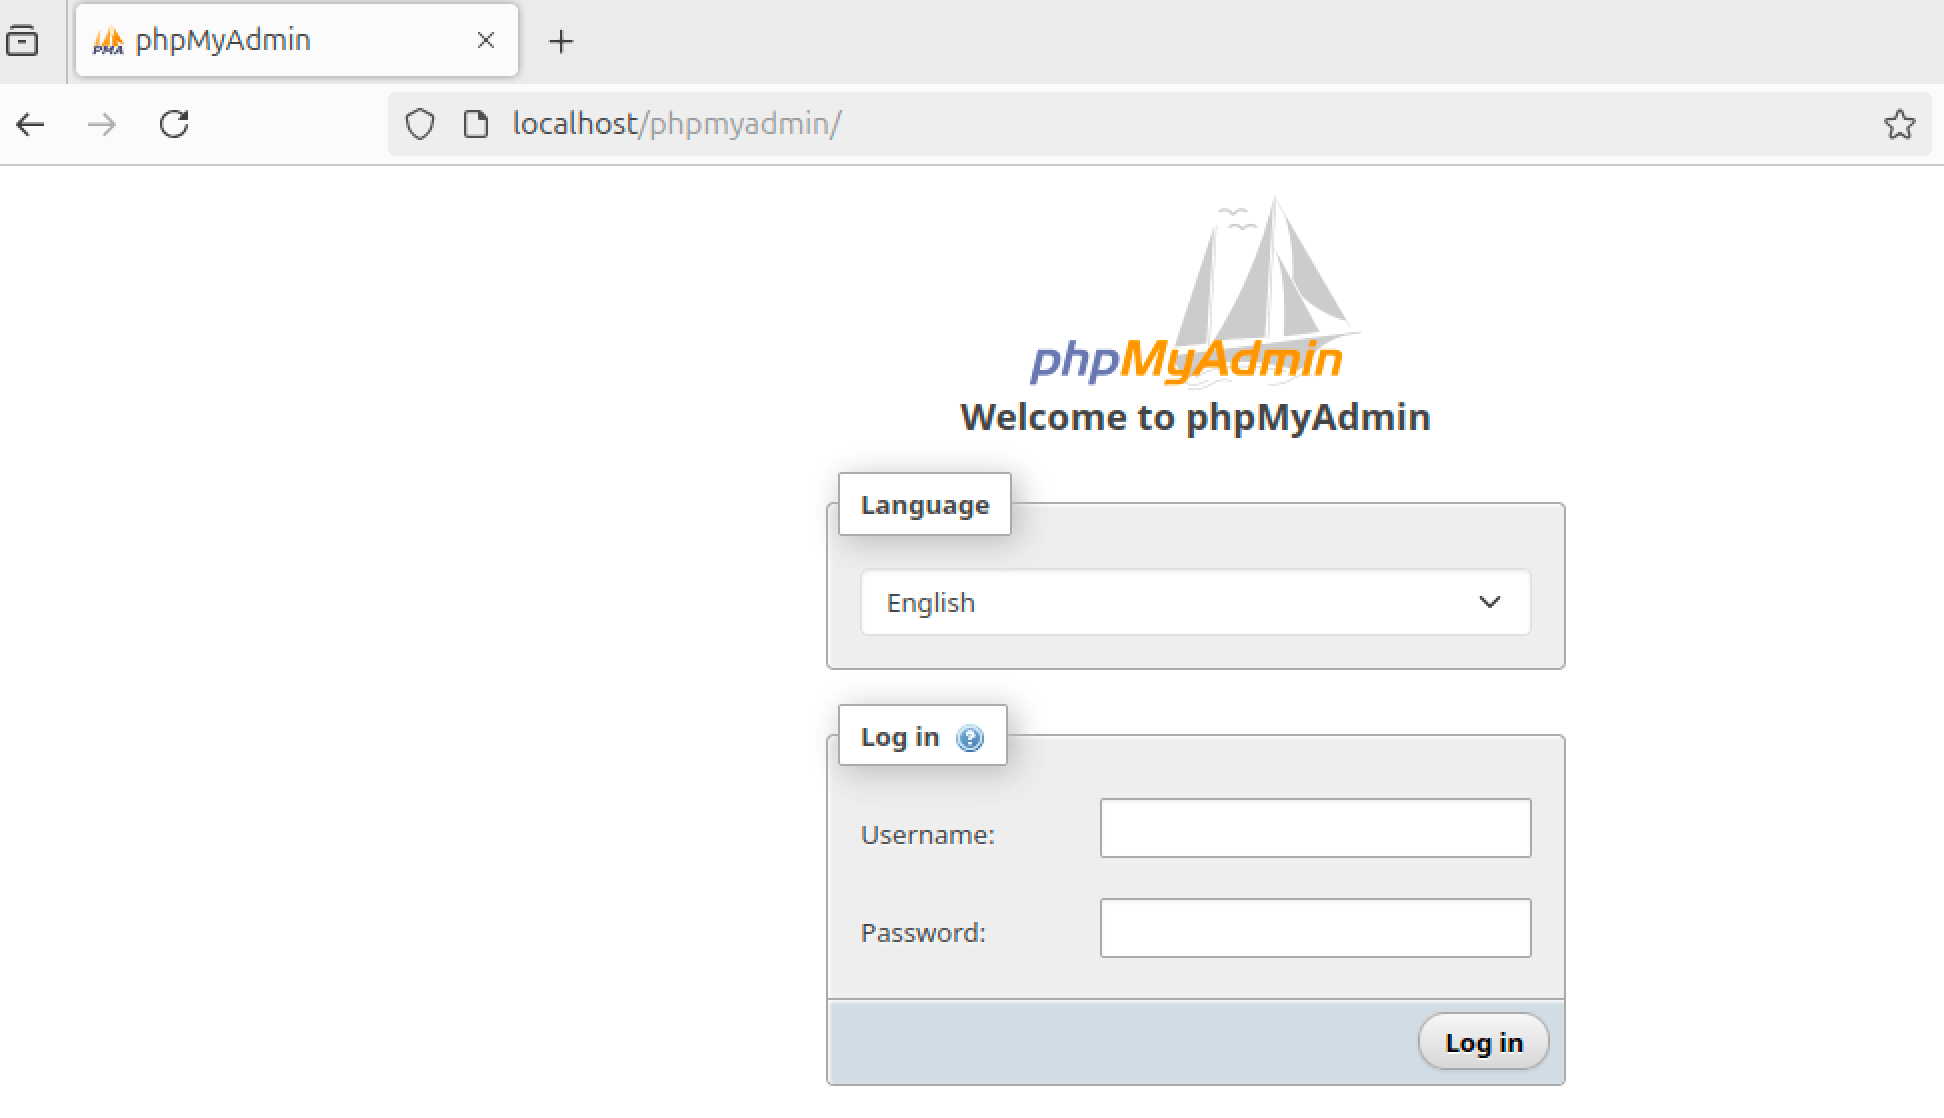
phpMyAdmin should now be accessible. Open your browser and navigate to: http://localhost/phpmyadmin
Or, if you’re on a remote server: http://your_server_ip/phpmyadmin
You’ll see the phpMyAdmin login page. However, you may need credentials to log in, which we’ll set up next.
#Step 6: Configure MySQL user for phpMyAdmin
By default, Ubuntu 24.04 uses the auth_socket plugin for the MySQL root user, which doesn’t allow password-based login via phpMyAdmin. To resolve this, create a new mysql root user password. Log in to MySQL as root:
sudo mysql
Create a root user password :
ALTER USER 'root'@'localhost' IDENTIFIED WITH mysql_native_password by 'Root@1234';
exit;
Return to the phpMyAdmin login page and log in with the root user and password.
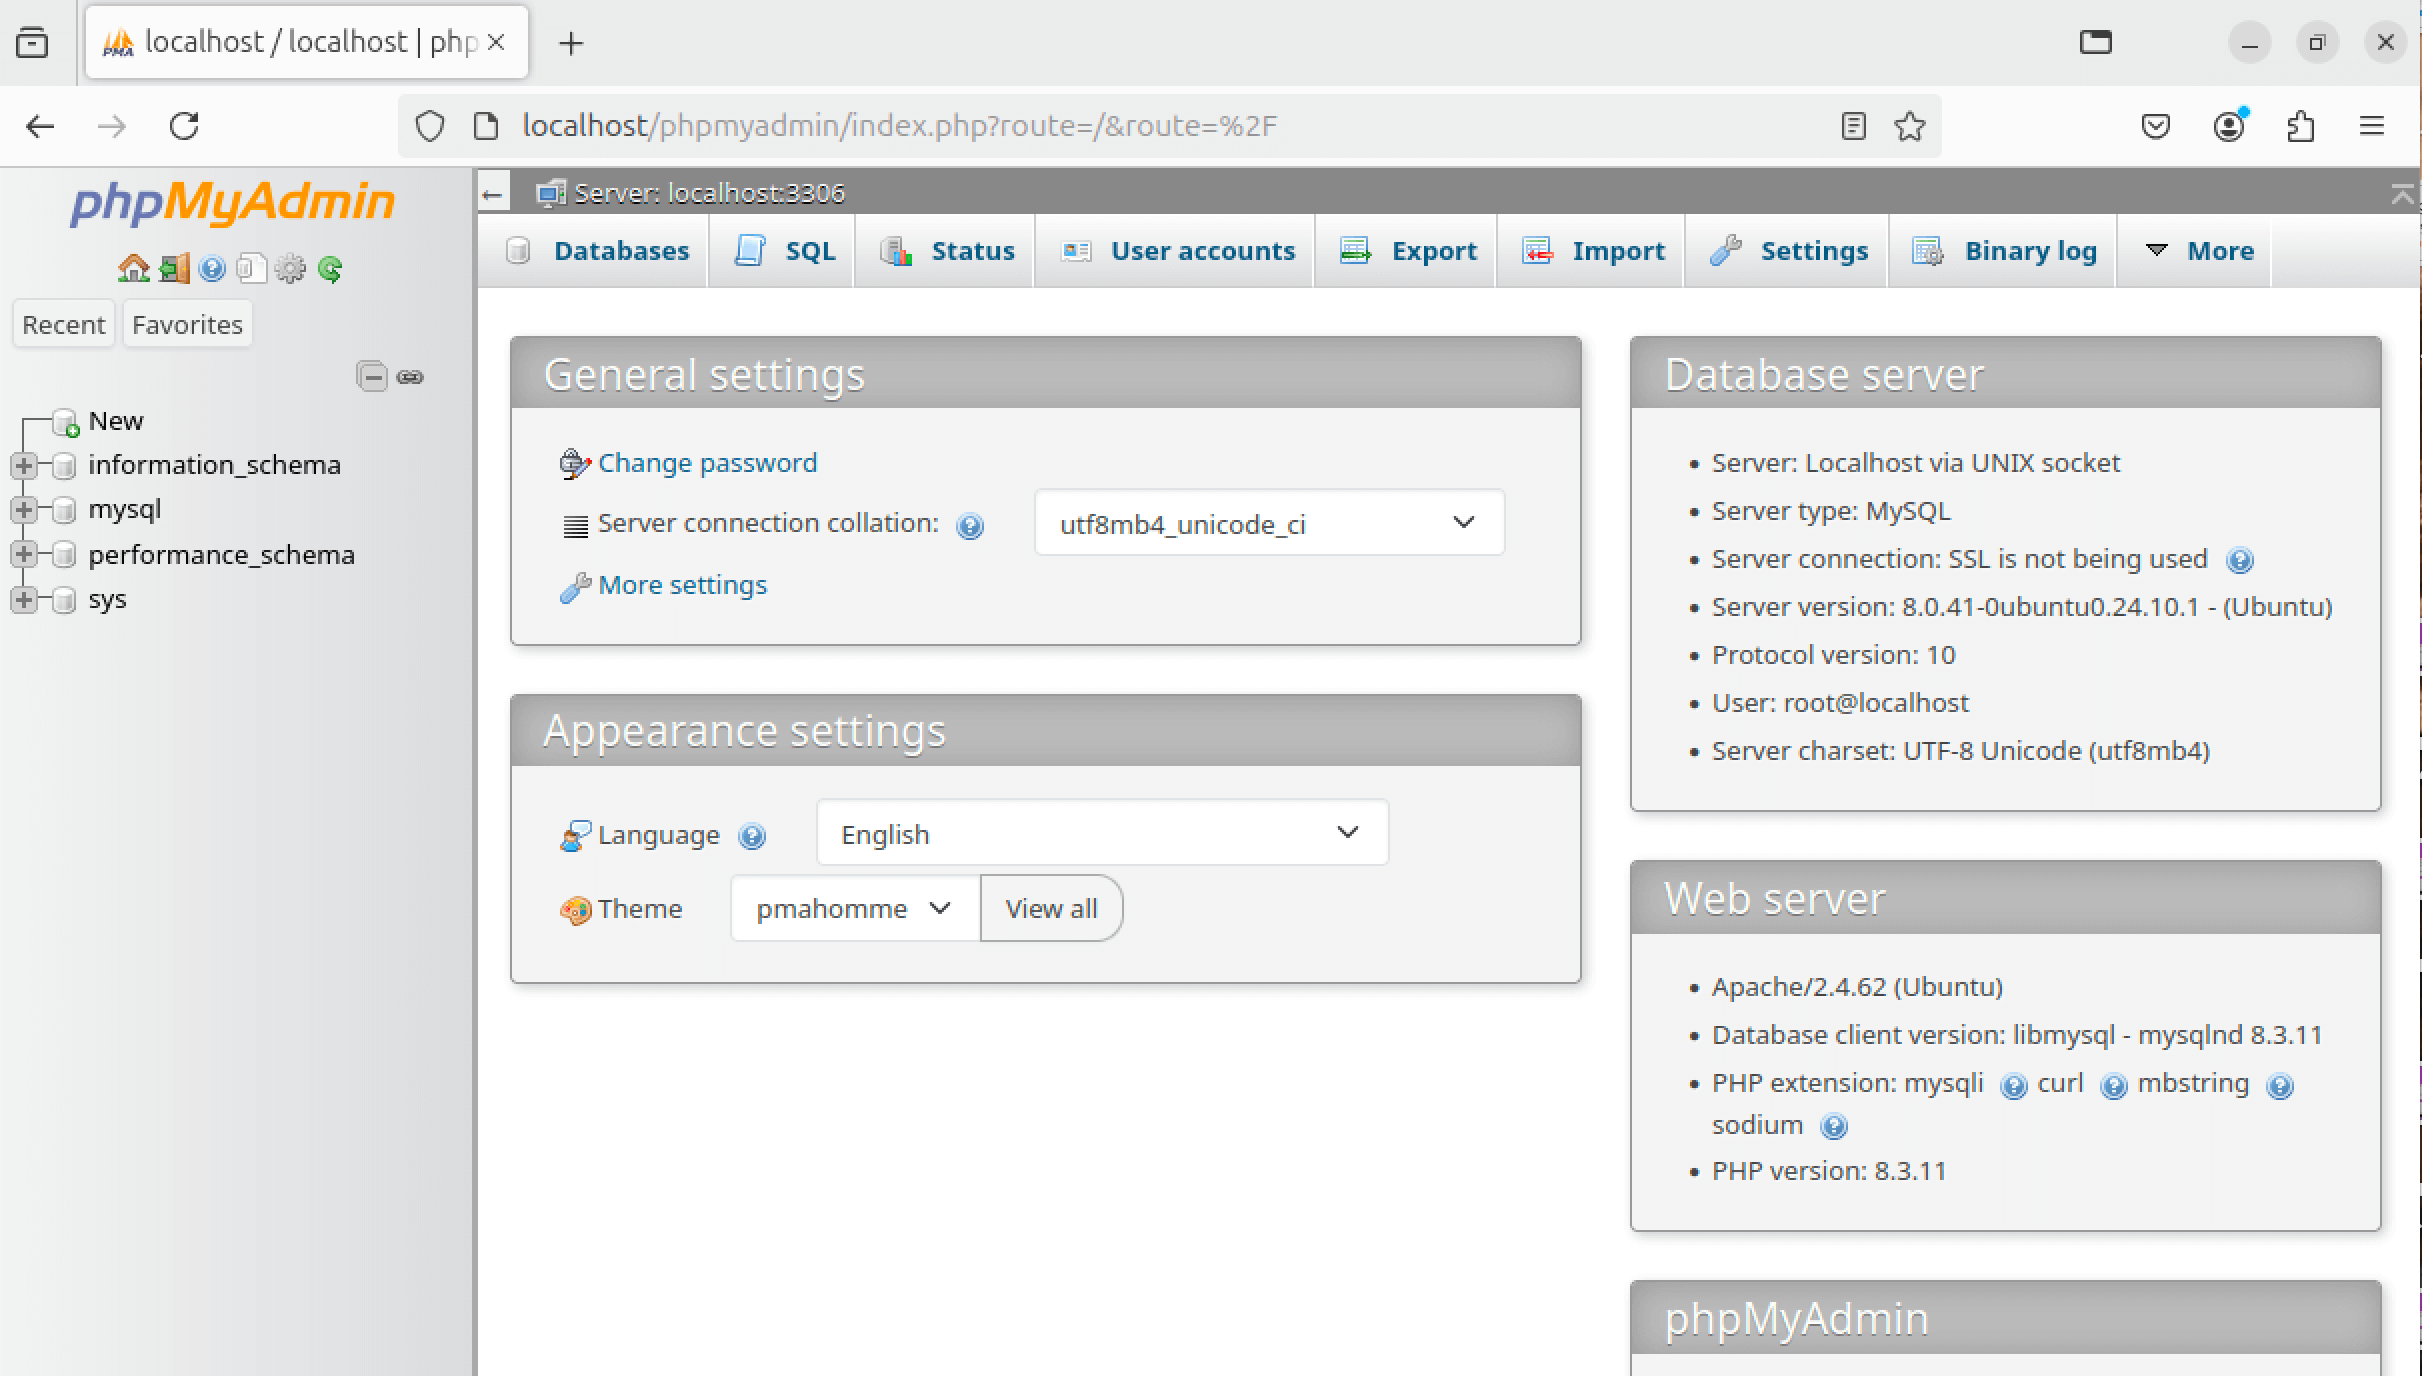
Then, you will see your phpMyAdmin interface, as shown in the above image. Now, you can easily manage your MySQL database using phpMyAdmin.
#Conclusion
You have successfully installed phpMyAdmin on Ubuntu 24.04 and can now start effectively managing and administrating your databases. phpMyAdmin is an excellent database management solution that works well for site modifications in WordPress or customized applications. To understand how phpMyAdmin works, test its features for database importing/exporting, SQL query running, and user management functions.