How to Install Nginx on Ubuntu 24.04: Step-by-Step


Nginx is an open-source, robust, and multi-faceted web server optimized for hosting high-traffic web apps. Its architecture, allows it to handle many concurrent connections while being easy on CPU and memory resources. Apart from being an HTTP web server, Nginx provides a wealth of additional features to extend its functionality. You can configure it as a load balancer, HTTP cache, or reverse proxy.
This tutorial explores how to install Nginx on Ubuntu 24.04.
#Prerequisites
To get started, ensure you have the following requirements in place:
An instance of Ubuntu 24.04. You can deploy a cloud VPS on Cherry Servers to follow along.
SSH access to the server instance. It’s recommended that a sudo user be configured to run privileged tasks.
A registered domain that points to your server's public IP address. You will need to modify the A record in the DNS section of your domain provider to reflect this. A registered domain is essential especially when configuring Nginx Virtual Blocks.
#Installing Nginx on Ubuntu 24.04
We will begin by installing the Nginx web server package, configure the firewall, and test its functionality. The last step involves setting up a Nginx server block for hosting a domain, and this is why having a registered domain for this walkthrough is recommended to follow along.
#Step 1: Install Nginx
The default Ubuntu repositories provide the Nginx web server package. The installation is thus made simple since you only need to use the APT package manager to refresh the local package lists and install the Nginx package.
With that in mind, update the package index.
sudo apt update
Once the local APT cache is updated, install Nginx.
sudo apt install nginx
When prompted to continue, type ‘Y’ on the keyboard and hit ENTER.
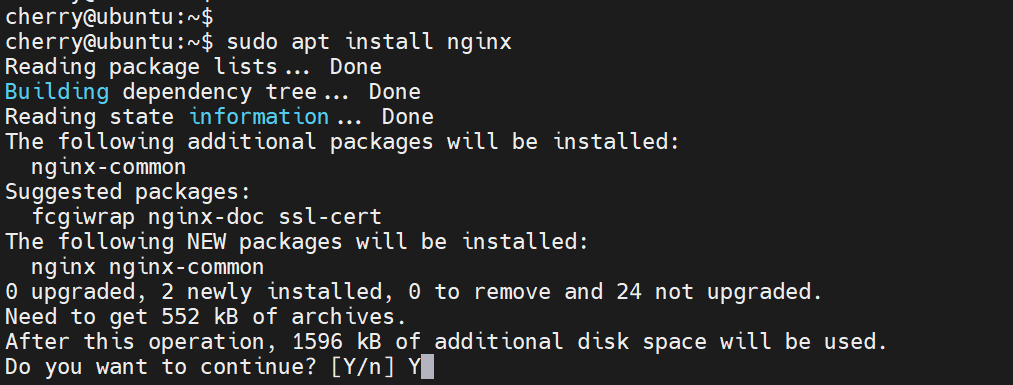
The command installs the Nginx package alongside other added packages.
To view the version of Nginx installed on your server, run the command:
nginx -v
The output shows that we are running Nginx 1.24.0, a stable release released on April 2023.

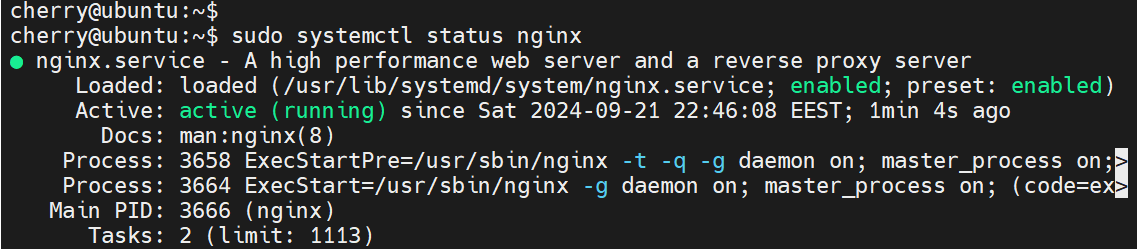
Nginx autostarts by default. You can verify this using the systemd command as shown.
sudo systemctl status nginx
#Step 2: Configure UFW
Uncomplicated Firewall (UFW) comes pre-installed in Debian and Ubuntu systems and provides a means of filtering incoming traffic based on configured policies. Usually, all outgoing traffic is allowed.
By default, UFW is disabled. If yours is enabled, you have to allow Nginx traffic across the firewall to access the web server on the browser.
To allow Nginx HTTP traffic, which effectively opens port 80, run the command:
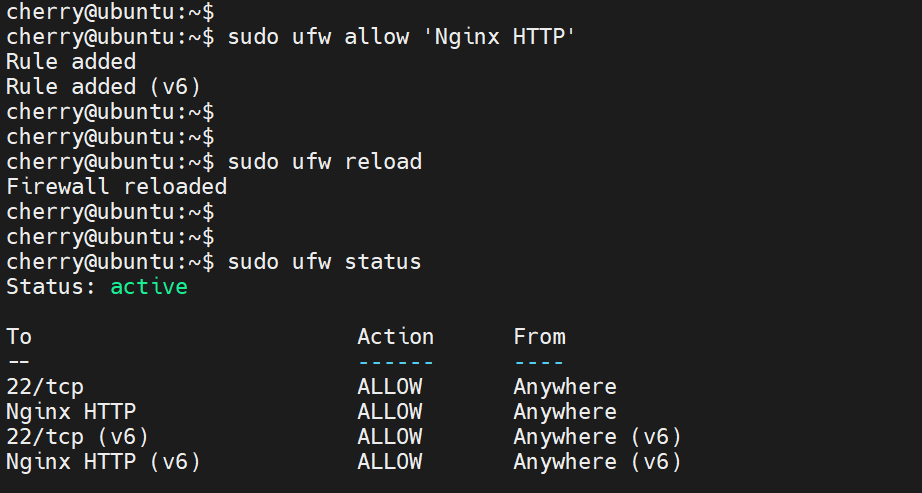
sudo ufw allow 'Nginx HTTP'
Once done, reload the firewall to effect the changes.
sudo ufw reload
To ensure that Nginx traffic has been allowed across the firewall, verify the firewall status.
sudo ufw status
#Step 3: Test Nginx web server
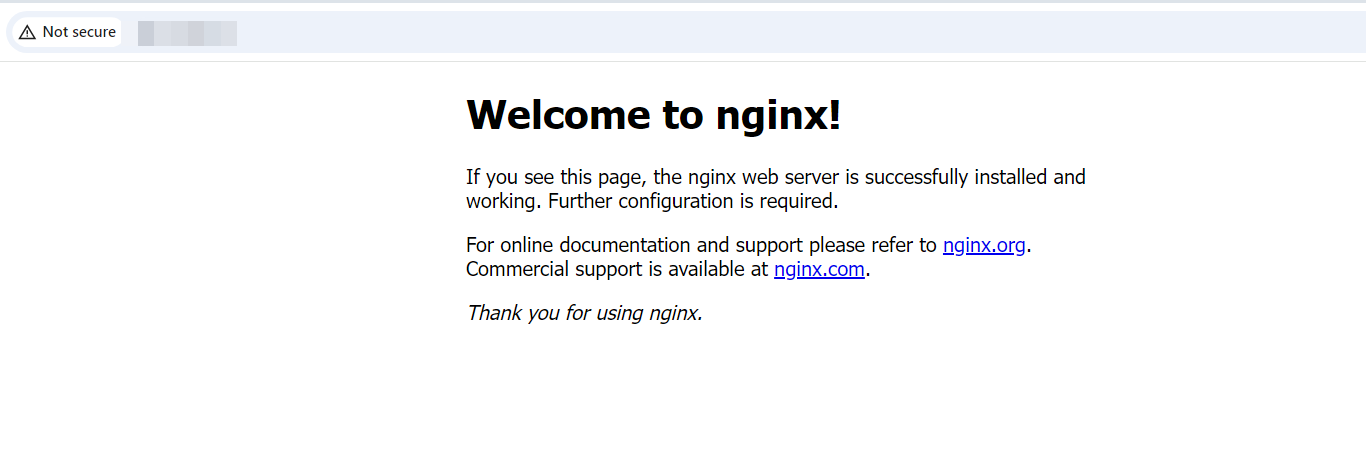
To test the web server, head to your web browser and access your server’s IP address.
http://server-ip
The default welcome page will be displayed as follows.
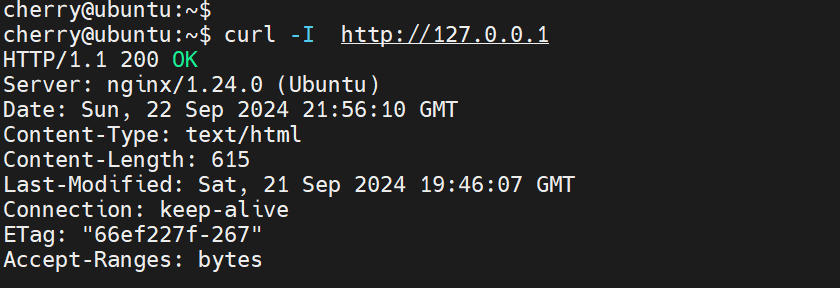
Also, send an HTTP request using curl as shown.
curl -I http://127.0.0.1
The output provides a bunch of lines. The HTTP 200 OK status code in the first line shows a positive response from Nginx, proof that the web server is working as intended.
#Step 4: Configure Nginx server block (optional)
The concept of Nginx Server blocks is similar to Apache Virtual hosts. An Nginx server block makes it possible to accommodate multiple domains on a single server. It’s recommended especially for business owners operating on a budget.
With a Server block, you can define the settings for each website sitting on the same server.
Typically, the default server block is configured in the /var/www/html path. Best practice recommends that you define a custom directory in the /var/www instead, without touching anything in the default path.
To get started, we will create a custom directory to serve our domain’s files. We’ll use domain.info as the domain name. Be sure to replace domain.info with your actual registered domain name.
sudo mkdir -p /var/www/domain.info/html
Next, assign directory ownership to the $USER environment variable.
sudo chown -R $USER:$USER /var/www/domain.info/html
Be sure to grant permissions to the directory as shown.
sudo chmod -R 755 /var/www/domain.info/
Next, create a sample HTML file in your domain directory for testing purposes.
sudo nano /var/www/domain.info/index.html
Add the following lines of HTML code for a sample web page.
<!DOCTYPE html>
 <html>
    <head>
        <title>Howdy there!!</title>
    </head>
    <body>
        <h1>Congratulations! Your Nginx server block is working!</h1>
    </body>
</html>
Save and exit the file.
Now create the Nginx Server block in the /etc/nginx/sites-available/ directory.
sudo nano /etc/nginx/sites-available/domain.info.conf
Use the following lines of code to define the server block.
server {
        listen 80;
        listen [::]:80;

        root /var/www/domain.info;
        index index.html index.htm index.nginx-debian.html;

        server_name domain.info  www.domain.info;

        location / {
                try_files $uri $uri/ =404;
        }
}
Save the configuration and exit.
Next, enable the server block by creating a symbolic link to the sites-enabled directory.
sudo ln -s /etc/nginx/sites-available/domain.info.conf /etc/nginx/sites-enabled/
Before testing the Server block, check whether the Nginx configuration is sound and error-free.
sudo nginx -t
The output confirms the syntax is okay.

For all the changes to be effected effect, restart the Nginx web server.
sudo systemctl restart nginx
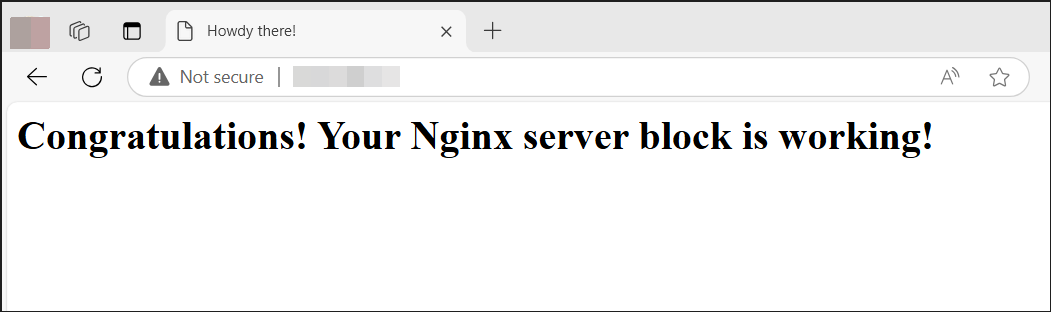
At this point, Nginx should be serving your domain together with the website files, in this case, the sample HTML page we created. To verify this, browse your server’s IP once again.
http://domain_name
#Step 5: Secure Nginx with SSL certificate
An SSL certificate is a digital certificate that encrypts data sent back and forth between a web server and a client browser. It serves numerous functions, including domain validation and safeguarding users from phishing attacks.
This section will install the Let’s Encrypt certificate for our domain. This is a free SSL/TLS certificate from the Let’s Encrypt CA (Certificate Authority).
First, you need to install certbot, a client tool for automating the TLS/SSL certificate installation.
sudo apt install certbot python3-certbot-nginx
Next, use certbot to start obtaining the Lets Encrypt TLS / SSL using the following command.
Replace domain.info with your actual domain.
sudo certbot --nginx -d domain.info
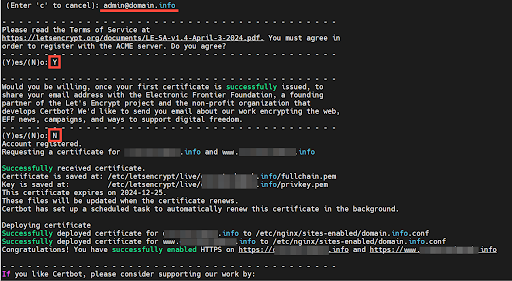
This will walk you through a series of interactive prompts. Provide your preferred email address and type Y to accept the Terms of Service.
Afterward, the certbot client contacts the Certificate Authority to establish that the web server controls the domain. Once this is determined, certbot fetches and saves the certificate and keys on your web server. The certificate is finally deployed on your web server and HTTPS is enabled for your domain name.
 Since the HTTPS protocol listens on TCP port 443, be sure to allow this on the UFW firewall so that you can access your website on the browser. You can achieve this by allowing ‘Nginx HTTPS’ profile.
sudo ufw allow 'Nginx HTTPS'
Then reload to apply the changes.
sudo ufw reload
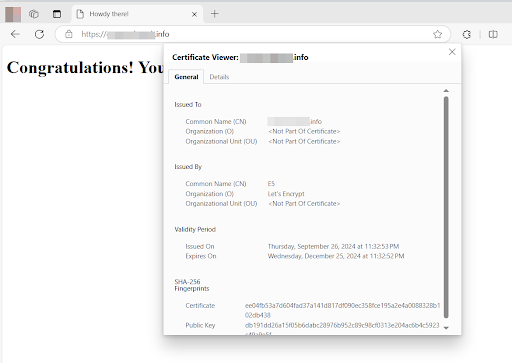
Now reload your browser tab. Your domain should be using HTTPS.
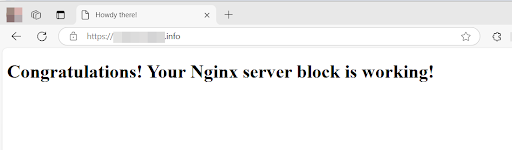
You can click the padlock icon to get more information about the TLS/SSL certificate.
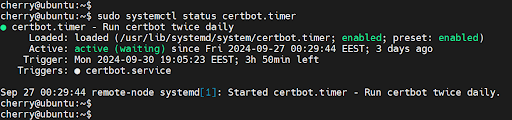
The installation of certbot provides a systemd timer that probes for certificate renewal twice each day. To verify that the timer is active and running, execute the command:
sudo systemctl status certbot.timer
Certbot runs in the background and automatically renews the SSL certificate within 30 days of expiration. Simulate the renewal process by running the following command to test the renewal process. First, allow HTTPS traffic.
sudo ufw allow 443/tcp
Reload to effect the changes
sudo ufw reload
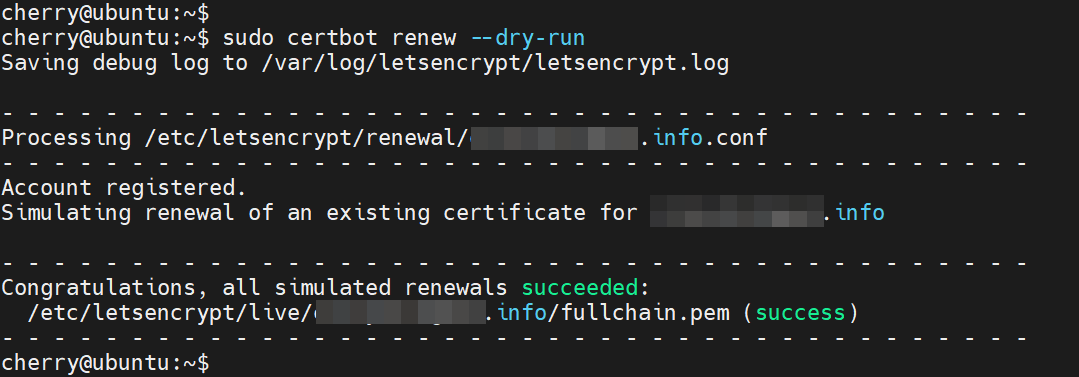
Finally, simulate certificate renewal.
sudo certbot renew --dry-run
#Conclusion
Thanks to its high performance, versatility, and powerful security add-ons, Nginx is an excellent choice for personal and enterprise environments. It's also adaptable to other tools such as ELK stack and Kubernetes for simplified app deployment. Refer to the documentation for more information.