How to Install Grub Customizer on Ubuntu 24.04? Step-by-Step Guide


Grub Customizer, as the name implies, is a utility for customizing the GRUB boot menu. It’s an open-source graphical utility that manages and configures various aspects of the GRUB menu. You can do all this without directly editing the grub configuration file from the command line. This is convenient for those who prefer a GUI tool instead of working from the CLI or novices who are not yet adept at using command-line editors.
This tutorial demonstrates how to install the Grub Customizer on Ubuntu 24.04.
#Prerequisites
To follow along, ensure you have the following:
A graphical installation of Ubuntu 24.04 with internet access.
A sudo user configured on your instance
#How to install Grub Customizer on Ubuntu 24.04
The Grub Customizer GUI tool lets you tweak the GRUB configuration with only a few clicks. You can reorder the boot entries, set the default operating system to boot into and change the appearance of the GRUB menu by adding a background image, among other changes.
The steps outlined will guide you on how to install Grub Customizer on Ubuntu 24.04.
NOTE:
While Grub Customizer is a safe and convenient utility for modifying the GRUB configuration, we advise having a proper backup of your Grub settings with Timeshift and keeping a Live Grub rescue medium ready should something go wrong.
#Step 1: Update package lists
Access your graphical instance and launch the terminal. Then run the following command to update the local APT cache.
sudo apt update
Next, proceed to the next step.
#Step 2: Install Grub customizer
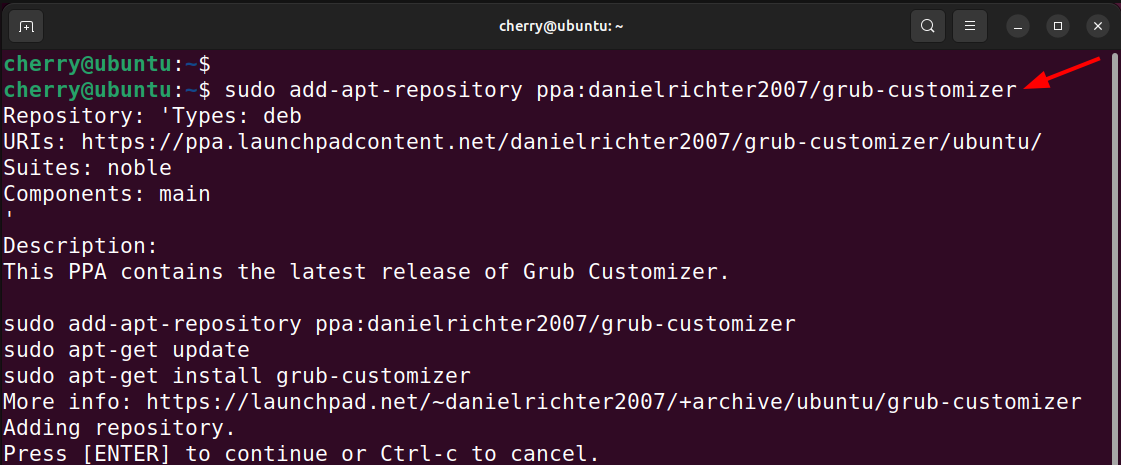
The Grub customizer is not hosted on the default Ubuntu repositories. It is currently available on LaunchPad PPA maintained by Daniel Richter. So to install the tool, add the Grub Customizer PPA:
sudo add-apt-repository ppa:danielrichter2007/grub-customizer
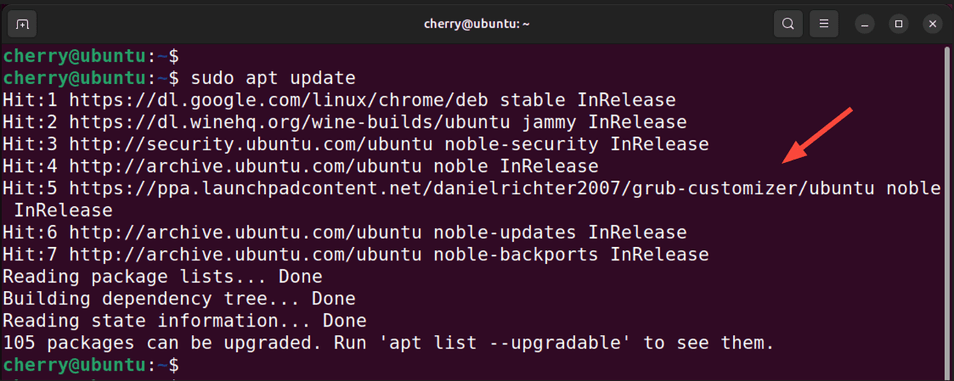
Next, update the package lists or APT cache for the system to start using the PPA.
sudo apt update
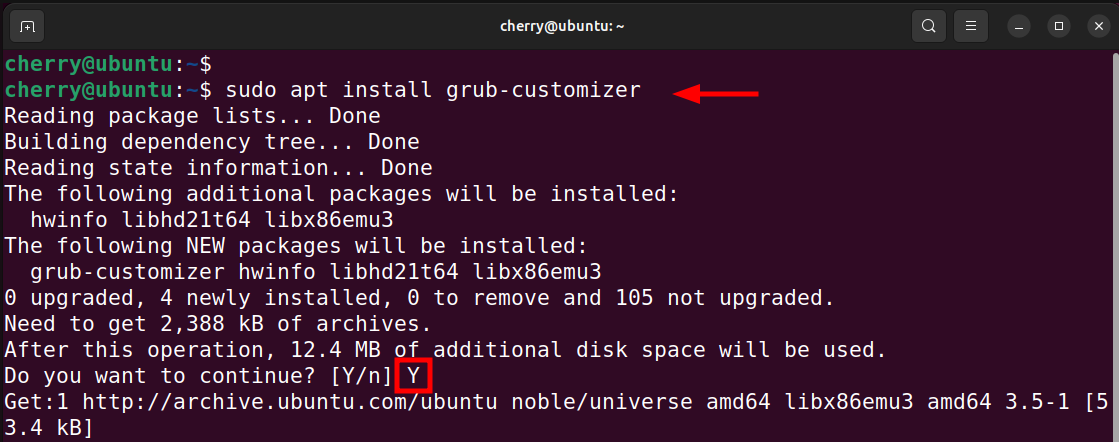
Once updated, install the Grub Customizer tool:
sudo apt install grub-customizer
When prompted, type Y and hit ENTER to proceed with the installation.
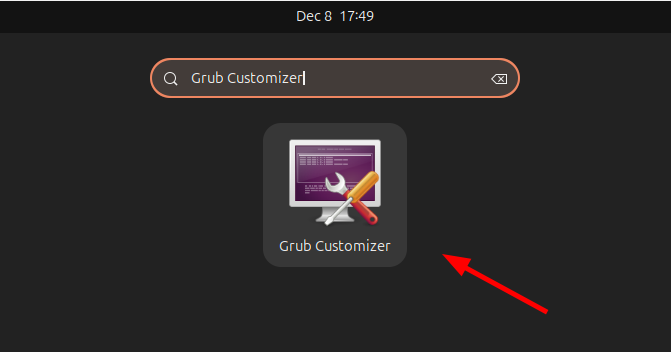
#Step 3: Launch Grub customizer
Once Grub customizer is installed, press the Super Key or Windows logo button and search for the application. The Grub Customizer will show up as shown. Click the icon to launch the application.
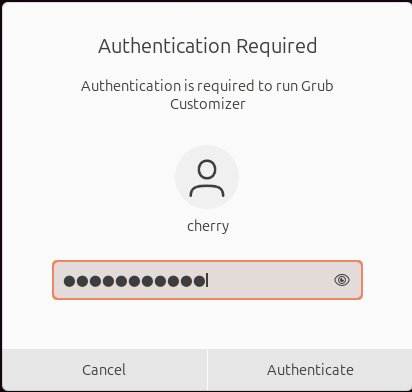
The authentication pop-up will appear prompting you to authenticate. Provide your password and hit ENTER or click the Authenticate button.
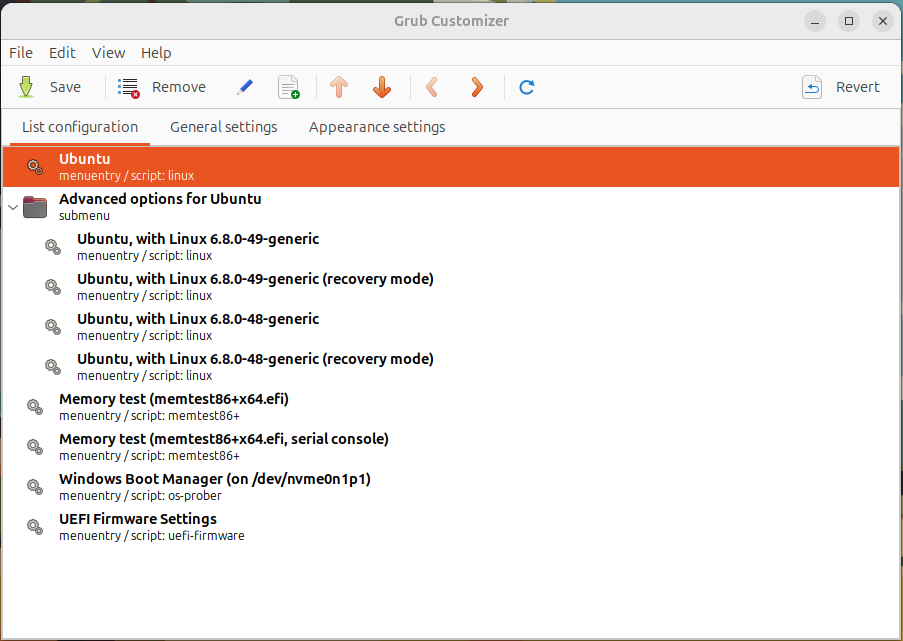
Upon successful authentication, the Grub Customizer interface will be displayed and the list of boot entries will appear on the List Configuration tab.
We have a dual-boot setup configured with Ubuntu as the default OS, appearing first on the list. The Windows boot entry is labeled Windows Boot Manager.
As we mentioned in the introduction, Grub Customizer customizes various Grub menu aspects including modifying the order in which the boot entries appear. To demonstrate this, we will configure Windows as the default OS in the dual-boot setup.
#Step 4: Modify boot order in Grub Customizer
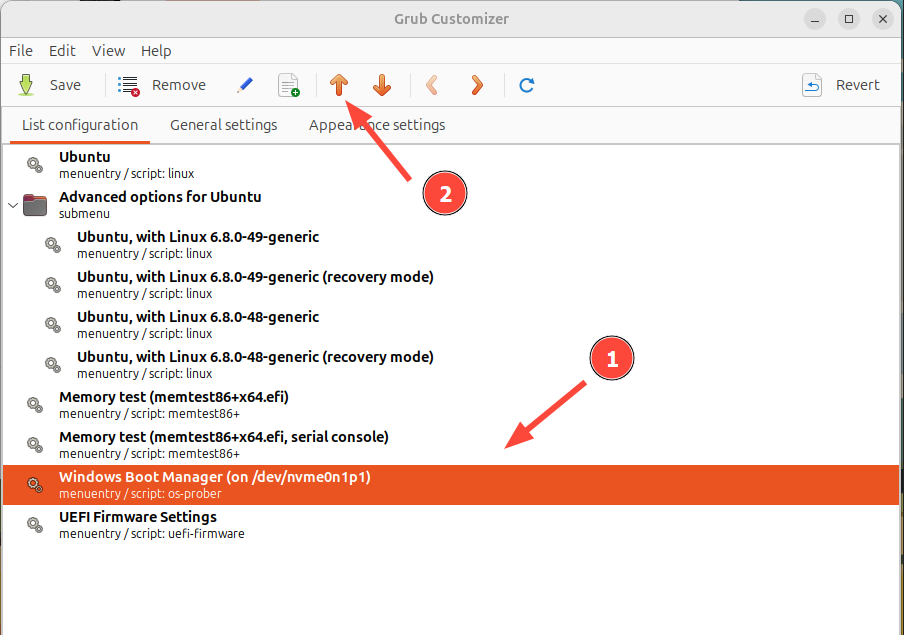
A common use of the Grub customizer is modifying the boot order. Currently, our dual-boot setup is configured to boot into Ubuntu by default. We will change this and set Windows as the default operating system. If you have a dual-boot setup, follow the steps outlined. Click the boot entry you want to set as default (in this case Windows), click the Arrow Up button, and move it to the top of the list.
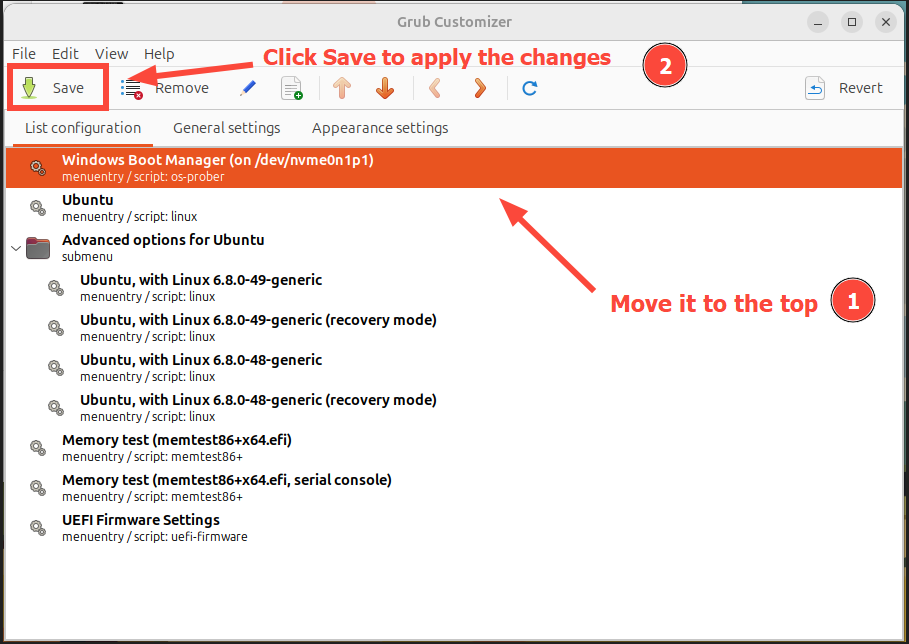
Once you have placed the entry at the top of the boot entries, click save to apply the changes. In the screenshot below, Windows has been configured as the default OS to boot into.
#Step 5: Change Grub background image (Optional)
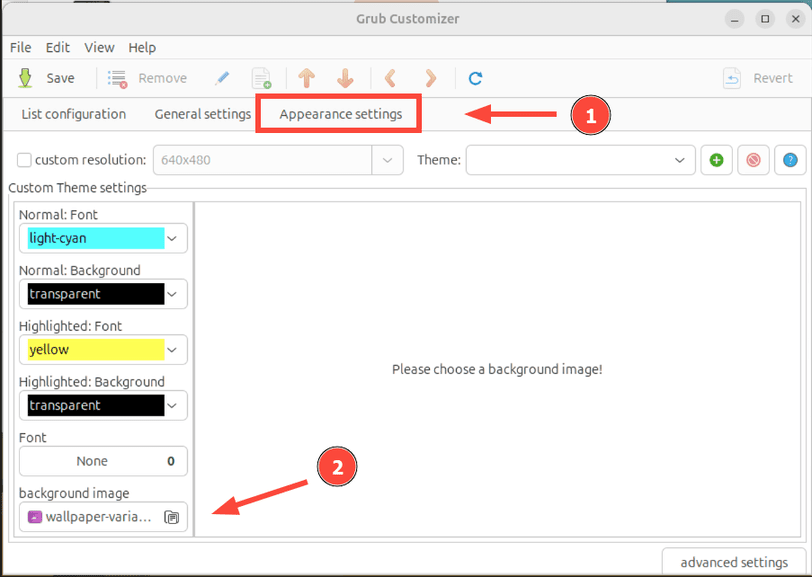
If you find the Grub menu dull and bland, you can jazz it up by adding a background image. To do this, click the Appearance settings tab and click the background-image icon at the bottom left corner.
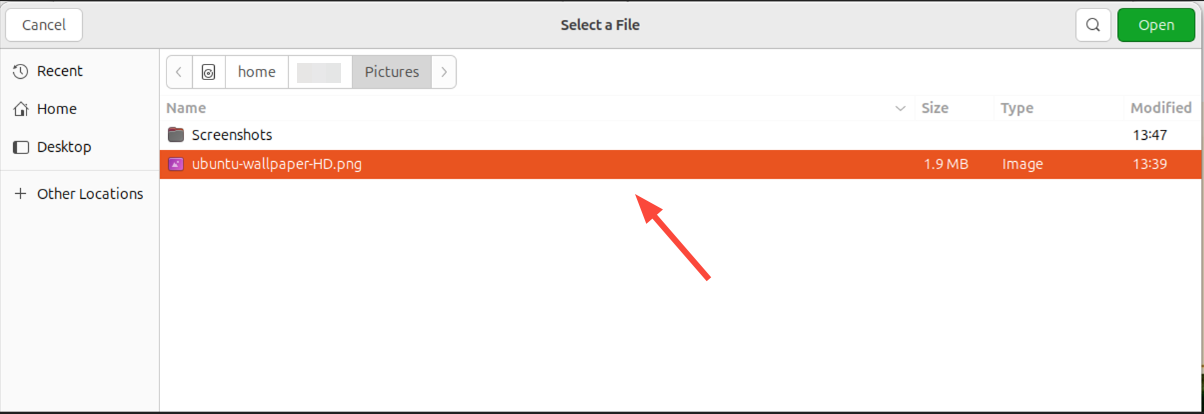
Navigate to the location of the wallpaper or image. Select the image and click Open.
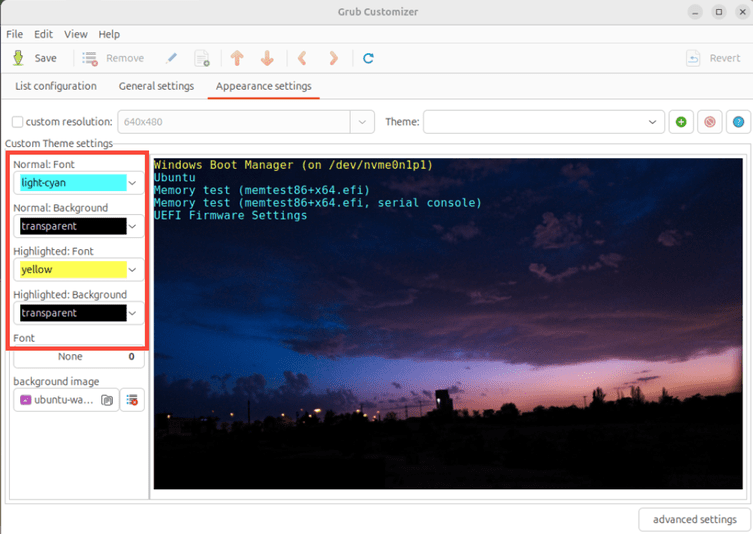
Grub Customizer lets you preview the new-look Grub boot menu, which comes into effect upon restarting your system. The font settings on the left panel allow you to modify the font appearance. Be sure to select the appropriate color settings for the text on the Grub menu to make it stand out when contrasted with the wallpaper or background image. Finally, click Save.
NOTE:
For this to work, ensure the image is in PNG format. If it is in a different format such as JPEG, convert it to PNG before proceeding. Otherwise, the GRUB boot menu will revert to the default black background.
And voila! The changes should reflect upon reboot. We now have a vibrant wallpaper, replacing the plain old black Grub boot screen. In addition, the default OS is now set to Windows. If everything works out, the changes applied to the Grub Customizer should come into effect.

#Conclusion
This tutorial taught you how to install Grub Customizer on Ubuntu 24.04. Grub Customizer provides a user-friendly UI that simplifies modification of GRUB settings without manually editing the GRUB config files.
From here, you can comfortably tweak various GRUB bootloader settings using the Grub Customizer utility. One word of caution: providing incorrect settings could render your Linux system unbootable. Therefore, be mindful of the changes applied and ensure you have a backup copy of all the GRUB configuration files before making any modifications.