How to Install Anaconda on Ubuntu 22.04: A Complete Guide


Are you finding it difficult to manage Python packages or keep track of project dependencies? Anaconda has you covered. This open-source distribution for Python and R makes it simple to manage your environments and packages with ease. It helps you manage dependencies and create reliable, isolated project environments.
This tutorial provides steps for installing Anaconda on your Ubuntu 22.04 server.
#Prerequisites
To follow along, ensure you have the following:
-
An Ubuntu server
-
Familiarity with the Linux terminal
#How to install Anaconda on Ubuntu 22.04
You can install Anaconda using either the interactive mode or the silent mode. In this section, you'll learn how to install Anaconda using the interactive mode. Then, you'll learn the faster approach, which installs everything automatically without any prompts.
Deploy and scale your Python projects effortlessly on Cherry Servers' robust and cost-effective dedicated or virtual servers. Benefit from an open cloud ecosystem with seamless API & integrations and a Python library.
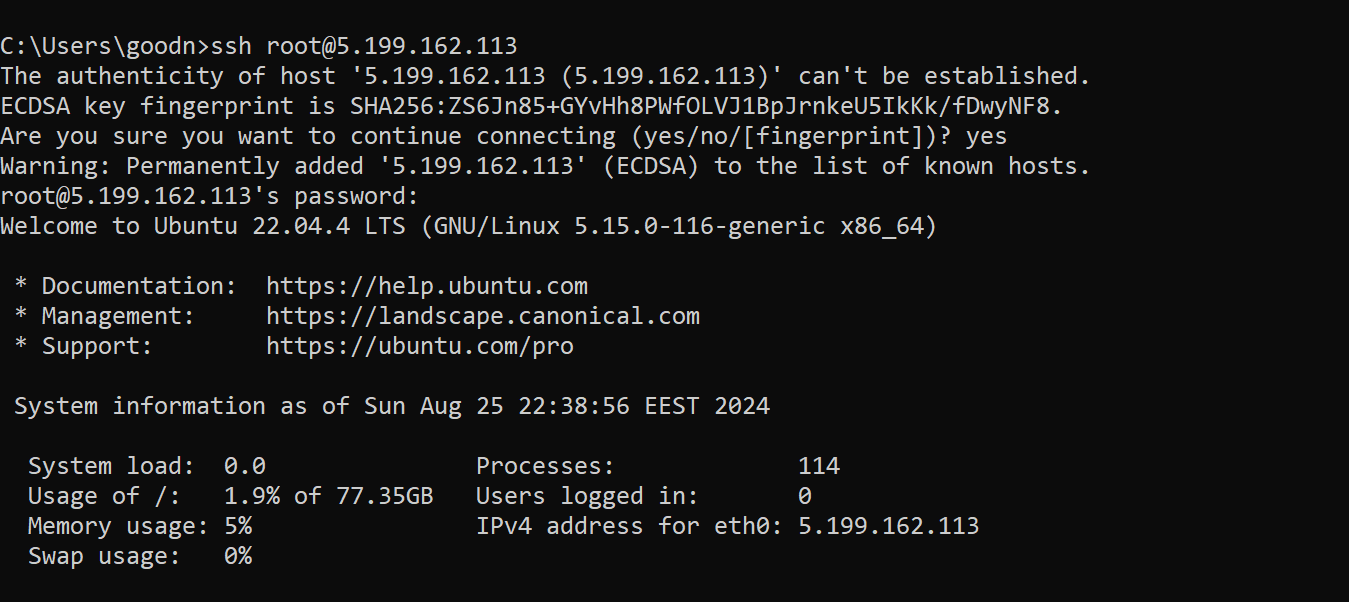
#Step 1: Access the server via SSH
To begin the installation, first log into your server via SSH by running the following command in your local terminal:
ssh user@server-ip
Input your username and the IP address of your server in place of user and server-ip.
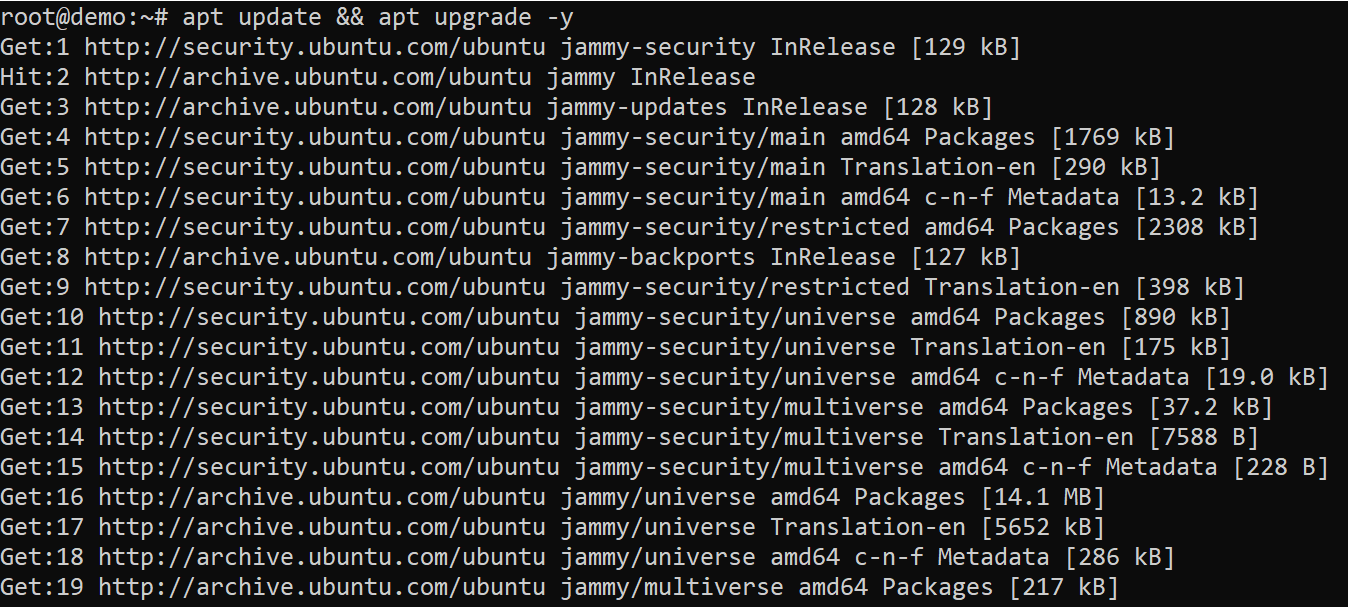
#Step 2: Update system packages
Next, as a good practice, you should ensure your server's system packages are up-to-date. This helps prevent potential issues during the installation process. Refresh the package list and update outdated packages using:
apt update && apt upgrade -y
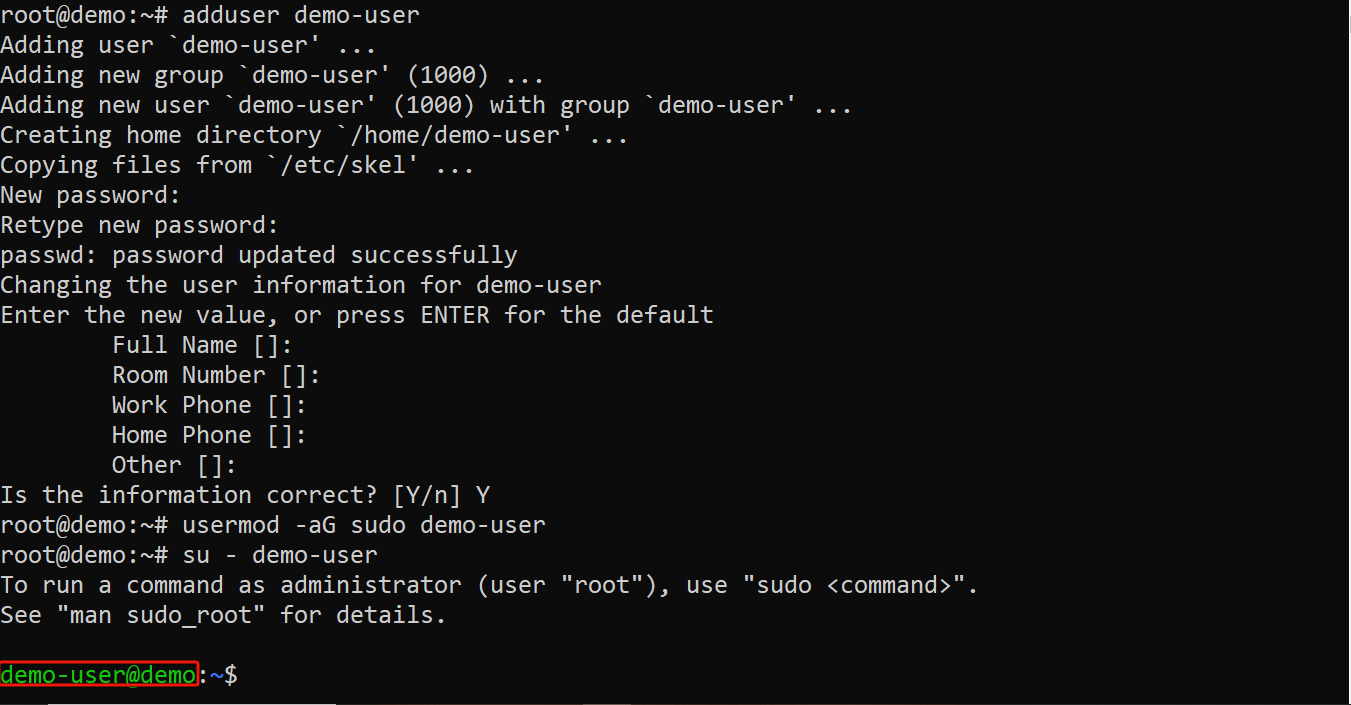
#Step 3: Create a non-root user
You should also create and switch to a non-root user to minimize the risk of accidental changes that could affect the entire system (demo-user is used here).
adduser demo-user
usermod -aG sudo demo-user
su - demo-user
You should now be logged in as demo-user and can proceed with the installation steps.
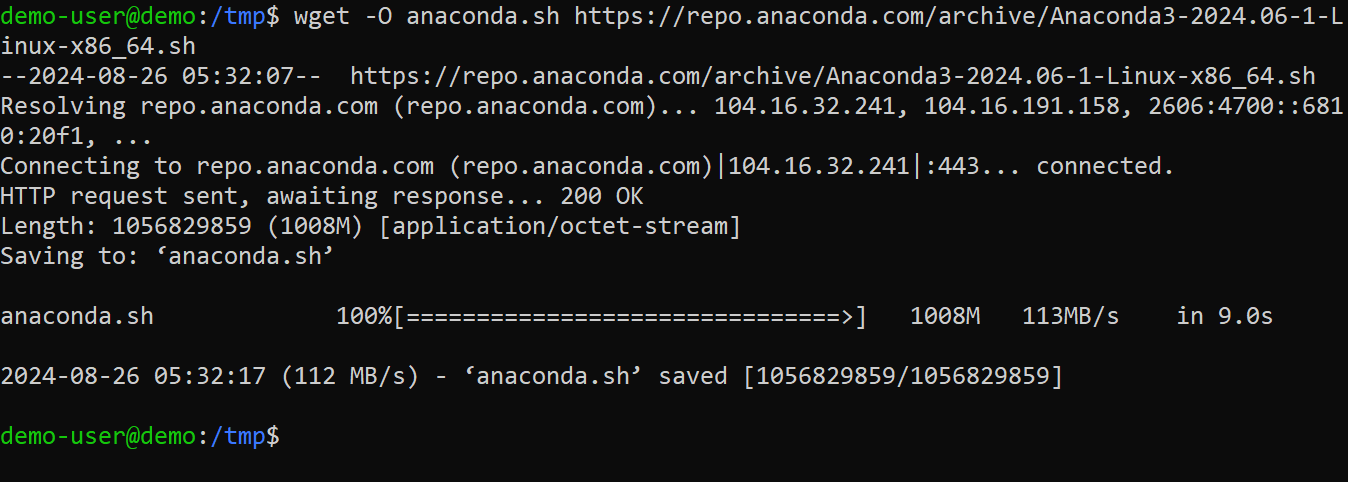
#Step 4: Download the Anaconda installer
Next, download the Anaconda installer script using wget. You can obtain the latest version of the script directly from the Anaconda website.
First, navigate to the /tmp directory to keep your working directory clean:
cd /tmp

Then, download the installer script and rename it to anaconda.sh:
wget -O anaconda.sh https://repo.anaconda.com/archive/Anaconda3-2024.06-1-Linux-x86_64.sh
#Step 5: Verify the download
To make sure the script wasn't corrupted during the download process, confirm its checksum using::
sha256sum anaconda.sh

Compare the checksum you generated with the one provided on the website. If they match, the file is intact and safe to use. If not, re-download the file and verify again.
#Step 6: Install Anaconda
You can continue with the installation if the checksum verification is successful.
Option 1: Interactive installation
Run the script to start the installation process:
bash anaconda.sh
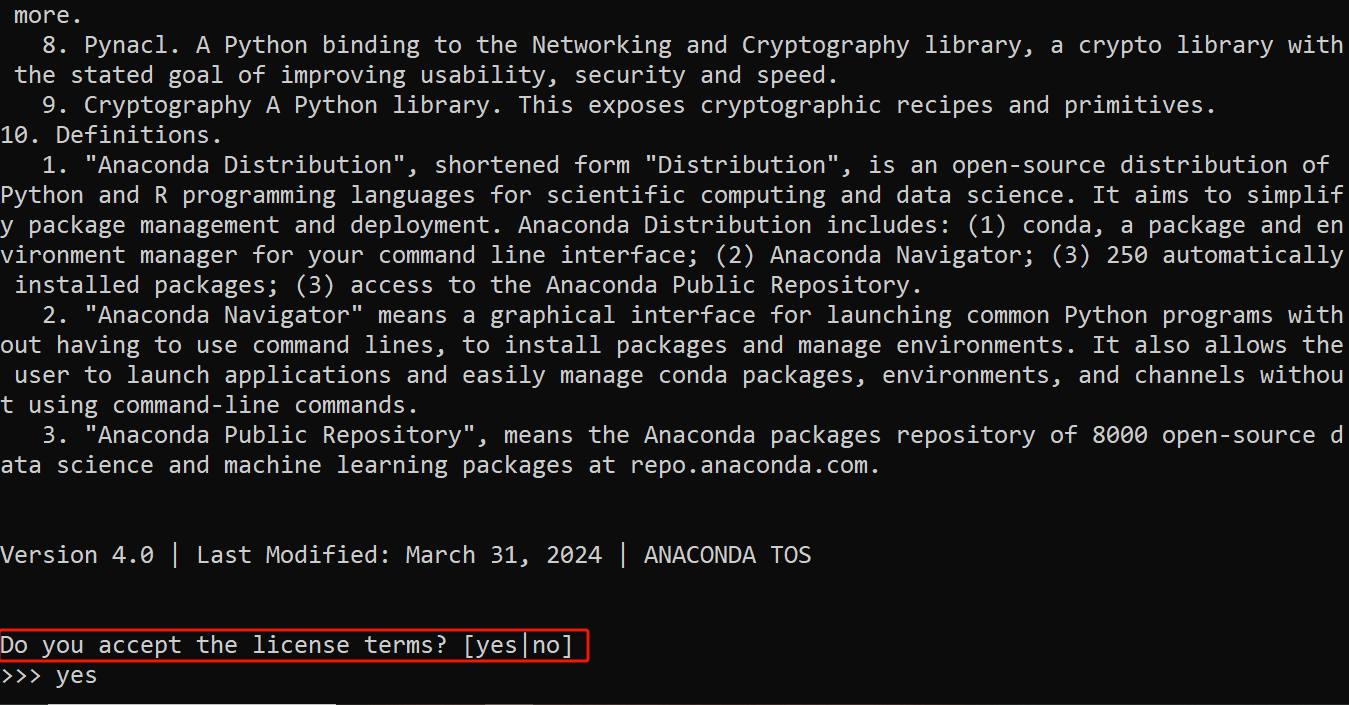
You should see the End User License Agreement displayed. Use the Enter or Down arrow key to read through it. Type YES and hit Enter when asked to accept the agreement.
Next, you'll be asked to provide the installation location. Press Enter to accept the default location (which is your home directory) or indicate a different directory if preferred. After which the installation will start.

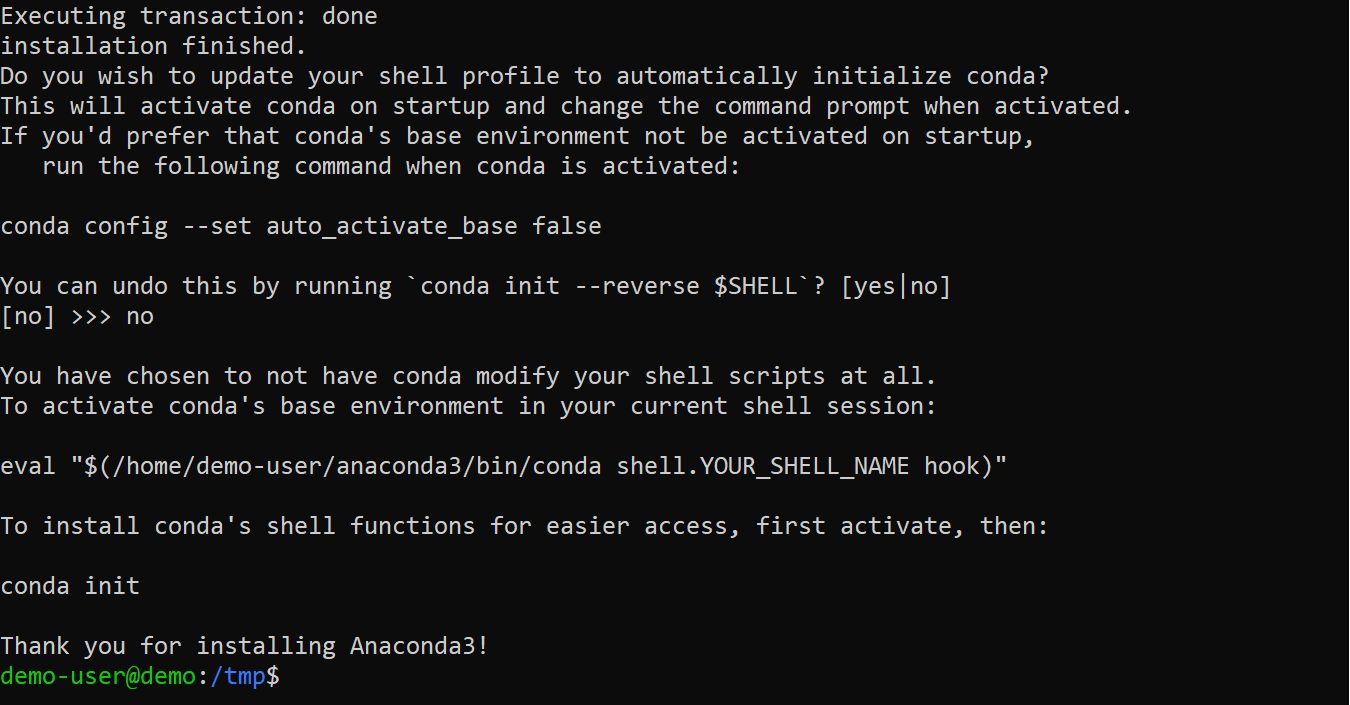
After the installation is complete, you will be prompted to initialize Anaconda. Type YES and press Enter to have Anaconda initialize automatically at startup or type NO if you prefer to activate it manually later.
Option 2: Silent installation
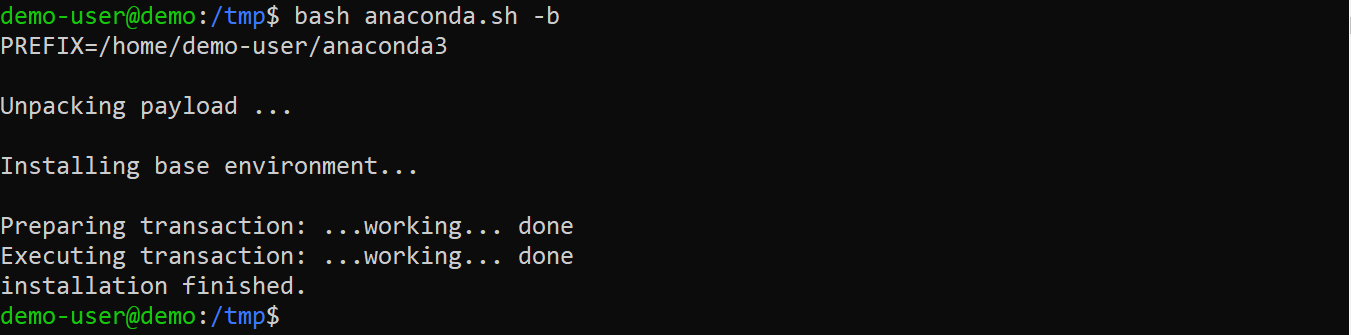
For a faster, non-interactive installation, you can use silent mode with the -b (batch) option:
bash anaconda.sh -b
This option installs Anaconda with default settings (auto-accept of the license agreement and default installation location) and without user prompts.
#Step 7: Initialize Anaconda
If you had installed using the interactive mode and had entered NO to auto-initialization, to initialize Anaconda, run:
source <Path_to_conda>/bin/activate
You should see Anaconda activated and the prompt would change to indicate this.
After activating, run the following to add the shell functions:
conda init
If you had entered YES, it will be initialized automatically (this sets up the environment so that Anaconda's conda command is available in the user's PATH. This usually involves modifying the shell profile to include Anaconda's binary directory in the PATH) but you would have to open another terminal or refresh your current terminal to apply changes made to the bash file using the following command:
source ~/.bashrc
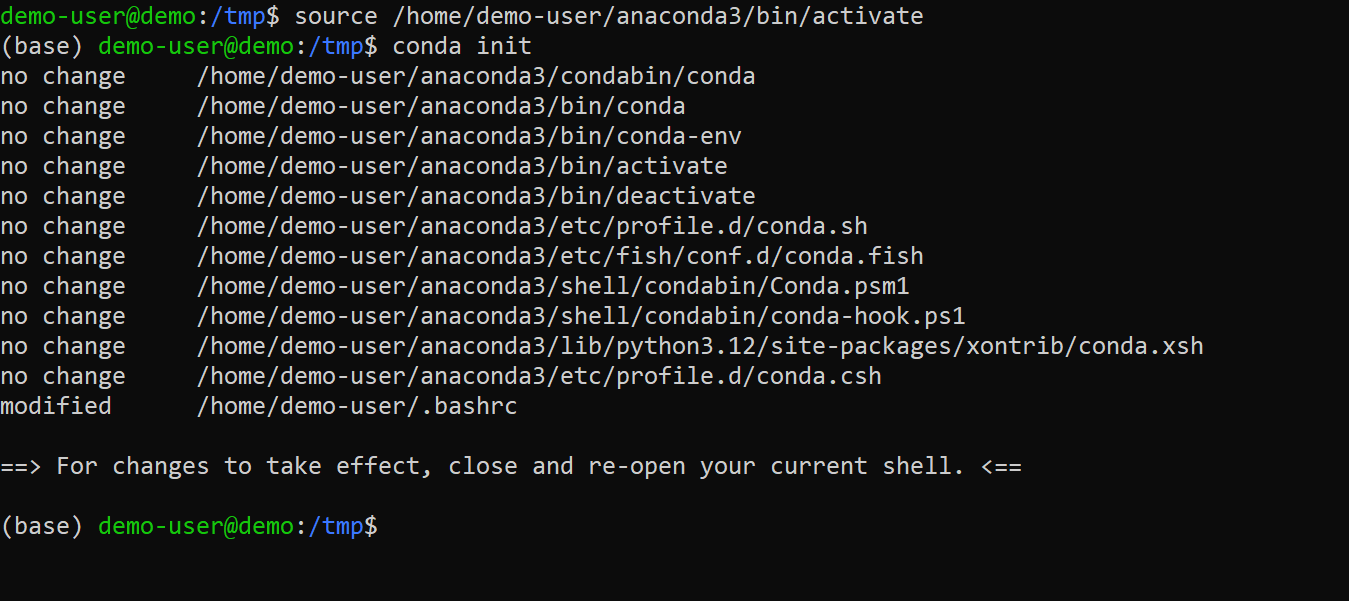
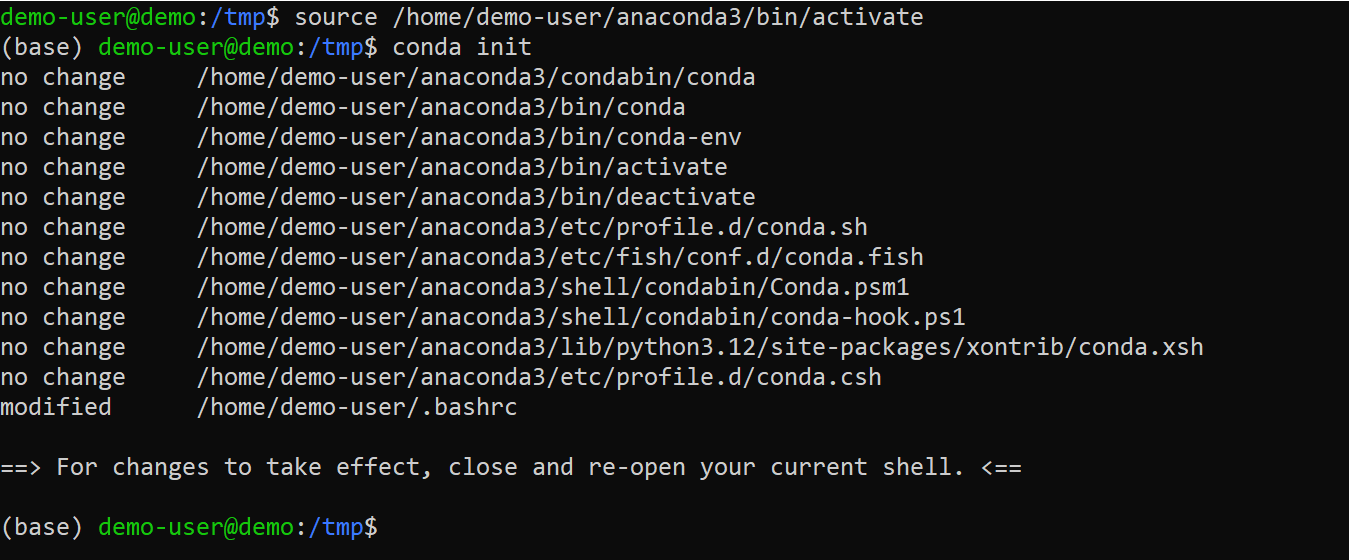
If you installed using the silent mode, activate using:
source <Path_to_conda>/bin/activate
Then add Anaconda's shell functions using:
conda init
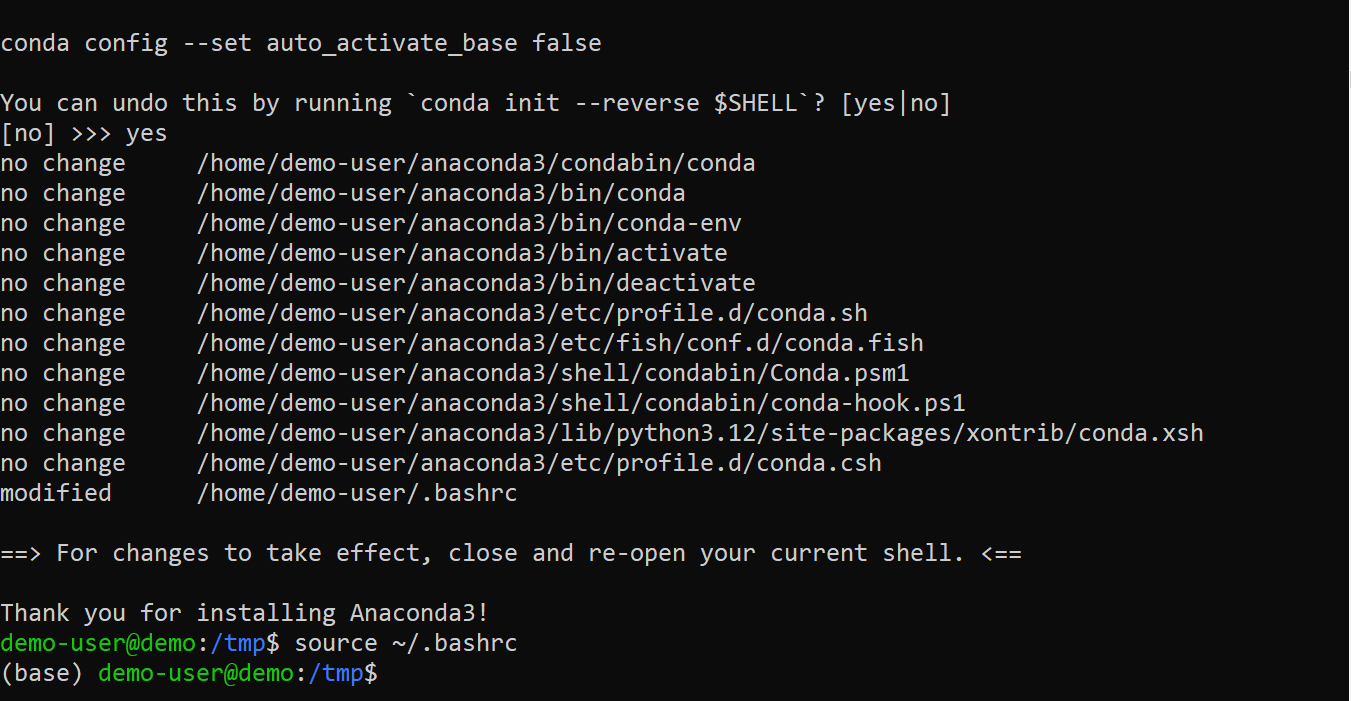
With the installation and activation complete, the base environment will automatically activate each time you open a new terminal. If you prefer not to have the base environment activated by default, you can disable this behavior by running:
conda config --set auto_activate_base False
After doing this, Conda won’t automatically activate the base environment when you open a new terminal. To use Conda, you’ll need to manually activate an environment by running conda activate.
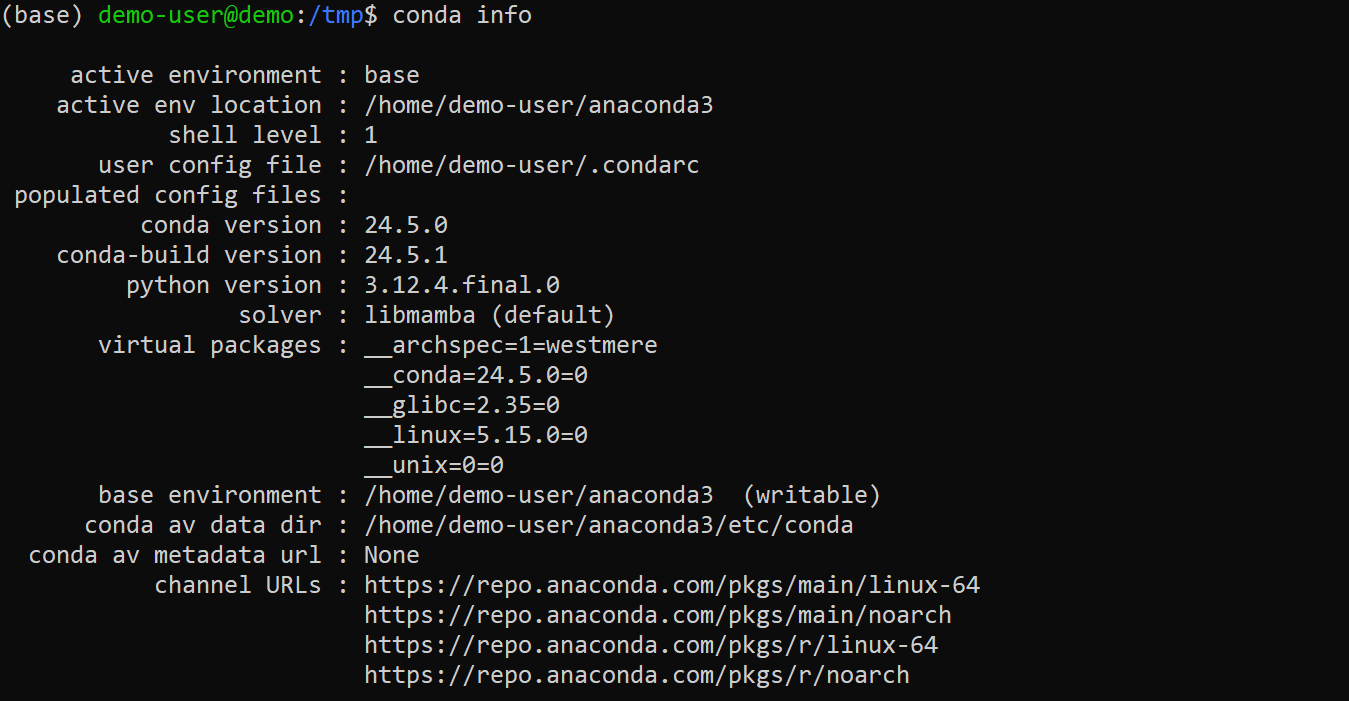
#Step 8: Verify installation
Verify the installation by checking its complete information using:
conda info
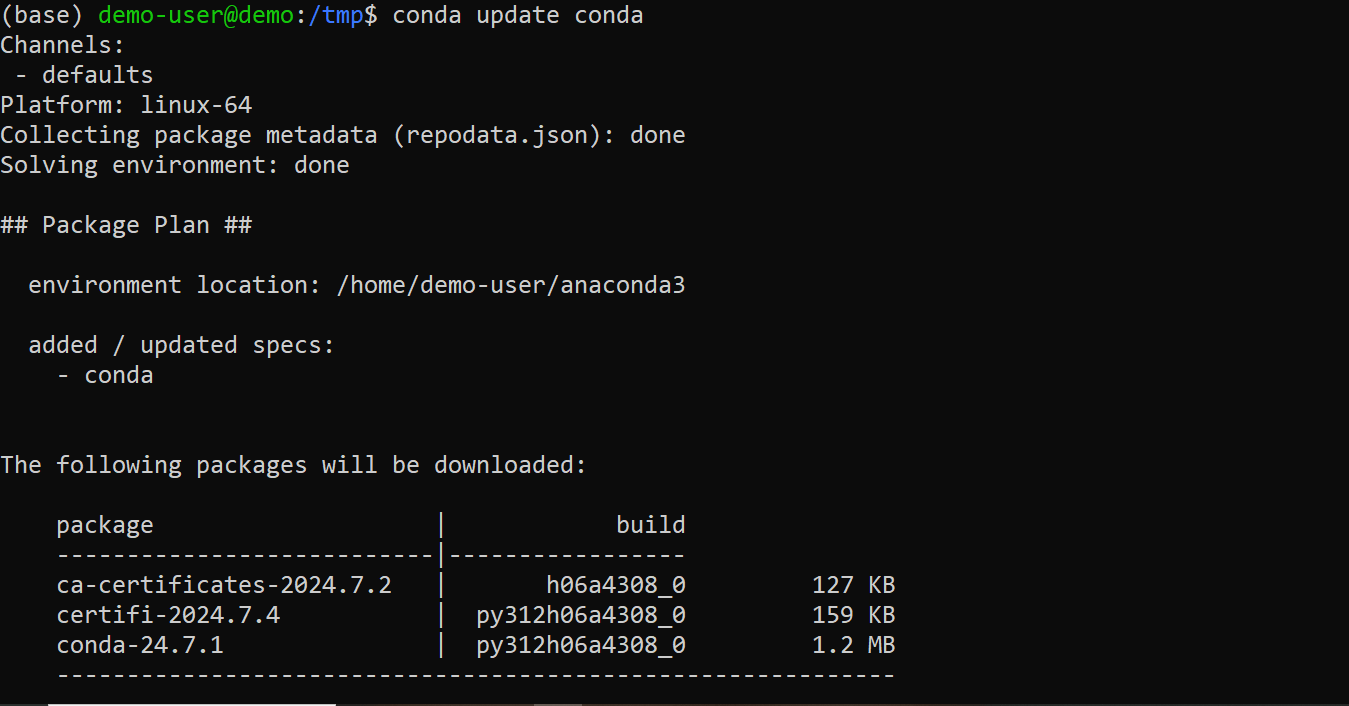
#Update Anaconda
If you've already installed Anaconda and want to upgrade to the latest version, you can do that by running:
conda update conda
#Uninstall Anaconda
If for any reason you want to uninstall Anaconda, execute the following command:
rm -rf ~/anaconda3

To apply the changes, exit your terminal session and open a new one.
#Conclusion
By now, you should have installed Anaconda successfully on your Ubuntu 22.04 system. You now have a powerful tool to manage Python packages and environments.
With Anaconda up and running, why not go on to explore its features and take your projects to the next level? Read how to manage Conda environments.