How to Run a Polygon Node? | Step-by-Step

Polygon was created to offer a faster solution to Ethereum's scaling problems. It allows you to execute Ethereum transactions faster and at a much lower cost while benefiting from Ethereum's security. By running your node, you’ll be able to interact with the Polygon network more efficiently without relying on third-party services.
This article will walk you through running your own Polygon node and help you utilize Polygon's capabilities. By the end of this guide, you should have a clear, step-by-step process to set up and run a Polygon node without any unnecessary complexity.
#Prerequisites
To run a Polygon node, ensure your system meets at least the minimum requirements.
Minimum system requirements:
-
RAM: 32 GB
-
CPU: 8-core
-
Storage: 2.5 TB SSD
Recommended system requirements:
-
RAM: 64 GB
-
CPU: 16-core
-
Storage: 5 TB SSD
-
Bandwidth: 1 Gbit/s
This demonstration uses a dedicated server provided by Cherry Servers.
Set up your Web3 server in minutes
Optimize cost and performance with custom or pre-built dedicated bare metal servers for blockchain workloads. High uptime, instant 24/7 support, pay in crypto.
#Understanding Polygon nodes
This section provides an overview of Polygon nodes, their types, and the architecture of the Polygon network.
#What is a Polygon node
A Polygon node is a computer that participates in the Polygon network. It processes transactions, validates blocks, and helps maintain the network's security.
The Polygon network is divided into three layers:
-
The Ethereum layer: This consists of a set of smart contracts deployed on the Ethereum mainnet.
-
The Heimdall layer: This is the Proof of Stake (PoS) layer made up of Heimdall nodes that run in parallel with Ethereum.
-
The Bor layer: Bor is responsible for block production.
#Types of Polygon nodes
There are two main types of Polygon nodes:
-
Full nodes: These store a copy of the blockchain and help validate transactions. They can be pruned (storing recent data only) or archived (storing all historical data).
Criteria for selecting a full node:
-
Goals: If your goal is to support the network by validating transactions without participating in block production.
-
Resources: Pruned nodes are more suited for those with limited storage, while archive nodes are best if you need the complete blockchain history and can handle more storage demands.
-
Risk/Rewards: Full nodes do not directly earn rewards like validator nodes. The risk is minimal as they do not engage in consensus but still play a critical role in network security.
-
-
Validator nodes: These participate in consensus by proposing, validating, and producing new blocks. Running a validator node requires staking MATIC tokens and meeting specific requirements.
Criteria for selecting a validator node:
-
Goals: Choose this if your goal is to actively participate in securing the network and earn rewards for your contribution.
-
Resources: Validator nodes require higher computational power, reliable uptime, and a financial stake (MATIC tokens). This option is best suited for those who can meet the technical and staking requirements.
-
Risks/Rewards: Validator nodes can earn staking rewards, but they come with more responsibility. Downtime or failure to meet requirements could result in penalties, making it a higher-risk, higher-reward option.
-
#How to run a Polygon node
This section outlines the steps for setting up a Polygon node. It covers a testnet (Amoy) demonstration and provides the instructions and commands to run a node on the mainnet. You can run a Polygon node in various ways, such as using Docker, binaries, Ansible, GCP, or packages. However, this guide will focus on using binaries.
#Step 1: Connect to the server
Start by accessing the server where your Polygon node will run.
ssh user@server_ipaddress
Replace user with your server's username and server_ipaddress with your server's IP address.
#Step 2: Update system software and install build-essentials
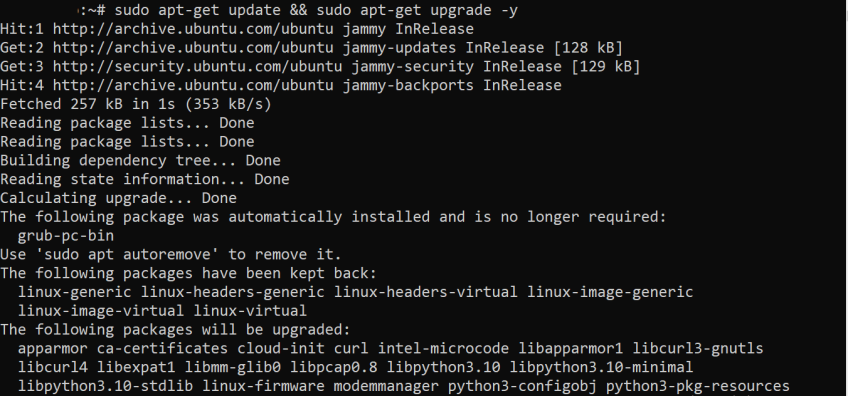
Before setting up the node, it’s important to ensure your server is up to date and has the necessary tools for building software.
Update the system’s package list and upgrade all existing software:
sudo apt-get update && sudo apt-get upgrade -y
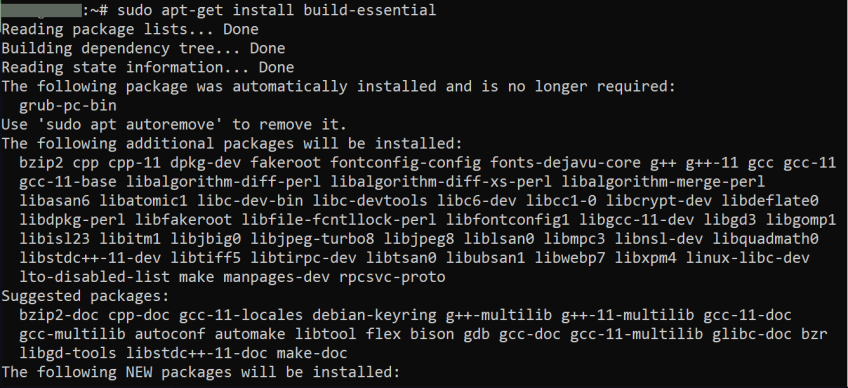
Install essential tools needed for compiling software:
sudo apt-get install build-essential -y
#Step 3: Open the required ports and enable the firewall
To allow your Polygon node to communicate with the network, it's necessary to open specific ports and enable the firewall for security.
sudo ufw allow 26656
sudo ufw allow 30303
sudo ufw allow 22/tcp
sudo ufw enable
#Step 4: Install & configure Heimdall
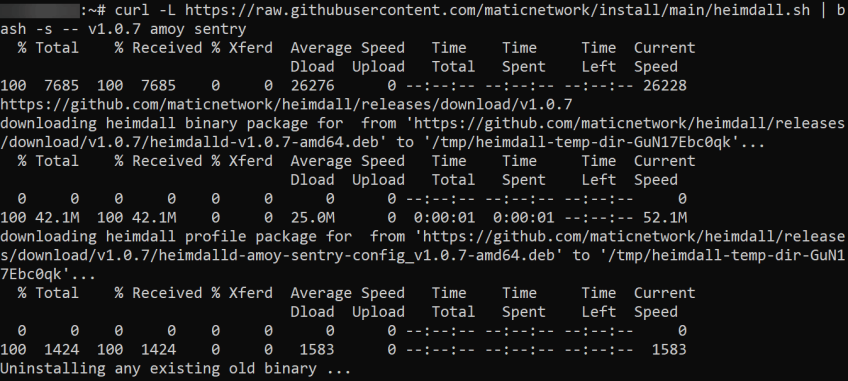
Next, you need to install and configure Heimdall. You can install using:
curl -L https://raw.githubusercontent.com/maticnetwork/install/main/heimdall.sh | bash -s -- <heimdall_version> <network_type> <node_type>
Replace <heimdall_version>, <network_type>, and <node_type> with the appropriate values for your setup:
-
<heimdall_version>: Specify the version of Heimdall you wish to install. -
<network_type>:mainnetoramoy. -
<node_type>:sentry
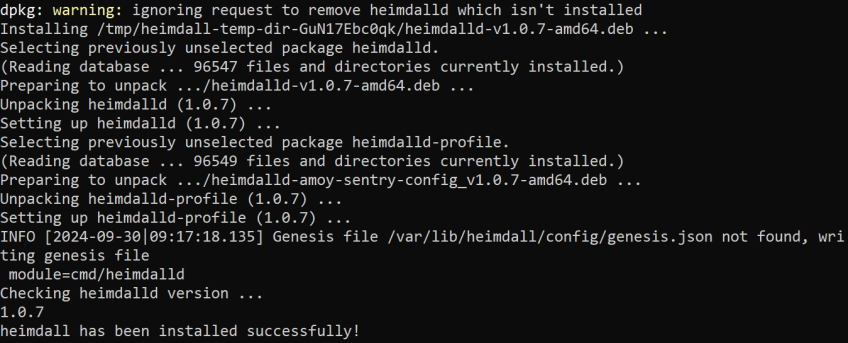
This command will have heimdalld and heimdallcli binaries installed.
You can confirm the installation using:
heimdalld version --long
After downloading the Heimdall binary, you need to configure the seeds. For mainnet, update the seeds in the configuration file using the following command:
sed -i 's|^seeds =.*|seeds = "1500161dd491b67fb1ac81868952be49e2509c9f@52.78.36.216:26656,dd4a3f1750af5765266231b9d8ac764599921736@3.36.224.80:26656,8ea4f592ad6cc38d7532aff418d1fb97052463af@34.240.245.39:26656,e772e1fb8c3492a9570a377a5eafdb1dc53cd778@54.194.245.5:26656,6726b826df45ac8e9afb4bdb2469c7771bd797f1@52.209.21.164:26656"|g' /var/lib/heimdall/config/config.toml
This command modifies the config.toml file to include the necessary seed nodes for the mainnet.
Then change the ownership of the Heimdall configuration directory to the Heimdall user.
chown heimdall /var/lib/heimdall
This ensures that the Heimdall user has the proper permissions to access and modify the configuration files.
If you downloaded the Heimdall binary for the Amoy testnet, you do not need to manually configure the seeds, as they are already included in the genesis configuration. You can proceed without making any changes to the seed configuration.
#Step 5: Install & configure Bor
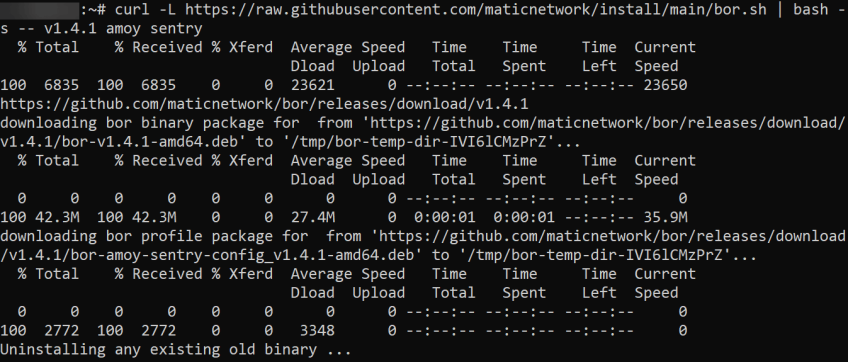
With Heimdall installed, You can proceed to install Bor using the following command:
curl -L https://raw.githubusercontent.com/maticnetwork/install/main/bor.sh | bash -s -- <bor_version> <network_type> <node_type>
-
<bor_version>: Specify the version of Bor you want to install. -
<network_type>:mainnetoramoy. -
<node_type>:sentry
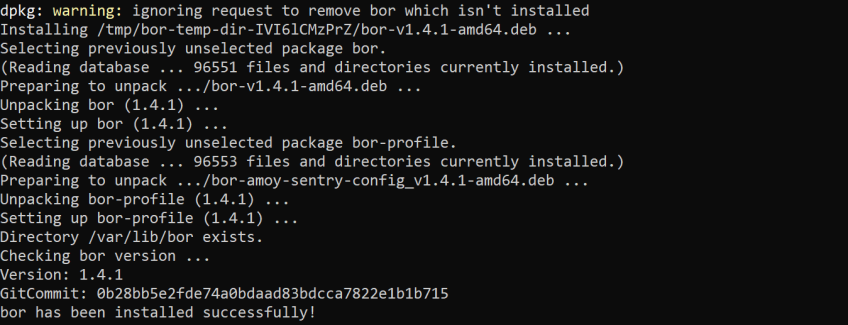
This command will download and install the Bor binary on your server.
You can confirm Bor installation using:
bor version
If you downloaded the Bor binary for the mainnet, you'll need to configure the Bor seeds in the config.toml file. Use the following commands:
sed -i 's|.*\[p2p.discovery\]|  \[p2p.discovery\] |g' /var/lib/bor/config.toml
sed -i 's|.*bootnodes =.*|    bootnodes = ["enode://b8f1cc9c5d4403703fbf377116469667d2b1823c0daf16b7250aa576bacf399e42c3930ccfcb02c5df6879565a2b8931335565f0e8d3f8e72385ecf4a4bf160a@3.36.224.80:30303", "enode://8729e0c825f3d9cad382555f3e46dcff21af323e89025a0e6312df541f4a9e73abfa562d64906f5e59c51fe6f0501b3e61b07979606c56329c020ed739910759@54.194.245.5:30303"]|g' /var/lib/bor/config.toml
Then change the ownership of the configuration directory to the Bor user:
chown bor /var/lib/bor
For the Amoy testnet, the Bor seeds are already included in the genesis configuration, so manual configuration is not required. You can proceed without any additional steps for seed configuration.
#Step 6: Update service permission
To ensure that the services have the necessary permissions to run smoothly, update the user permissions for both Heimdall and Bor services by modifying their systemd service files. Use the following commands:
sed -i 's/User=heimdall/User=root/g' /lib/systemd/system/heimdalld.service
sed -i 's/User=bor/User=root/g' /lib/systemd/system/bor.service
#Step 7: Start Heimdall service
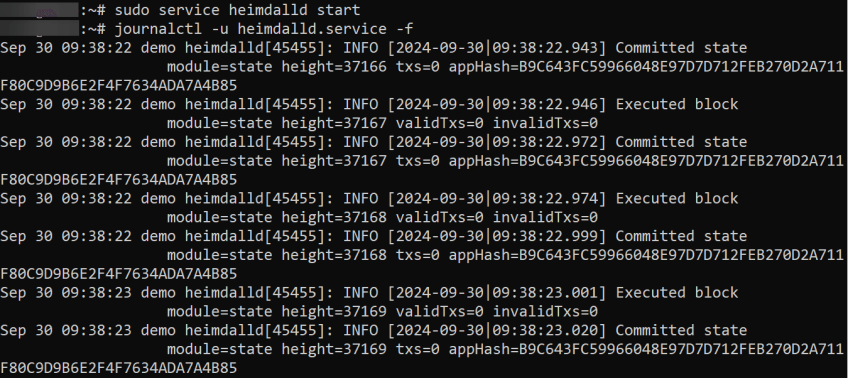
Start the Heimdall service using the following command:
sudo service heimdalld start
You can check the logs to ensure that the node is running as expected using:
journalctl -u heimdalld.service -f
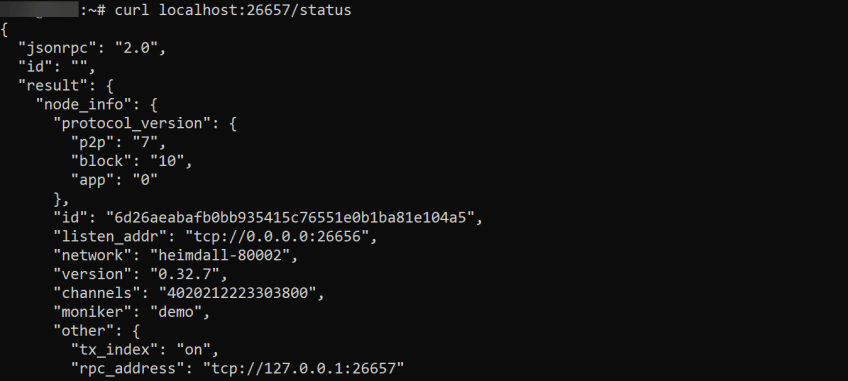
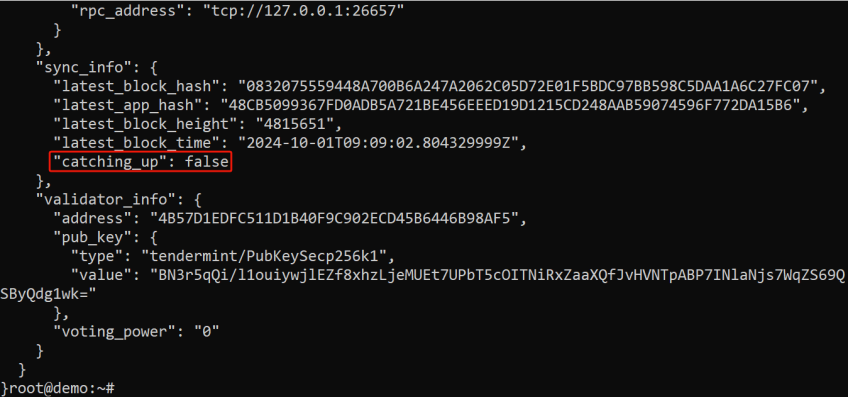
To check if the Heimdall node is synced, run the following command:
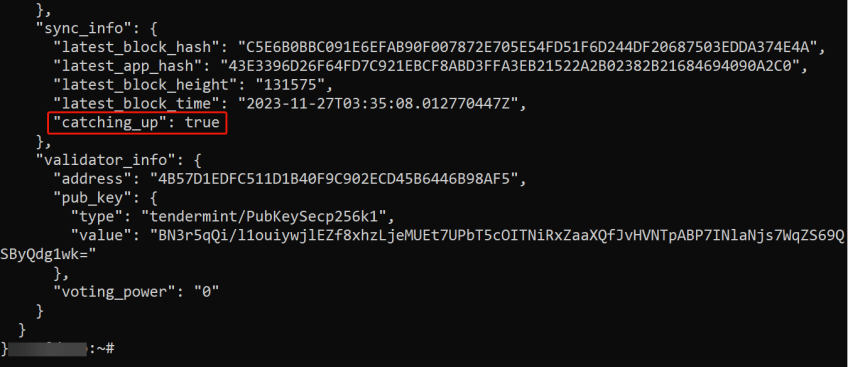
curl localhost:26657/status
If the output shows "catching_up": true, it means the node is still syncing with the network.
Once the sync is complete, "catching_up" will change to false, indicating that the Heimdall node is fully up-to-date.
Syncing the node from scratch can take several days. To significantly speed up the process, you can use a snapshot of the blockchain data instead.
Before downloading the snapshot, stop the Heimdall service:
sudo service heimdalld stop
For this guide, the snapshot will be downloaded from PublicNode, but you can also use platforms like Stakecraft, Stakepool, or Vaultstaking.
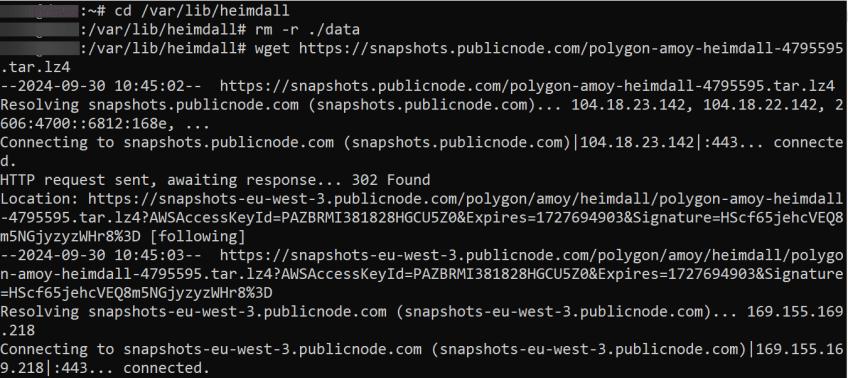
Navigate to where the Heimdall node data is stored, remove the existing data directory and all its contents, and then download the snapshot:
cd /var/lib/heimdall
rm -r ./data
wget https://snapshots.publicnode.com/polygon-amoy-heimdall-4795595.tar.lz4
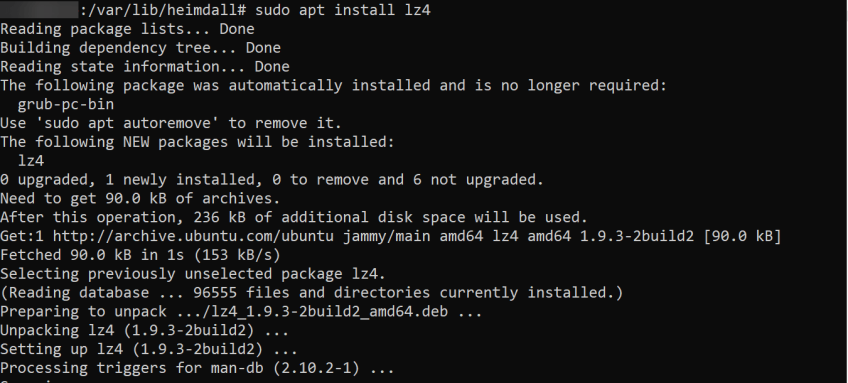
Install lz4 if it’s not already available, and extract the snapshot:
sudo apt install lz4

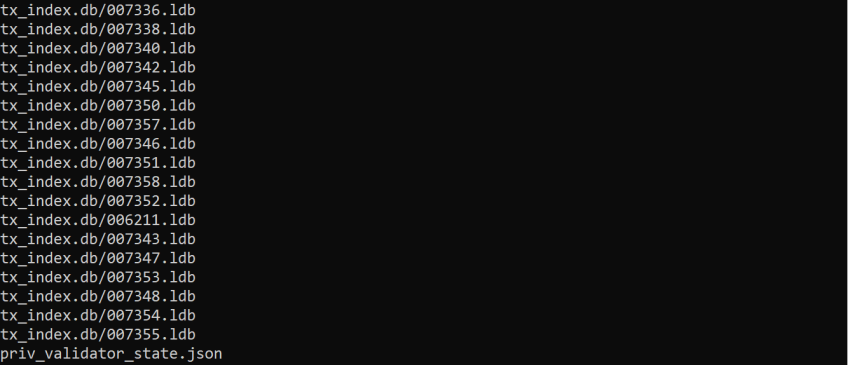
lz4 -d polygon-amoy-heimdall-4795595.tar.lz4 | tar xvf -
After extracting the files, ensure the correct ownership of the data directory:
sudo chown -R heimdall:nogroup /var/lib/heimdall
Restart the Heimdall service and keep checking the node status until the value of "catching_up" becomes false.
Once it becomes false, you can start the bor service.
#Step 8: Start the Bor service
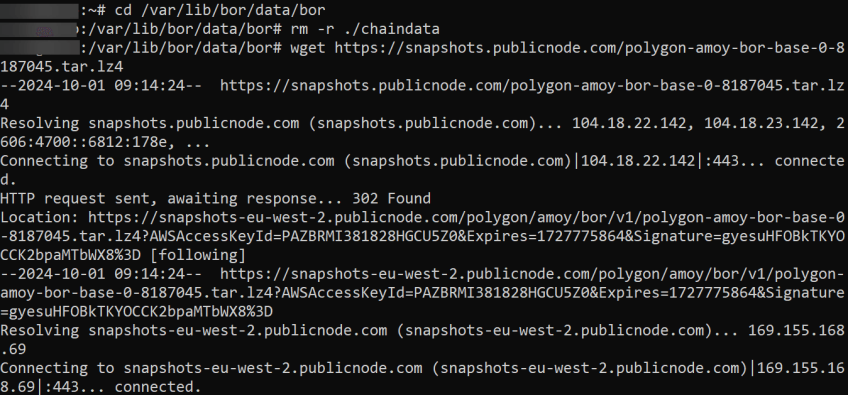
As with the Heimdall service, download a snapshot for Bor node:
cd /var/lib/bor/data/bor
rm -r ./chaindata
wget https://snapshots.publicnode.com/polygon-amoy-bor-base-0-8187045.tar.lz4
Extract the snapshot files:
lz4 -d polygon-amoy-bor-base-0-8187045.tar.lz4 | tar xvf -
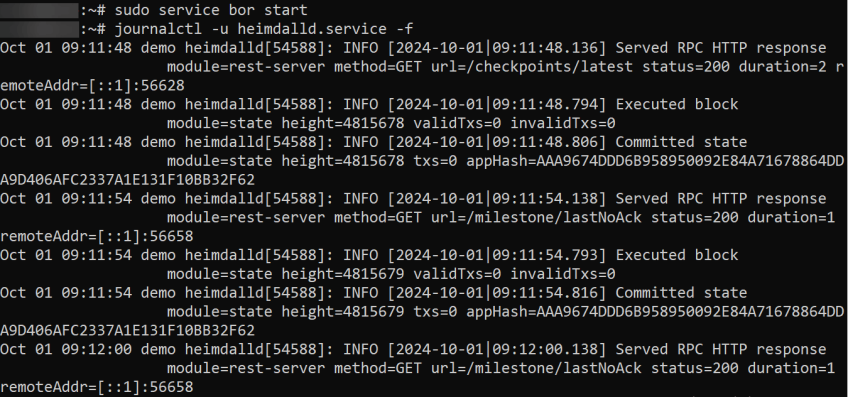
Now start the Bor service and monitor the logs to ensure that it is syncing :
sudo service bor start
journalctl -u bor.service -f
Latency from 30ms to 5ms with Cherry Servers
Read how ELSOUL LABO, leading Solana RPC provider, reduced latency from 30 ms to 5 ms with Cherry Servers' high-performance dedicated bare metal, ensuring optimal performance for their users.
#Conclusion
Running a Polygon node is a valuable contribution to the network's decentralization and security. Following the steps outlined above, you can easily run a Polygon node. Once synced, your node will be fully operational and able to process transactions and interact with the Polygon network.
| Read Next |
|---|
| How to run an Solana node |
| How to become a Solana validator |
| How to run an Ethereum node |
| How to run a Bitcoin node |
| what is a blockchains server |
High egress costs and lost transactions?
Switch to blockchain-optimized dedicated bare metal—save up to 60% on your cloud bill and double the performance compared to hyperscale cloud.
We accept Bitcoin and other popular cryptocurrencies.

