How to Run a Lightning Node [Requirements + Steps]

![How to Run a Lightning Node [Requirements + Steps]](/v3/img/containers/blog_main/blockchain.jpg/0ee7c10cd1b2699b0fec51a87d63af75/blockchain.jpg?id=1739046670)


#How To Run a Lightning Node | Step-by-Step
Running a Lightning Network node lets you participate in Bitcoin’s Layer-2 solution, enabling fast, low-cost transactions while earning fees and enhancing decentralization. This guide covers what a Lightning node is, why you should run one, hardware and software requirements, installation, syncing, opening channels, and routing payments.
#What is a Lightning node?
A Lightning Node is a server that connects to the Lightning Network and helps process Bitcoin transactions off the main blockchain using payment channels. Running your own node gives you more control over your transactions, improves privacy, and helps make Bitcoin faster and cheaper to use. It also supports the network’s growth by increasing liquidity and decentralization, and you can even earn small fees by routing payments between other users.
#How to become a Lightning node operator?
To operate a Lightning Node, you will need to install the hardware and software necessary, connect with nodes, and maintain your node so that it performs its best. The following sections will guide you through the requirements and the steps.
#Bitcoin Lightning Node Requirements
Running a Lightning node requires a balance of CPU power, RAM, storage, and bandwidth for optimal performance. Below are the recommended setups based on your use case, including cost-saving options for those who prefer connecting to a remote Bitcoin node.
#1. High-Performance Setup (AMD Ryzen 7700X) – Best for Full Bitcoin + Lightning Node
✅ Best for:
- Running a full Bitcoin node + Lightning node with high routing volume.
- Users who want maximum control, privacy, and earning potential from routing fees.
- Future-proofing for large channel liquidity and network growth.
🔧 Recommended Hardware (Cherry Servers Ryzen 7700X)
- CPU: AMD Ryzen 7700X (8 cores / 16 threads @ 4.5GHz)
- Lightning nodes require fast signature validation and multi-threaded channel management. This CPU handles 100+ channels efficiently.
- RAM: 64GB DDR5 (expandable to 128GB)
- Ensures smooth operation even during high transaction spikes (caching routes, channel states, and mempool data).
- Storage: 2x 1TB NVMe SSD (RAID 0 optional for speed)
- A full Bitcoin node requires ~600GB+ (growing over time). NVMe ensures fast blockchain sync and low-latency payments.
- Bandwidth: 3Gbps uplink / 100TB monthly traffic
- Lightning nodes constantly communicate with peers. High bandwidth prevents bottlenecks when routing transactions.
💡 Why This Spec?
- No bottlenecks – Can handle enterprise-grade routing with thousands of transactions.
- Full self-custody – No reliance on third-party Bitcoin nodes.
- Earn more fees – High uptime and liquidity attract more routing volume.
#2. Mid-Range Setup (For Pruned Bitcoin Node + Lightning)
✅ Best for:
- Users who want a balance between cost and performance.
- Running a pruned Bitcoin node (~5GB storage) + Lightning.
🔧 Recommended Hardware (Cherry Servers CC2)
- CPU: 4 vCores
- RAM: 8GB
- Storage: 160GB NVMe SSD
- Bandwidth: Unmetered 1Gbps
💡 Why This Spec?
- Cheaper than bare metal but still powerful.
- Pruning reduces storage needs (no 500GB+ requirement).
- Good for small/medium routing (~10-50 channels).
#3. Budget Setup (Lightning-Only, Remote Bitcoin Node)
✅ Best for:
- Users who don’t want to run a Bitcoin node (saves cost and setup time).
- Personal use or low-volume routing.
🔧 Recommended Hardware (Cherry Servers CC1)
- CPU: 2 vCores
- RAM: 4GB
- Storage: 80GB NVMe SSD (Lightning DB only, no blockchain)
- Bandwidth: Unmetered 100Mbps+
💡 Why This Spec?
- Lowest cost (~$10/month)—ideal for beginners.
- Uses Neutrino or Electrum to connect to remote Bitcoin nodes.
- Still non-custodial (you control your Lightning funds).
For this demonstration, a high-performance AMD Ryzen 7700X Bare Metal Server from Cherry Servers was used to ensure optimal Lightning node performance.
Note: we will be using SSH to connect to the remote server from our local terminal; you can check out how to configure ssh while setting up the server here
#How to run a Lightning node: Step-by-step
Follow the below steps to run a Lightning node, everything is split into smaller steps to make instructions as clear as possible.
#Step 1: Open a terminal on your computer
To begin, open your local computer's terminal - we'll use it for initial setup before connecting to your remote Lightning node server. Keep this terminal open as we'll need it for the SSH connection next.
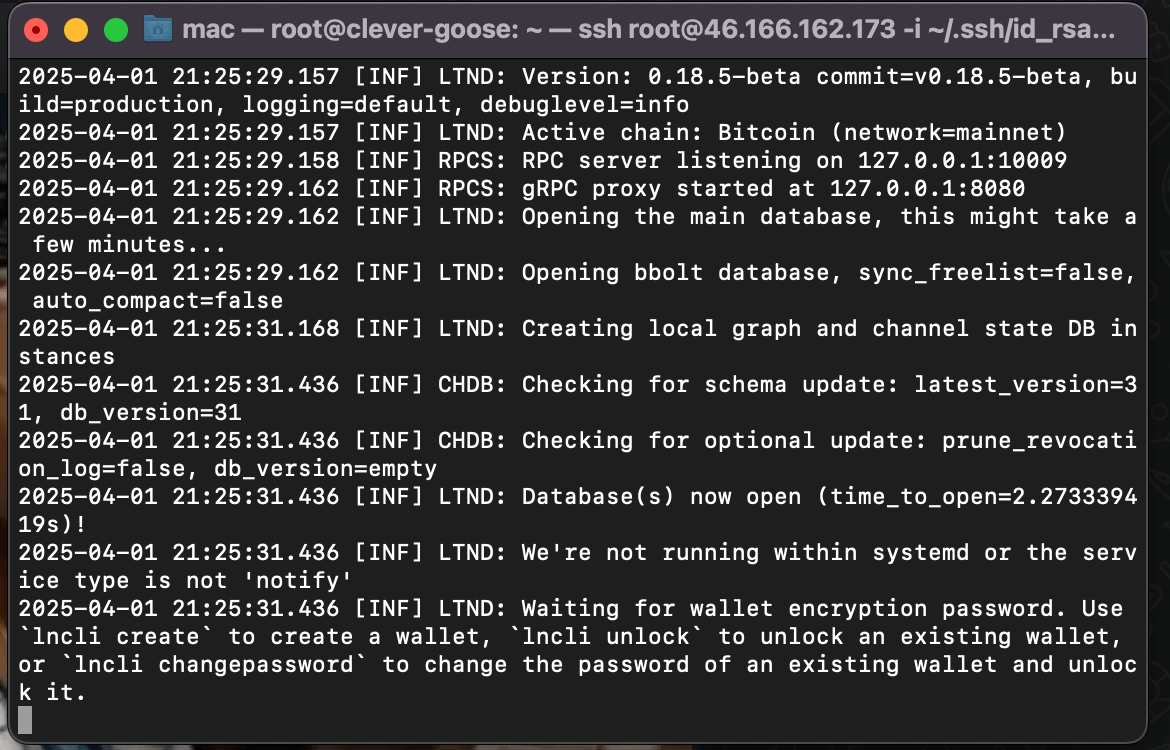
#Step 2: Connect to your remote server via SSH
Run the below command on your local terminal to connect to the remote server:
ssh root@<your-server-ip> -i ~/.ssh/id_rsa
Replace <your-server-ip> with your server’s primary IP address.
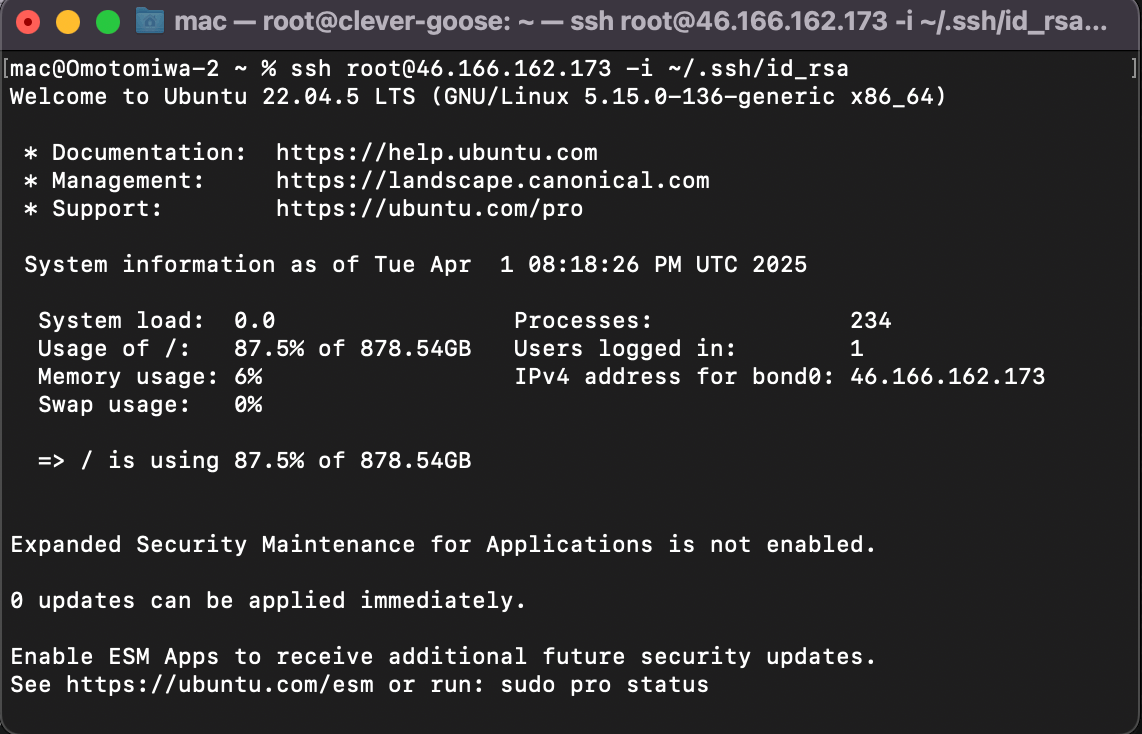
Note that for this step to work successfully, you should have generated an SSH key and added the SSH public key to your remote server. You should see some logs like the below images after running the above command.

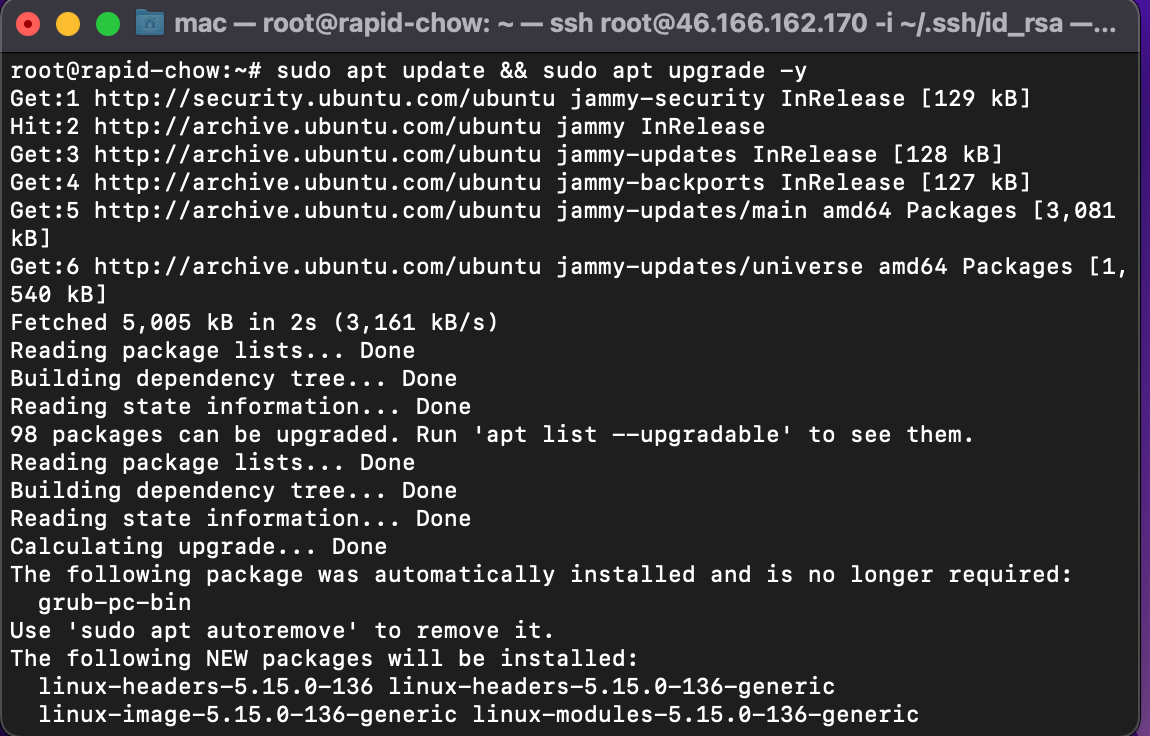
#Step 3: Update System Packages & Install Dependencies
Run these commands to ensure your server is up-to-date:
sudo apt update && sudo apt upgrade -y
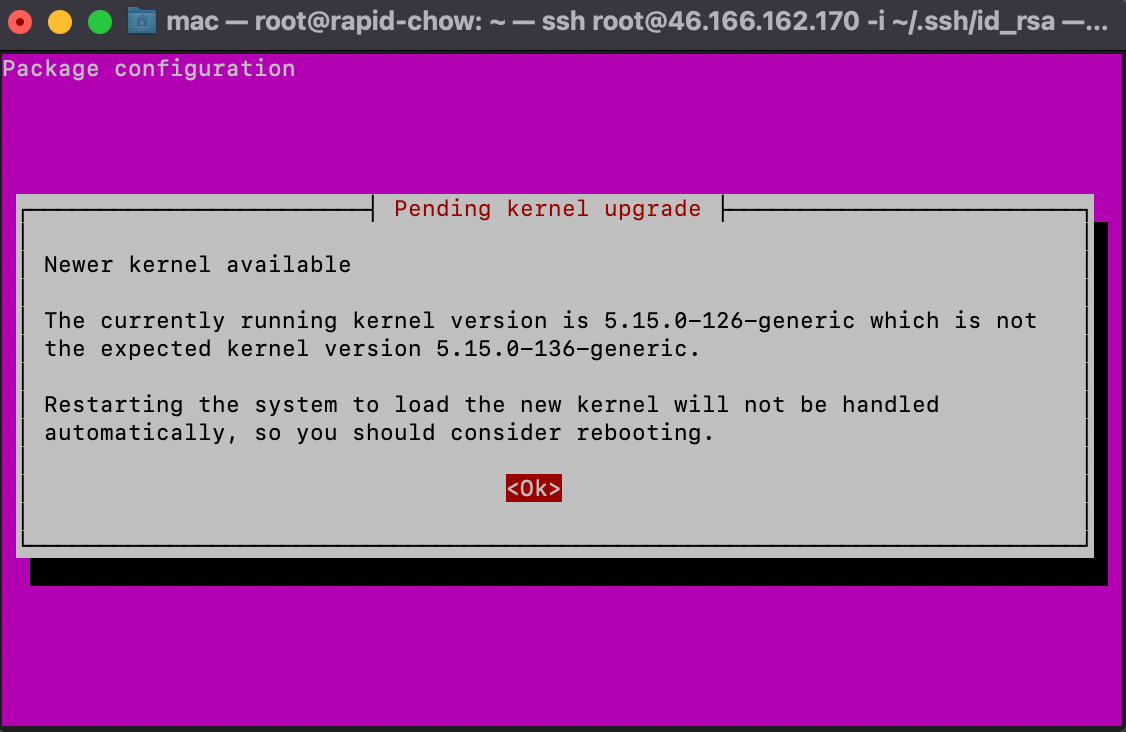
Optional: Reboot if kernel updates were applied:
sudo reboot
#Step 4: Install Bitcoin Core (Full Node)
Since Lightning relies on Bitcoin, you need a fully synced Bitcoin node first.
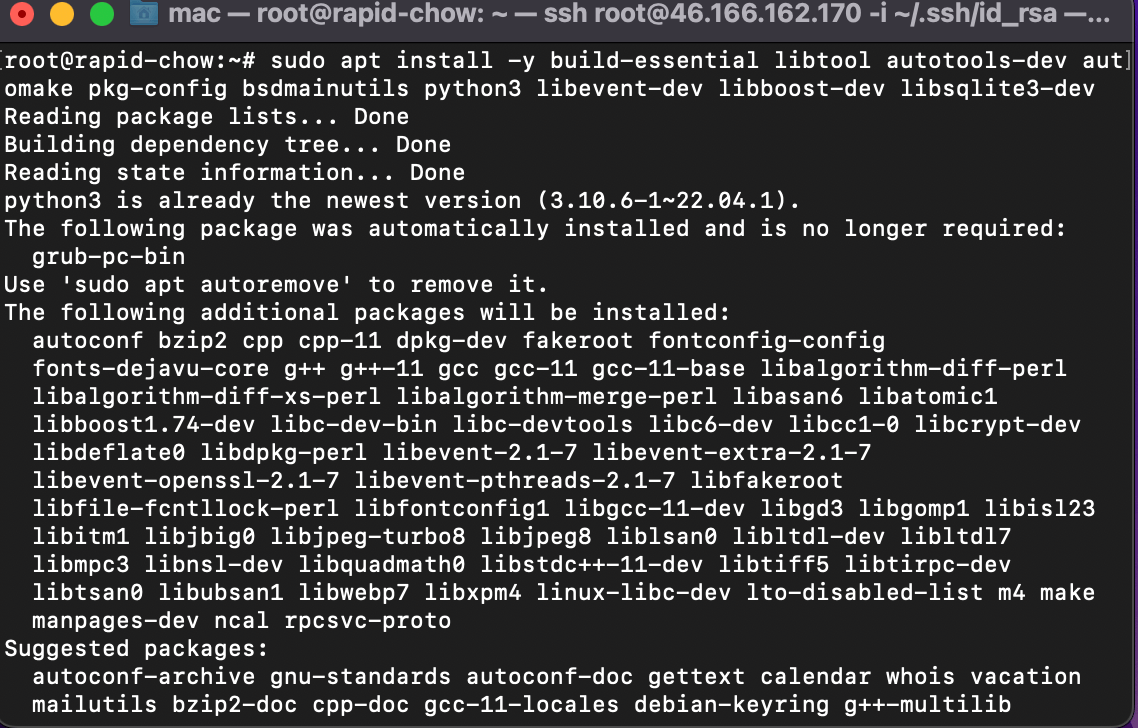
Install dependencies:
sudo apt install -y build-essential libtool autotools-dev automake pkg-config bsdmainutils python3 libevent-dev libboost-dev libsqlite3-dev
Download and install Bitcoin Core:
wget https://bitcoincore.org/bin/bitcoin-core-28.1/bitcoin-28.1-x86_64-linux-gnu.tar.gz

tar -xzf bitcoin-28.1-x86_64-linux-gnu.tar.gz

sudo install -m 0755 -o root -g root -t /usr/local/bin bitcoin-28.1/bin/*
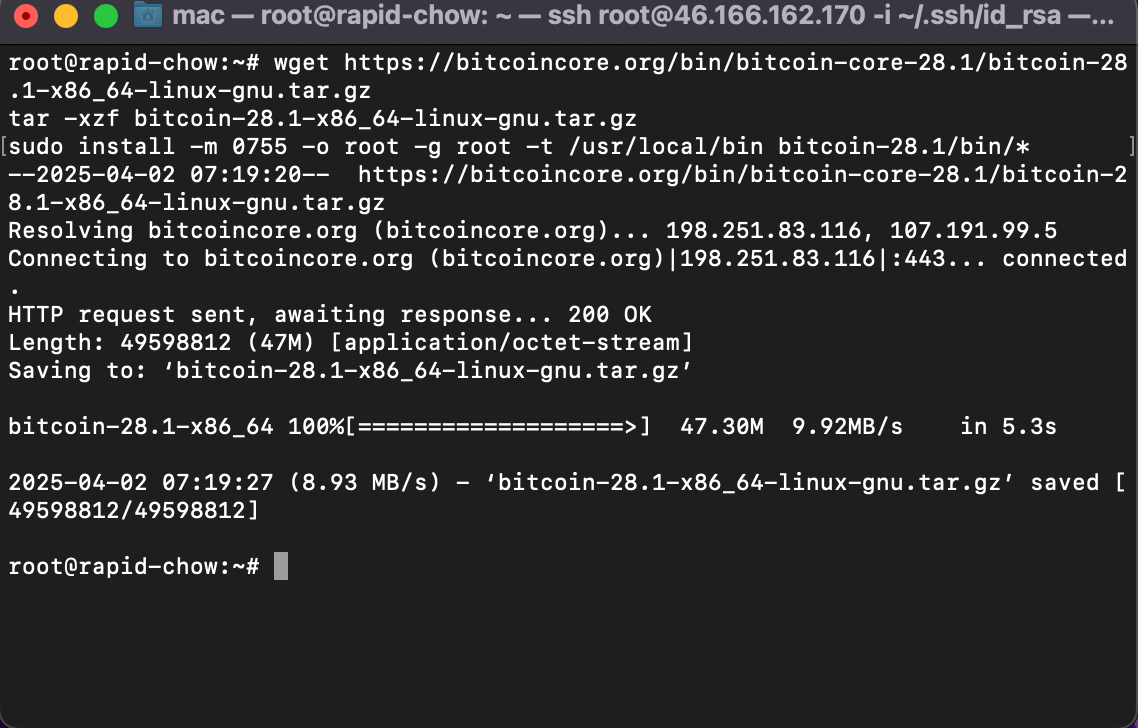
Note: We used Bitcoin Core version 28.1, but depending on when you are viewing this, a new version might have been released.
Configure Bitcoin Core:
mkdir ~/.bitcoin

nano ~/.bitcoin/bitcoin.conf
Add the following config:
server=1
daemon=1
txindex=1
rpcuser=your_username
rpcpassword=your_secure_password
zmqpubrawblock=tcp://127.0.0.1:28332
zmqpubrawtx=tcp://127.0.0.1:28333
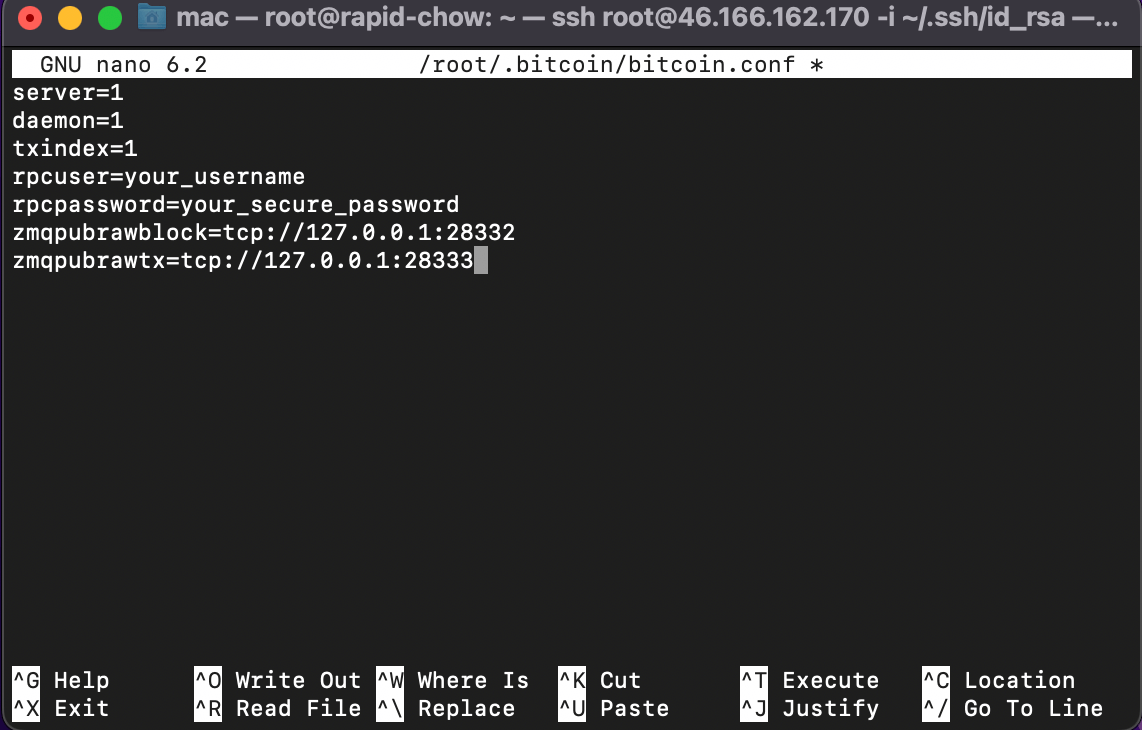
Replace your_username and your_secure_password with your username and password of choice.
Start Bitcoin Core:
bitcoind -daemon
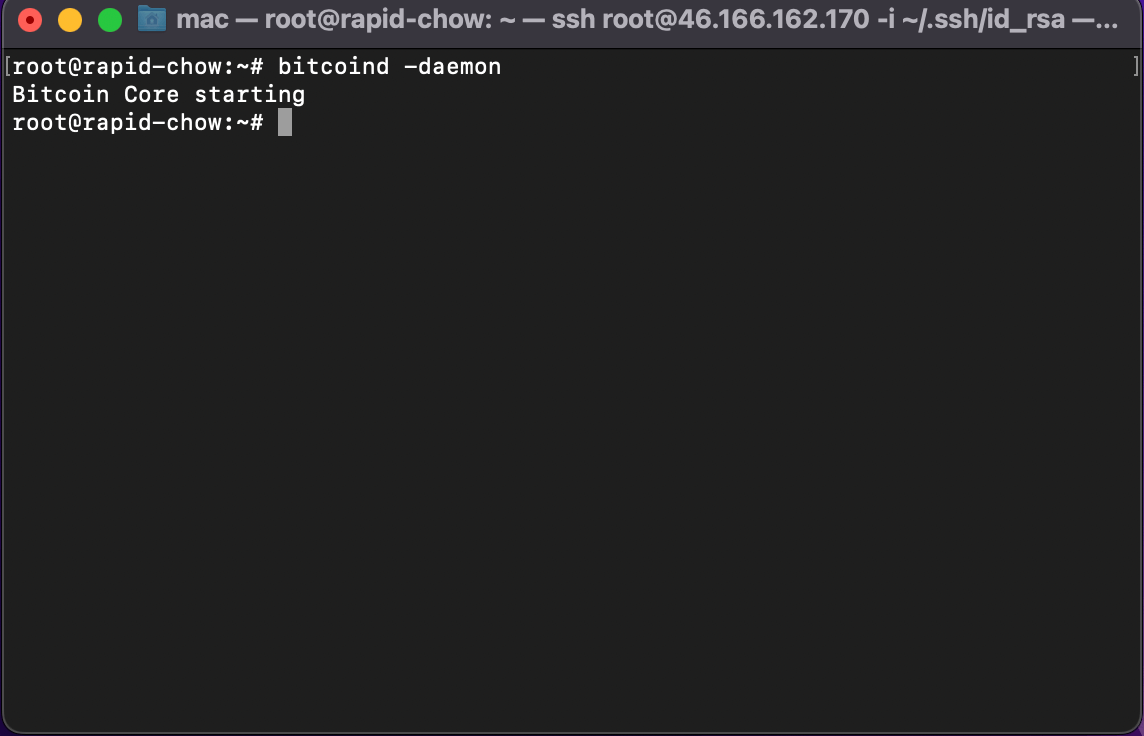
Note: Syncing the blockchain might take several hours or some days
#Step 5: Install and Configure LND (Lightning Network Daemon)
LND (Lightning Network Daemon) is the most widely used Lightning implementation, powering nodes for wallets (like Phoenix), exchanges (like Kraken), and businesses. Developed by Lightning Labs, it offers enterprise-grade stability, advanced features like atomic swaps, and supports both Bitcoin Core and lightweight Neutrino backends. You can check it out here to learn more about it.
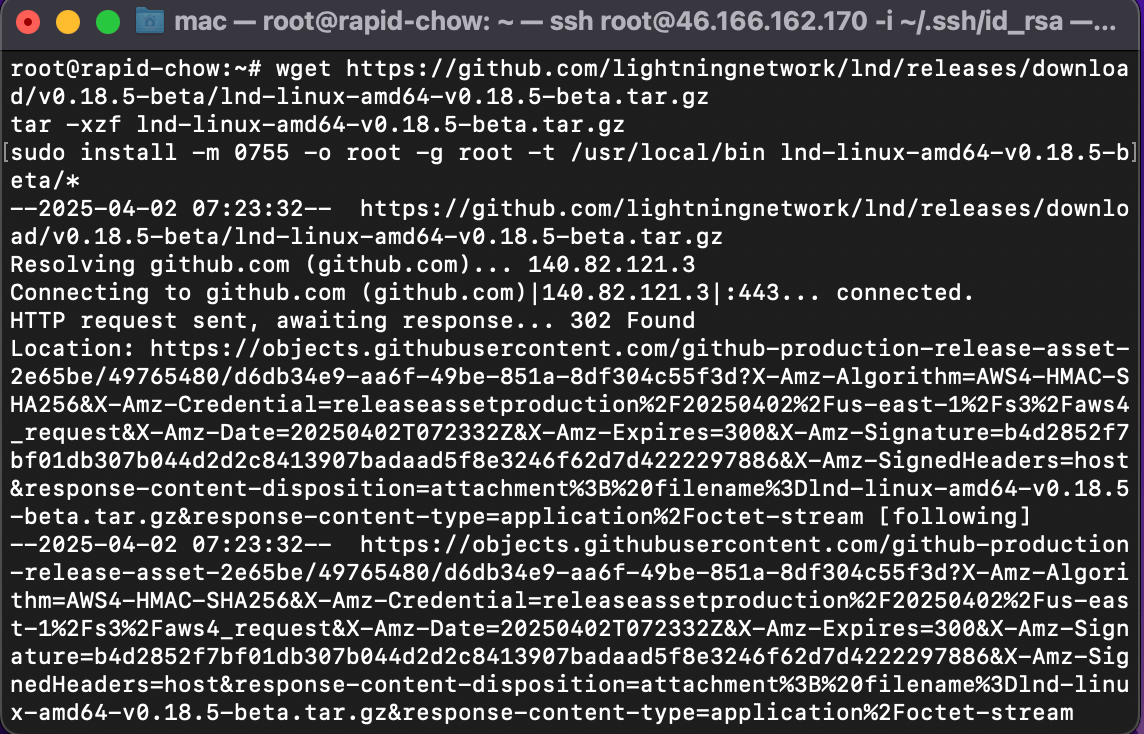
Install LND:
wget https://github.com/lightningnetwork/lnd/releases/download/v0.18.5-beta/lnd-linux-amd64-v0.18.5-beta.tar.gz

tar -xzf lnd-linux-amd64-v0.18.5-beta.tar.gz

sudo install -m 0755 -o root -g root -t /usr/local/bin lnd-linux-amd64-v0.18.5-beta/*
Configure LND:
mkdir ~/.lnd

nano ~/.lnd/lnd.conf
Add the following configuration:
[Application Options]
debuglevel=info
maxpendingchannels=5
alias=lightning
externalip=<your-server-ip>
color=#68F442

[Bitcoin]
bitcoin.active=1
bitcoin.mainnet=1
bitcoin.node=bitcoind

[Bitcoind]
bitcoind.rpcuser=your_username
bitcoind.rpcpass=your_secure_password
bitcoind.zmqpubrawblock=tcp://127.0.0.1:28332
bitcoind.zmqpubrawtx=tcp://127.0.0.1:28333

Note: your_username and your_secure_password must be the same as the details used in bitcoin.conf the file in step 3, also replace your-server-ip with the IP from your deployed server .
Start LND:
lnd --bitcoin.active --bitcoin.mainnet --bitcoin.node=bitcoind --lnddir=~/.lnd
You should see logs like the below image
Create and unlock wallet:
lncli create
lncli unlock
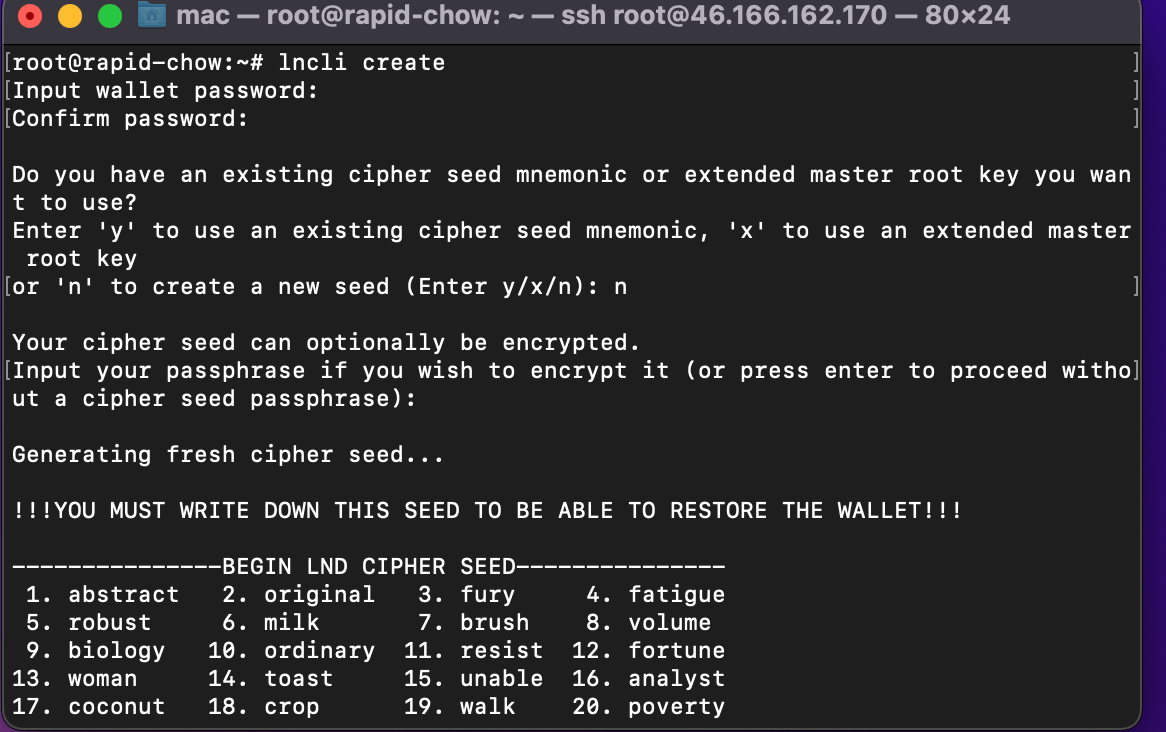
Since your first terminal is busy running lnd, you’ll need to open a new terminal window to interact with your node. The lightning node will be opened after creating and unlocking the wallet
When starting your Lightning node (LND), it's crucial to understand that it requires a fully synchronized Bitcoin node to operate properly. The Lightning Network builds upon Bitcoin's most recent blockchain state to ensure secure and valid transactions, which means LND will not complete its startup process until your Bitcoin node has finished syncing. If you attempt to launch LND while your Bitcoin node is still synchronizing, you'll see a message in your logs indicating it's waiting for the chain backend to catch up, displaying the current block height it has reached.
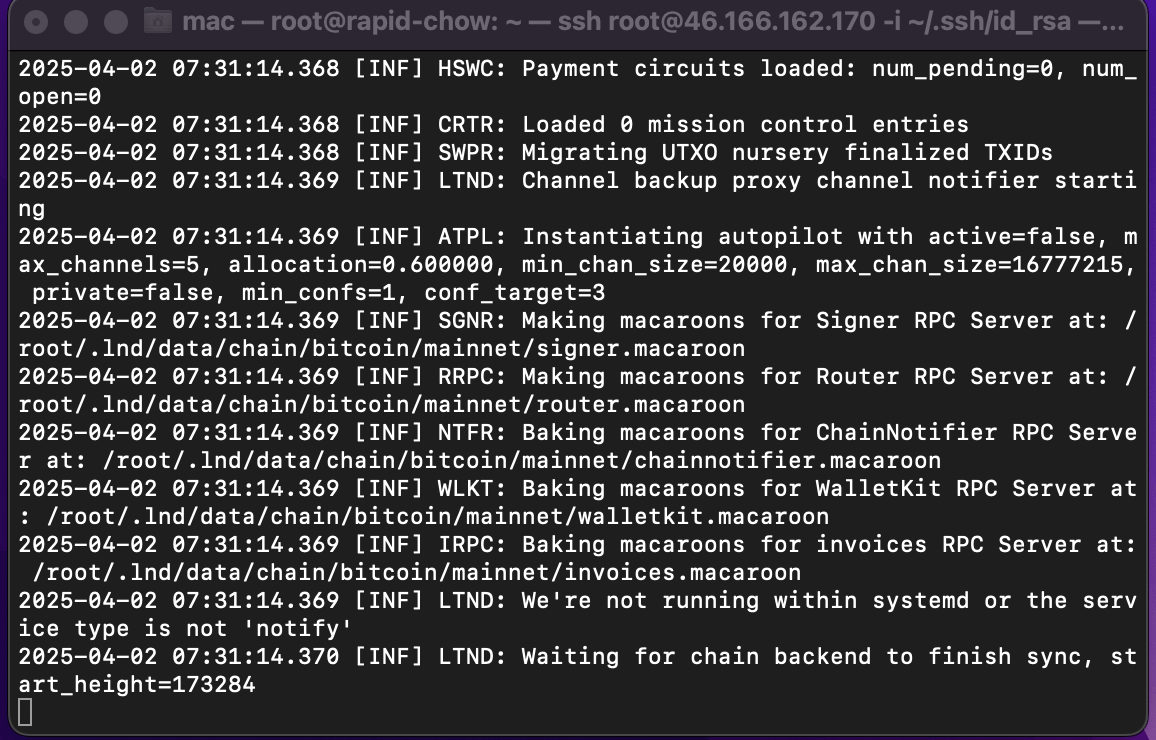 In the image above the Lightning node waits for the bitcoin node to be fully synced which might take a couple of hours or days depending on your server’s processing speed, If you’re following through with my server’s requirements it should take about 6 hrs to be fully synchronized with the bitcoin blockchain.
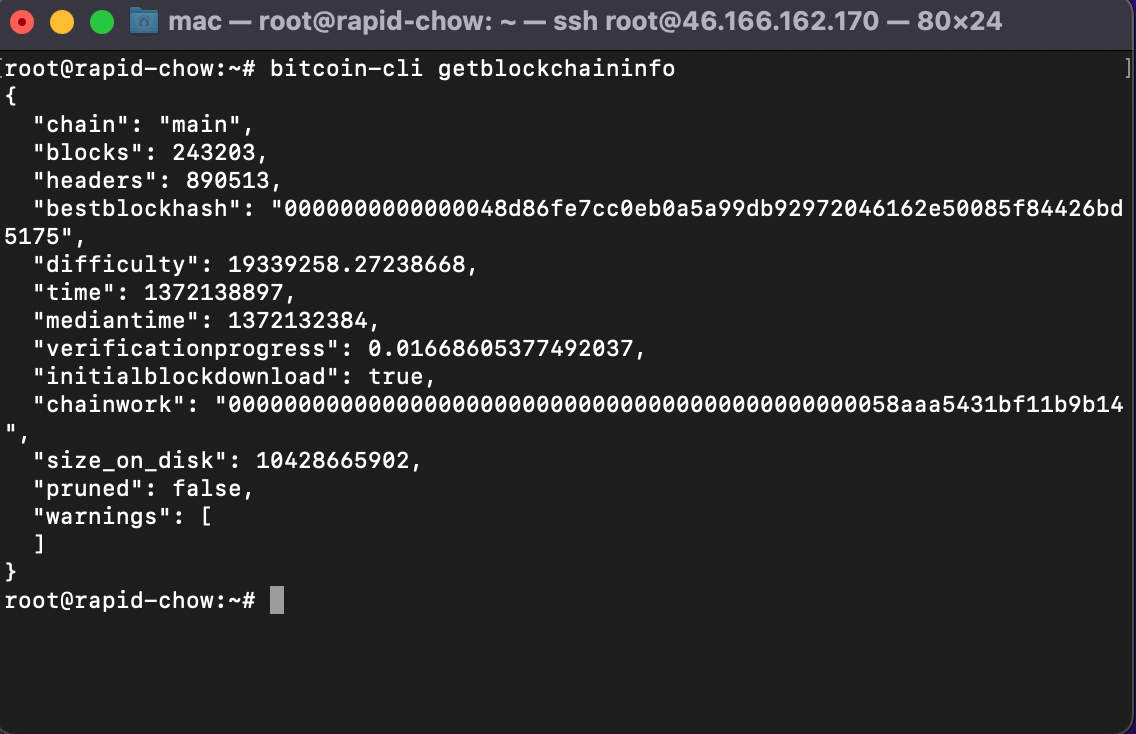
To track your Bitcoin node's synchronization progress, you should regularly check its status using the bitcoin-cli getblockchaininfo command. This will return detailed information, including the current block height your node has processed, the verification progress (a value between 0 and 1, where 1 represents fully synced), and other important metrics. The verification progress is particularly useful as it shows what percentage of the blockchain your node has validated. Keep in mind that synchronization speed depends on several factors, including your server's processing power, storage type (NVMe SSDs are significantly faster than HDDs), and network bandwidth.
#Step 6: Open Lightning Channels
Finding and connecting to Lightning node peers:
To connect your Lightning node to the network, you need to establish peer relationships with other nodes. A peer connection string follows this format:
lncli connect <node_pubkey>@<ip_address>:<port>
Example:
0224c95521cafeee55d3f0acd3e32c8d2d41b4b8baa34557cb9bb35b66ff91bc54@159.69.32.62:21480
#Where to Find Peers?
You can discover reliable nodes from:
-
Trusted directories: 1ML, Amboss
- Community lists: Lightning Network+ (LN+)
- Well-known nodes: Major wallets (Phoenix, Breez) and exchanges (Kraken, Bitfinex)
#⚠️ Security Considerations
Not all peers are equal—connecting to random or malicious nodes can expose risks:
- Privacy leaks: Some nodes log transaction metadata.
- Stability issues: Unreliable peers may go offline frequently.
- Scams/Sybil attacks: Malicious nodes could attempt to disrupt routing.
#Best Practices for Safe Peering
✅ Prefer reputable nodes (from trusted sources)
✅ Avoid unknown/unverified peers (especially with no public reputation)
✅ Monitor peer behavior (high failure rates may indicate problems)For optimal security, research nodes before connecting—your peer choices impact your node’s reliability and privacy.
Open a channel:
lncli openchannel --node_key=PUBKEY --local_amt=AMOUNT_IN_SATSThis command opens a Lightning channel with another node:
--node_key=PUBKEY: The peer's unique ID (found on Lightning explorers).--local_amt=AMOUNT_IN_SATS: How much BTC (in satoshis) you lock into the channel.
Example:
lncli openchannel --node_key=03864ef0... --local_amt=100000
→ Opens a 100,000 sat (~0.001 BTC) channel.
Your funds stay secure but can't move until the channel closes.
Note: Before runninglncli openchannel, you must deposit Bitcoin (BTC) into your Lightning node’s on-chain wallet. Without BTC, you cannot fund a channel.
To fund your Lightning node, send Bitcoin (BTC) to your node’s on-chain deposit address (generated via lncli newaddress p2wkh) from an exchange like Kraken, a faucet like Lightning Network+, or by earning sats through apps like Stacker News. Once confirmed, check your balance using the command lncli walletbalance before opening channels.
To let others connect to your Lightning node, you need to share your unique public key (identity_pubkey). Here’s how to find it:
lncli getinfo | grep "identity_pubkey"
#Step 7: Monitor Your Lightning Node
To monitor your Lightning node, use the command lncli getinfo to view node details, lncli listchannels to check active channels, and lncli listpeers to see connected peers. For advanced monitoring, consider web interfaces like RTL (Ride The Lightning) or ThunderHub.
#Conclusion
In this guide, we've covered the fundamental requirements for running a Bitcoin Lightning Network node and provided a step-by-step tutorial—from installing a server and syncing a Bitcoin node to installing LND, opening channels, and connecting to peers. We've highlighted key commands for running a node, including initializing a wallet, checking channels, and confirming peers, while also briefly addressing common issues like RPC connectivity and blockchain sync.
By the end of this tutorial, you should now have a fully working self-hosted Lightning node, which allows you to join Bitcoin's layer-2 network, forward payments, and receive routing fees. Whether you are helping to decentralize the network or using Lightning for potential quick and cheap transactions, your node is an important part of the ecosystem.
For optimal performance, attempt hosting on Cherry Servers' high-availability NVMe servers, which are designed for 24/7 node uptime. Wish to go further? Attempt advanced tools like RTL for node analytics or join the Lightning community to network with other node operators.
Next steps:
- Fund your node to open more channels.
- Experiment with Lightning apps (e.g., Lightning Pool).
- Monitor your node’s uptime and earnings.
Happy routing! ⚡