How to Push Docker Image to Docker Hub


Docker has an image repository platform called Docker Hub that allows you to store and share your container images with the rest of the world. It gives you the option of making your image repository accessible to the public or your team only. Sharing your Docker images on Docker Hub makes team collaboration easier as your teammates will be able to pull your image from Docker Hub and customize it with better configurations.
In this article, you will learn how to push your image to a Docker Hub repository step-by-step. In addition, you will learn all the command flags you can use to configure and optimize your docker push.
#Prerequisites
You need to have installed Docker and have an application that you can use to build an image. This tutorial will give guidelines on how to build an image using your application's contents. However, this article mainly focuses on pushing the image to DockerHub.
Ready to supercharge your Docker infrastructure? Scale effortlessly and enjoy flexible storage with Cherry Servers bare metal or virtual servers. Eliminate infrastructure headaches with free 24/7 technical support, pay-as-you-go pricing, and global availability.
#What does it mean to push a Docker image to Docker Hub?
The docker push command is used to upload an image to a Docker registry. A Docker registry is a centralized system that stores and distributes container images. The Docker push command is the inverse of the docker pull command. Docker pull downloads an image from the Docker registry while Docker push sends an image to a remote Docker registry.
An overview of how uploading an image works:
- Building: The first step involves creating an image using a Dockerfile. The Dockerfile copies your local application contents and uses a base image to create your image.
- Tagging: The image is tagged with a specific version and registry location.
- Pushing: The tagged image is pushed to the Docker registry using the
docker pushcommand. - Pulling: Other developers or deployment systems pull the image from the registry to run containers.
Pushing your image to a Docker registry simplifies the deployment process as automated systems will be able to pull your images autonomously and make deployments, testing processes, and development tasks. In addition, the Docker registry has version control features that allow you to push different versions of your images thus enabling you to roll back to older images in case the new images are faulty and insecure.
Also read: How to uninstall Docker
#Building your image
Before you can start pushing an image to the Docker registry you have to build it first. The docker build command is used to create an image using specifications from a Dockerfile. A Dockerfile consists of the following details:
- FROM: This parameter enables you to specify the base image that will be used to build the container. For example, if you are building a Node.js application your base image can be
node:19-alpine3.1. It is very important to ensure that you specify the image version to prevent compatibility issues. - RUN: This command is used to install dependencies that are needed by your application in your container as specified by the package.js file.
- COPY: This command replicates files from the current directory on your local machine into the Docker image. You set the current directory using the
WORKDIRfield. All commands will be executed from the directory specified by theWORKDIRfield. - CMD: This is short for command. This parameter is used to state the command that will be run when the container starts running.
- ENV: This is used for setting environment variables.
Here is an example of a Dockerfile:
# Use the official Node.js image from the Docker Hub
FROM node:19-alpine3.16

# Create and set the working directory inside the container
WORKDIR /app
ENV PATH="./node_modules/.bin:$PATH"

# Copy the package.json and package-lock.json (if available) to the working directory
COPY . .

# install npm dependencies
RUN npm install
RUN npm run build

# Define the command to run the application
CMD ["npm", "run", "start"]
The Dockerfile is saved in the root directory of the application’s project structure. After creating the Dockerfile, navigate to your terminal and change the directory location to your application's root directory. Doing so will enable Docker to find the Dockerfile when building your image.
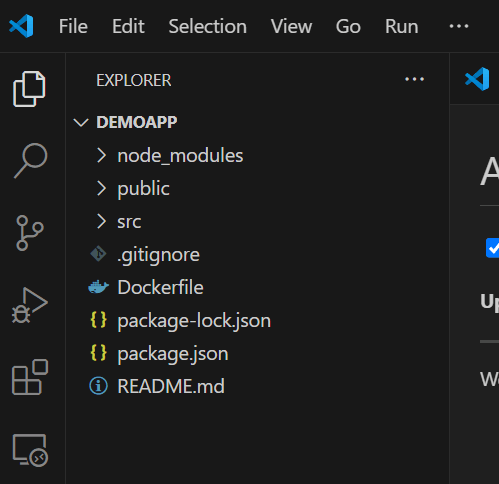
Use the following command to build your image. The image name can be the application’s name you are trying to containerize.
docker build -t [image name] .
The -t flag names the image while the period . instructs Docker to look for the Dockerfile in the current directory. To check if the image was created check it by listing all the available images using the docker image ls command.
#Setting up your Docker hub account to receive images
Setting up your DockerHub account to receive and manage images is a crucial step in leveraging the full potential of Docker for continuous integration and continuous deployment (CI/CD) pipelines, as well as for collaborative development.
If you don’t have a Docker account yet, navigate to Docker Hub to create your account.
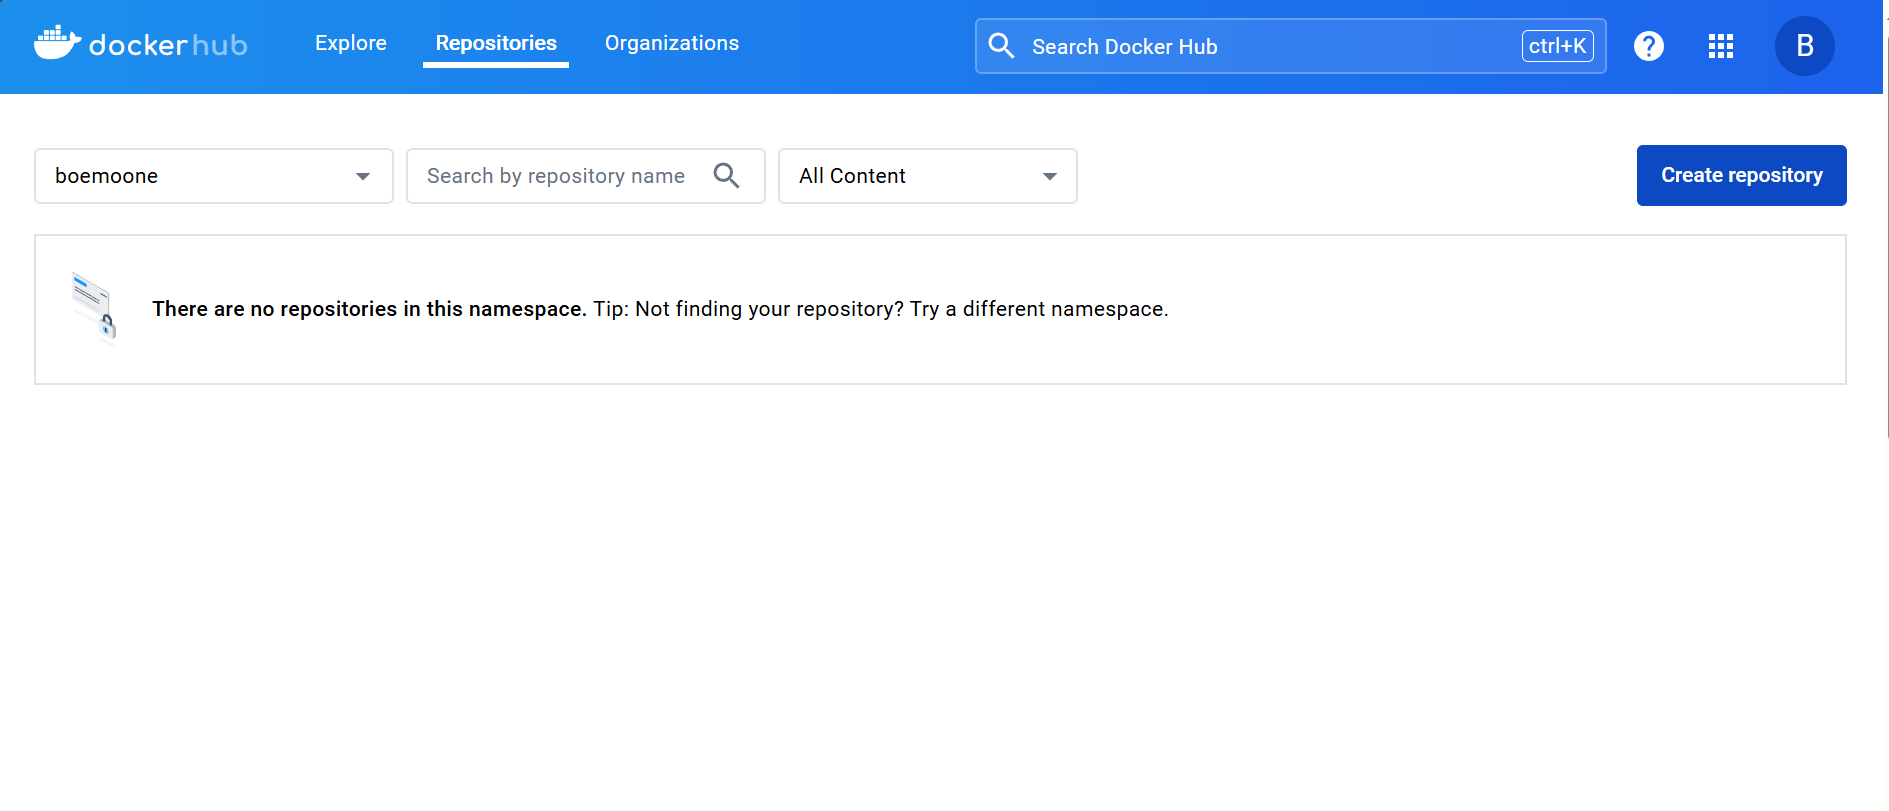
Take note: You can only create one private repository if you are using the Docker free account. You can skip this section if you have an existing repository and have logged in.
After login press on the “Repositories” tab and you will be navigated to the repository page where you will find the “Create repository” button on the top right corner. Click on the button.
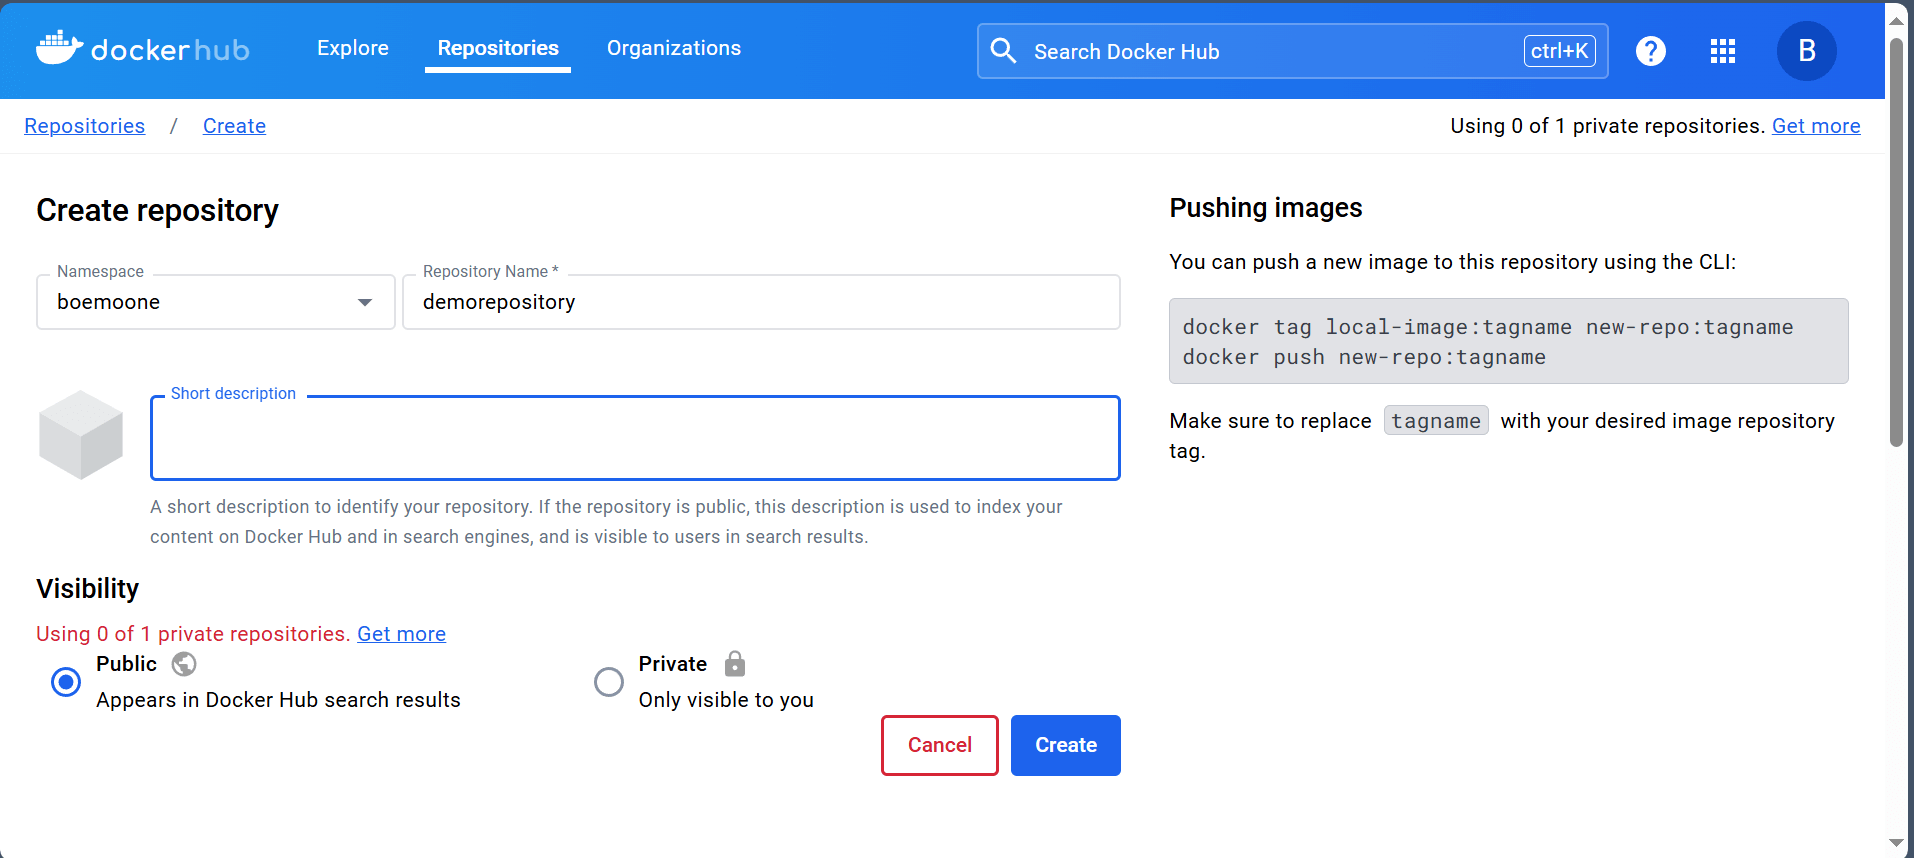
Next, fill in the “namespace” field and repository name followed by the “Short description” field. Keep the visibility public if you want to share the image with everyone online otherwise set the visibility to private. Finally, click the Create button to create your image repository.
After creating a repository. Navigate to your terminal and login. Use the following command to log into your docker registry:
docker login --username [your-username] --password [your-password]
If you have added the password to the stdin fetch it using this flag --password-stdin. This flag is secure because it does not expose your password on the terminal.
#How to push an image to Docker hub
Tagging an image is important for identifying an image version and knowing which image you have to rollback to when things go bad. The latest tag version indicates the recent Docker build. Use the following command structure to tag your images before pushing the image.
Docker tag [image name:version] [username]/[repository name:version]
Below is an example:
docker tag demoapp:latest boemoone/demorepository:latest
To upload the image to your Docker registry use the following command that requires the following information.
- your-username: Your DockerHub username.
- your-repository: The name of your repository.
- your-tag: The tag for the image, which could be a version number like v1.0 or latest.
docker image push boemoone/demorepository:latest
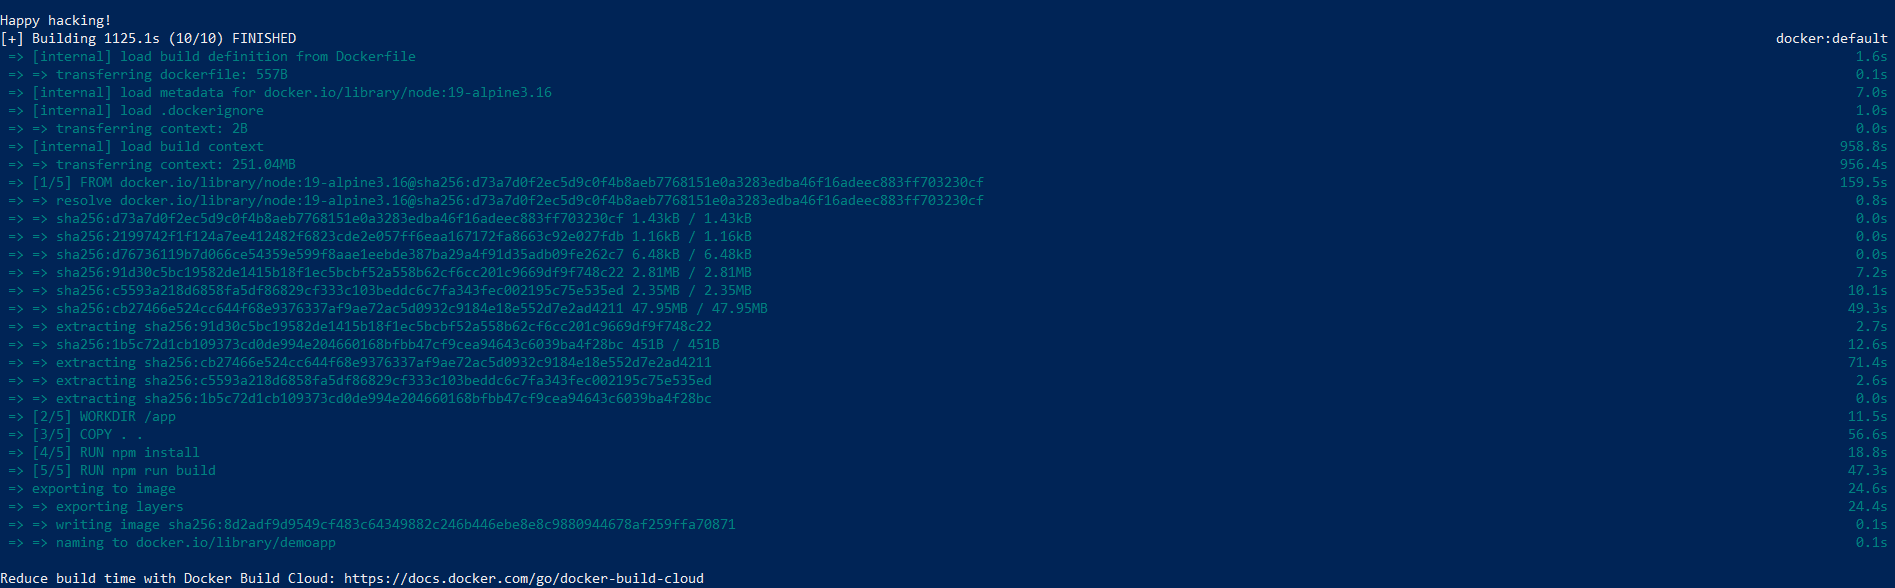
Pushing an image to DockerHub will take a few minutes. The bigger the image the more time it will take to upload the contents to DockerHub.
#Verifying image upload
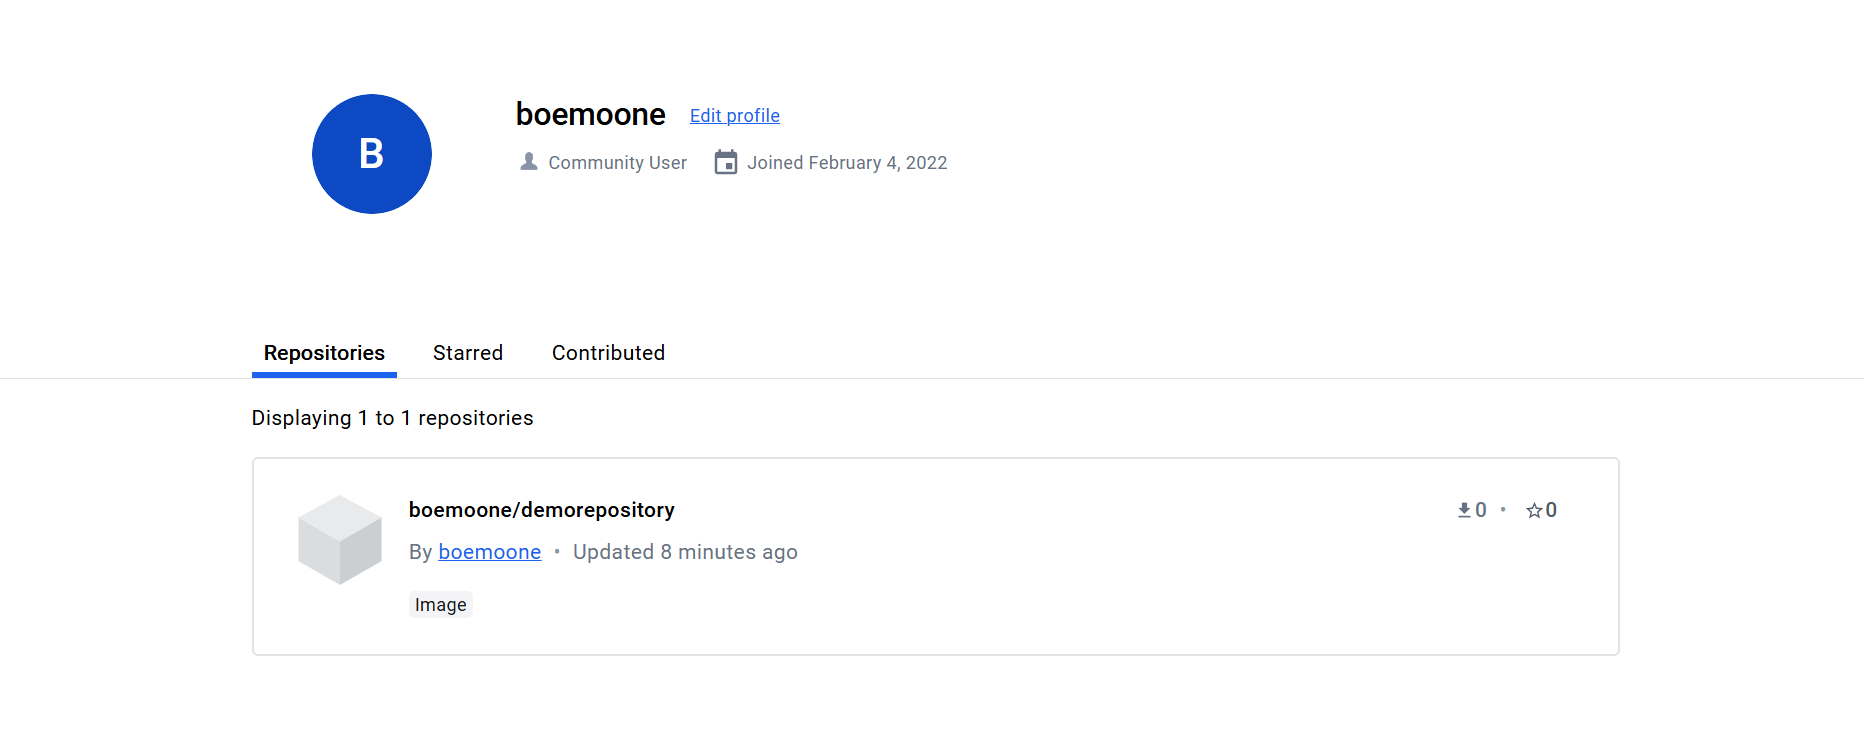
To check if your image has been pushed successfully, login to Docker Hub. Next, click on your username at the top-right corner and select "Repositories" on the profile page. If the image was pushed successfully you should see the repository and the tag you just pushed.
#Conclusion
In this guide, we have learned how to create a Docker hub repository and push an image to the Docker hub repository using the docker push command. In addition, we have learned how to build a Docker image.
Spin up Docker containers on Cherry Servers' robust infrastructure. Deploy your containers seamlessly on our powerful bare metal or virtual servers with flexible, pay-as-you-go pricing.
Found this guide helpful? Don't miss our other guides on how to remove Docker images, how to list Docker images and how to update Docker images.