How to Install PyTorch on Ubuntu

#Introduction
PyTorch has become increasingly popular over the years due to its ease of use, dynamic computation graph, and efficiency, making it a top choice for implementing deep learning models. If you want to explore this tool and learn how to install PyTorch on Ubuntu, this guide will help!
In this tutorial, we will walk you through the process of installing PyTorch on your Ubuntu system using Pip or Anaconda to help you get started to take advantage of this tool.
#What is PyTorch?
PyTorch is a free and open-source machine learning framework based on Python and the Torch library, hence its name. Its versatility, dynamic computation graph, and extensive libraries make it a preferred tool in various AI or deep learning tasks like research and production. PyTorch is optimized for GPU-accelerated computing and deep neural networks. Originally developed by Meta AI, PyTorch is now part of the Linux Foundation umbrella.
#What is PyTorch used for?
PyTorch is used for tasks such as image and speech recognition, natural language processing, and reinforcement learning. Its modular architecture empowers users to build neural networks effortlessly, making PyTorch an essential asset for developing machine learning models. It is primarily used by data scientists for research and applications involving artificial intelligence.
#Prerequisites
Before you start the process of installing PyTorch on Ubuntu, ensure your Ubuntu system meets the following requirements:
- Python 3.6 or higher
- If your Ubuntu system or server is GPU supported, ensure you have the CUDA drivers and toolkit installed.
Deploy and scale your Python projects effortlessly on Cherry Servers' robust and cost-effective dedicated or virtual servers. Benefit from an open cloud ecosystem with seamless API & integrations and a Python library.
#How to install PyTorch on Ubuntu?
There are a few ways to install PyTorch on Ubuntu, including building from the source, but this guide will show you how to install PyTorch using Pip as well as how to install PyTorch using Anaconda. Also, PyTorch provides both CPU (Central Processing Unit) and GPU (Graphics Processing Unit) options, so if your system doesn't have GPU support, you can install PyTorch with CPU support only.
#1. Pip: install PyTorch
You can install PyTorch on Ubuntu using Pip (Python's native package manager) in the following steps:
#Step 1 - Update system packages
First, update the system packages to ensure that you're using the latest packages.
sudo apt update
#Step 2 - Install Python3-venv
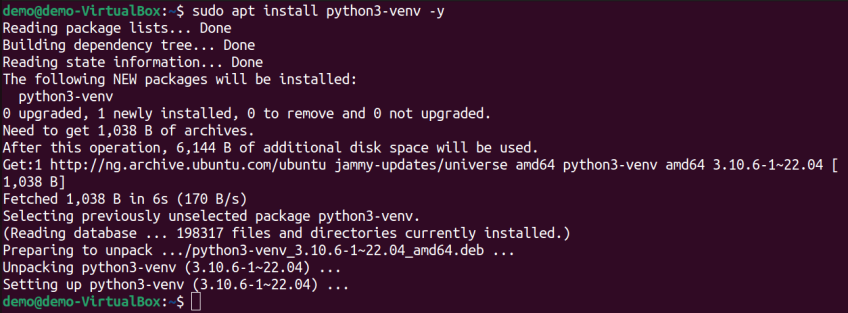
Next, you need to install Python3-venv, which you can use to create an isolated Python environment for your project so you don't have to install Python packages globally, thereby preventing possible compatibility issues.
sudo apt install python3-venv -y
#Step 3 - Set up the environment
Now create and navigate to a new directory that will be used to store the virtual environment files and settings. Here "pytorch_env" is the name of the directory; you can use a different name if you want.
mkdir pytorch_env
cd pytorch_env
Next, run the following commands to create and activate the virtual environment.
python3 -m venv pytorch_env
source pytorch_env/bin/activate
Once the virtual environment has been activated, you should see your command prompt change to show the name of the virtual environment. With this activated, you can install Python packages or scripts associated with this virtual environment rather than the system-wide Python avoiding conflicts with projects requiring different package versions.
#Step 4 - Install PyTorch using Pip
Now with your virtual environment activated, you can go on to install PyTorch on your Ubuntu system.
With CPU support only:
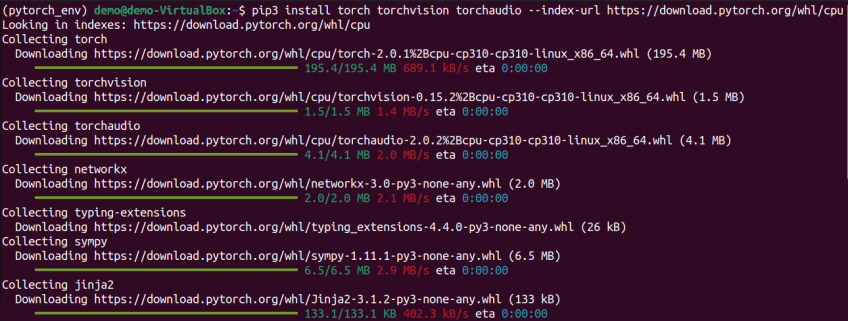
To install PyTorch with CPU support only, run:
pip3 install torch torchvision torchaudio --index-url https://download.pytorch.org/whl/cpu
With GPU support (install CUDA with PyTorch) (CUDA):
To install PyTorch with GPU support run:
pip3 install torch torchvision torchaudio
#Step 5 - Verify the installation
You can run the following command to verify that PyTorch has been installed:
python
import torch
print(torch.__version__)
The command above will start the Python interpreter, import the PyTorch library and print the version of PyTorch that is currently installed.
#2. Conda: install PyTorch
Another way you can install PyTorch is by using an open-source platform called Anaconda. You can install PyTorch using Conda in the following steps:
#Step 1 - Update system packages
As usual, you want to make sure that your system packages are up to date.
sudo apt update
#Step 2 - Install Anaconda
Next, you need to install Anaconda, and you can do that in the following steps.
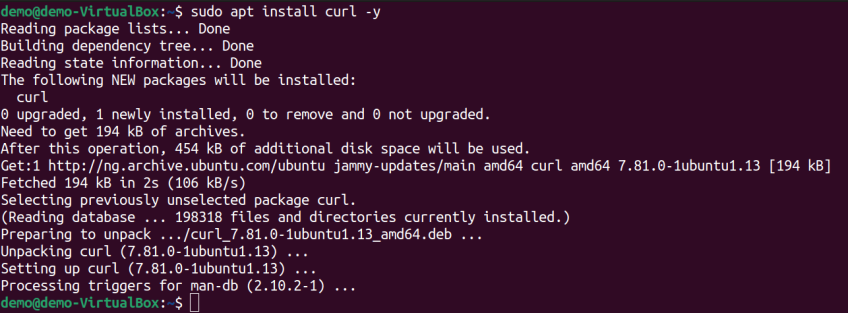
First, you need to install Curl. This will be used to download the Anaconda installer script.
sudo apt install curl -y
Next, as a best practice, you want to isolate the installation process. Navigate to "tmp" directory, you can create or use a different directory for this if you want.
cd /tmp
Next, download the Anaconda installer script using Curl by running the command:
curl --output anaconda.sh https://repo.anaconda.com/archive/Anaconda3-2023.07-2-Linux-x86_64.sh
The command above will download the Anaconda installer script and save it as a file called "anaconda.sh". You can always get the URL for the latest version of the script on their site.
Now verify the integrity of the downloaded file using:
sha256sum anaconda.sh
You want to confirm that the sha256sum checksum value matches that on the official site.
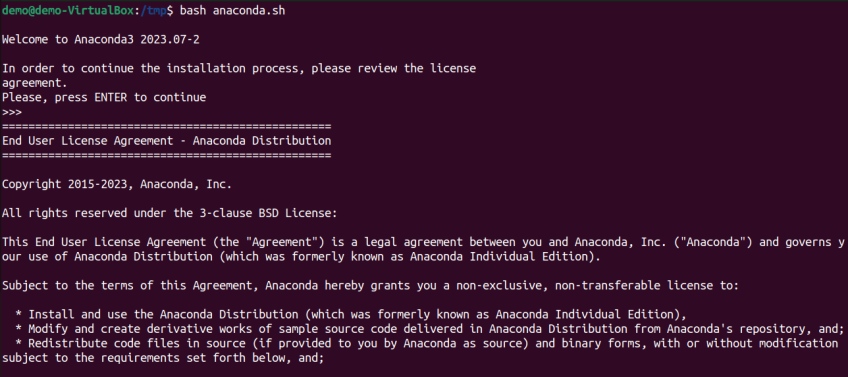
After verifying the downloading script, you can go on to run the Anaconda installer script and start the installation process by running:
bash anaconda.sh
After the installation process is complete, you need to update the current shell session to ensure that the Anaconda environment and its commands are available for use in the current terminal session. Do this by running:
source ~/.bashrc
It will also activate Anaconda, as you can see in the change in the prompt to "base," which is the default environment created by Anaconda during the installation. Subsequently, you can use the conda activate command to activate Anaconda.
You can verify that Anaconda has been installed using the conda --version command
#Step 3 - Install PyTorch using Anaconda
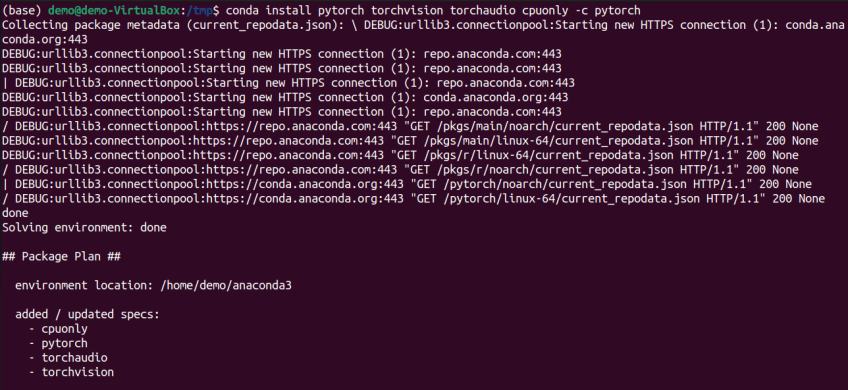
Now with Anaconda installed and activated, you can use it to install PyTorch.
With CPU support only:
conda install pytorch torchvision torchaudio cpuonly -c pytorch
With GPU support (install PyTorch with CUDA):
conda install pytorch torchvision torchaudio pytorch-cuda=11.7 -c pytorch -c nvidia
#Step 4 - Verify the installation
Run the following command to verify that PyTorch has been installed:
python
import torch
print(torch.__version__)
Discover how Caxita, an online travel engine application company with high workloads, eliminated downtime and allowed engineers to focus on development thanks to Cherry Servers' robust bare metal cloud and 24/7 technical support.
Also read: How to Install Chrome on Ubuntu 24.04
#How to uninstall PyTorch?
If you need to uninstall PyTorch on your Ubuntu system, you can do that with Pip by running the following command:
pip3 uninstall torch -y
To uninstall PyTorch using Anaconda, run:
conda remove pytorch -y
#Conclusion
At this point, you should have PyTorch installed on your system. This guide showed how to install PyTorch on Ubuntu using Pip and Anaconda. You also learned that PyTorch has options you can download based on the computation resources available on your system. With the installation of PyTorch out of the way, you can move in to explore its capabilities and experience its efficiency.
Harness the power of GPU acceleration anywhere. Deploy CUDA and machine learning workloads on robust hardware tailored for GPU intensive tasks.

