How to Run a Cardano Node [Requirements + Steps]

![How to Run a Cardano Node [Requirements + Steps]](/v3/img/containers/blog_main/blockchain.jpg/0ee7c10cd1b2699b0fec51a87d63af75/blockchain.jpg?id=1739046670)


Running your own Cardano node is the first critical step in setting up a stake pool. By setting up your own Cardano node, you can participate in the network, validate transactions, and contribute to Cardano’s decentralization. In this guide, we will walk you through how to run a Cardano node from scratch.
#What is Cardano?
Cardano is a blockchain platform built on a strong academic foundation. It utilizes a unique proof-of-stake (PoS) consensus mechanism called Ouroboros, which is designed to be more sustainable, scalable, and energy-efficient than traditional proof-of-work (PoW) systems like Bitcoin.
#What is a Cardano node?
Running a Cardano node is crucial if you intend to contribute to the network as a Stake Pool Operator or even participate as a delegator. It allows you to validate transactions, create new blocks, and connect securely to the network. By operating a node, you also help maintain the network's decentralization, ensuring the security and scalability of the Cardano blockchain.
In essence, a Cardano node enables participation in the consensus mechanism, block production, transaction validation, and overall network security, making it fundamental to both the Cardano ecosystem and the functioning of a Cardano stake pool.
#Prerequisites and Cardano Node Requirements
Before we begin setting up the node, let’s take a look at the recommended Cardano node requirements, including system specifications for your server.
#Cardano Node Minimum System Requirements
- CPU: 2 cores (Intel or AMD x86 processor), 1.6 GHz or faster (2 GHz recommended for stake pool or relay nodes)
- Memory: 4 GB RAM
- Storage: 20 GB of free storage (100 GB recommended for future growth)
- Operating System: 64-bit Linux (e.g., Ubuntu Server 20.04 LTS)
- Network: A reliable internet connection with 1 GB of bandwidth per hour and a public IPv4 address
- Air-gapped environment not required
#Cardano Node Recommended System Requirements
- CPU: 4 cores or more (Intel or AMD x86 processor), 2 GHz or faster
- Servers: 1 for block producer node + at least 2 for relay nodes
- Memory: 24 GB RAM or more
- Storage: 150 GB SSD or more (with a 250gb SSDs for better performance)
- Operating System: 64-bit Linux (e.g., Ubuntu Server 20.04 LTS)
- Network: A stable internet connection with a higher bandwidth (e.g., 1 Gbit/s or higher) and a public IPv4 address
- Air-gapped environment for key security
For a production environment, the recommended specs ensure a better experience, especially when dealing with larger transaction volumes and higher uptime requirements.
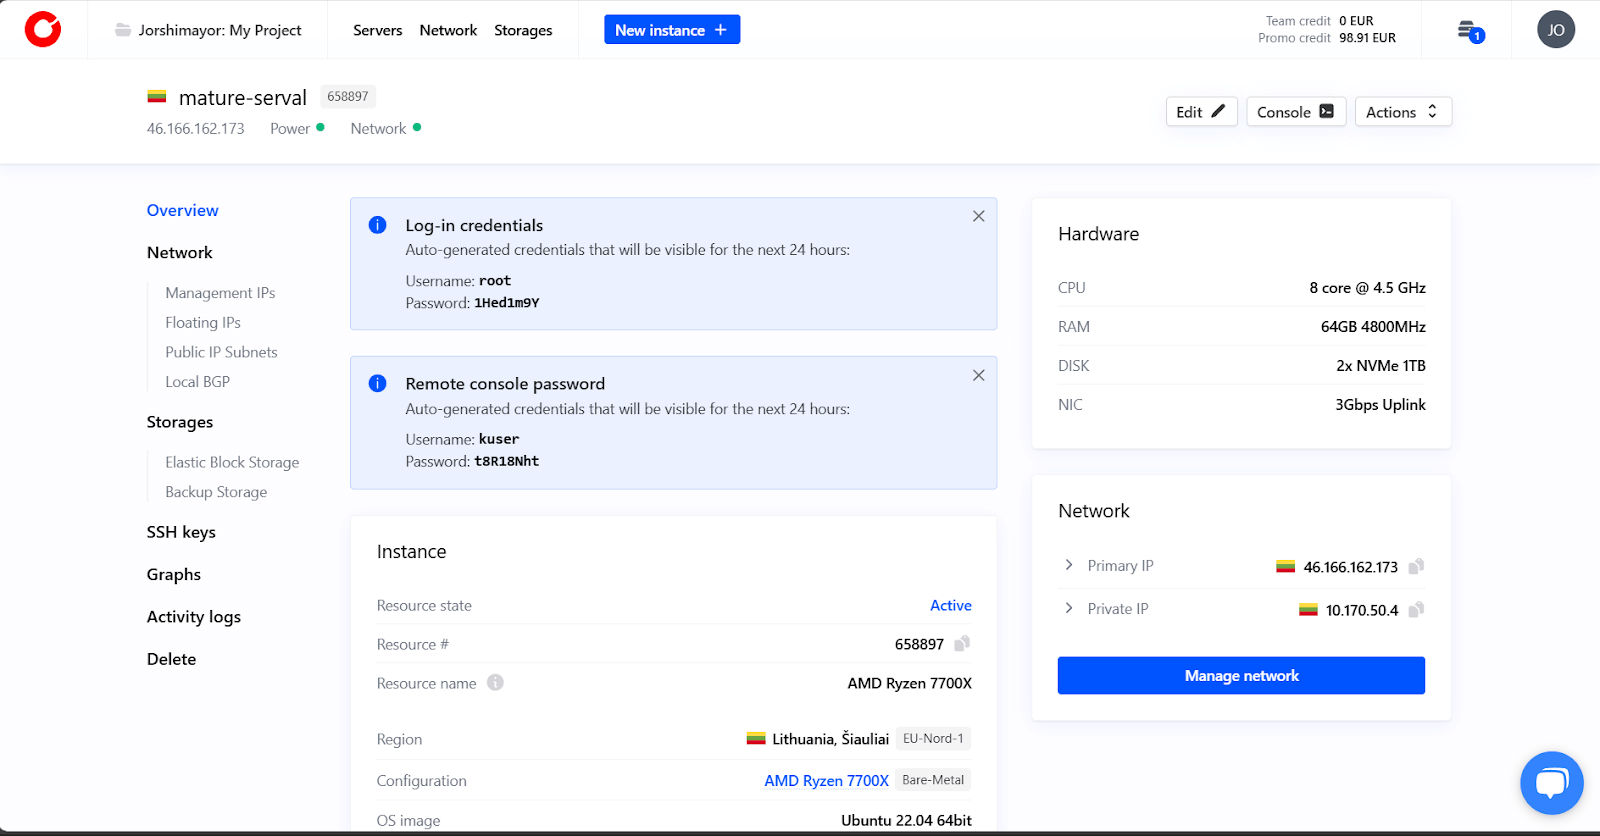
For these specifications, Cherry Servers offers customizable dedicated servers specifically designed for high-performance blockchain nodes, ensuring seamless operation even for the most demanding Cardano stake pools.
#How to Run a Cardano Node: Step-by-Step
Now that you have a basic understanding of Cardano nodes as well as Cardano node hardware requirements, let’s go step by step through the process of setting up your own.
#Step 1: Prepare Your Local Environment
The first step is to prepare your local machine. This will be where you execute commands before transferring the setup to your server. You’ll need Ubuntu for this guide.
We will be using Windows Subsystem for Linux (WSL) to run the necessary commands on your local Windows machine. This will allow you to work in a Linux environment while still using your Windows operating system. If you don’t have WSL installed on your machine, you can set it up by following these instructions:
Open PowerShell as Administrator and run:
wsl --install
Restart your computer once the installation is complete. Once Ubuntu is installed on WSL, open the terminal and install the required packages:
sudo apt update
sudo apt upgrade -y
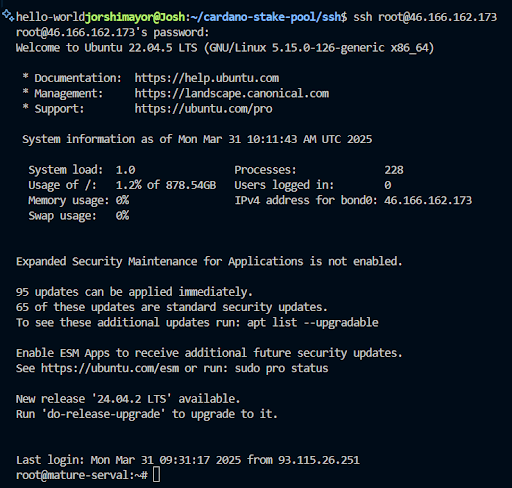
1. Accessing Your Instance via SSH
To get started with setting up your Cardano node, you need to securely access your server using SSH.
-
Obtain SSH Credentials: From your dashboard, get the username and password to log in.
-
Open Terminal: On your Windows machine, use PowerShell or Windows Terminal.
Run the following command to connect to your server:
ssh root@server-ip
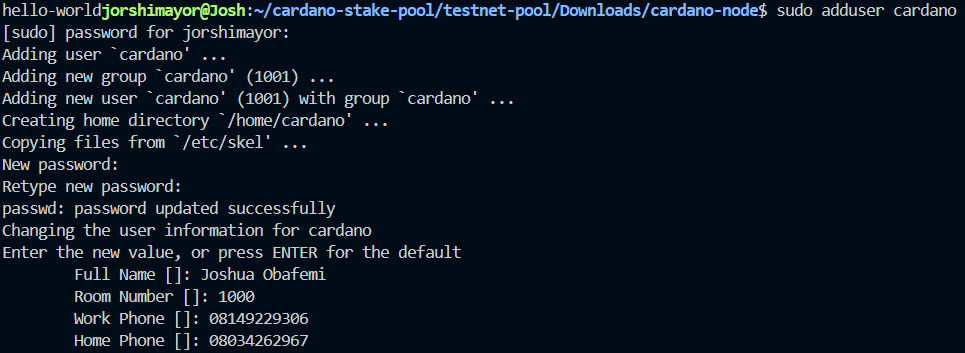
2. Creating a User for Cardano Node
Before proceeding with the Cardano node installation, it's important to create a dedicated user for your Cardano pool project. We'll create a user named "cardano" and grant it administrative privileges for managing the node setup.
To create the new user, run the following command:
sudo adduser cardano
You will be prompted to set a password for the user and provide additional information (such as full name, phone number, etc.). You can leave these fields blank if desired.
To allow the cardano user to run commands with administrative privileges, add it to the sudo group by running:
sudo usermod -aG sudo cardano
Now, the cardano user has the ability to execute commands as an administrator using sudo. Once the user is created and has administrative rights, switch to the new user by running:
sudo su - cardano
This will log you in as the cardano user. To confirm, type:
whoami
The output should display "cardano". You've successfully created a user for your Cardano pool project with the necessary administrative rights.
#Step 2: Install and Run the Cardano Node
To begin setting up the Cardano stake pool, you need to install and run the Cardano node on your instance. Your server must be on a network that is not firewalled, as the default ports 3000 and 3001 are needed for Cardano node communication.
To allow traffic on these ports, run the following commands:
sudo ufw allow 3000/tcp
sudo ufw allow 3001/tcp
1. Enable the Firewall **(if it’s not already enabled):
If the firewall is not enabled, you can activate it by running:
sudo ufw enable
For this setup, we are using Ubuntu 22.04, which matches the recommended environment for running the Cardano node.
2. Install Required Dependencies
First, install the necessary packages and tools on your Linux system to download, build, and run the Cardano node.
On your Ubuntu system, run the following:
sudo apt-get update -y
sudo apt-get install build-essential pkg-config libffi-dev libgmp-dev libssl-dev libtinfo-dev libsystemd-dev zlib1g-dev make g++ tmux git jq wget libncursesw5 libtool autoconf -y
This installs all the required packages, including tools like git, gcc, zlib, and make that are needed for compiling and building the Cardano node.
3. Install Cabal and GHC (Haskell)
Cardano node is built using the Haskell programming language, so you need to install the Cabal build tool and the GHC (Glasgow Haskell Compiler).
wget https://downloads.haskell.org/~cabal/cabal-install-3.2.0.0/cabal-install-3.2.0.0-x86_64-unknown-linux.tar.xz
Extract the file:
tar -xf cabal-install-3.2.0.0-x86_64-unknown-linux.tar.xz
rm cabal-install-3.2.0.0-x86_64-unknown-linux.tar.xz cabal.sig
Move Cabal to your PATH:
mkdir -p ~/.local/bin
mv cabal ~/.local/bin/
Ensure that ~/.local/bin is in your PATH by editing your .bashrc file:
nano ~/.bashrc
Add the following lines at the bottom of the file:
export PATH="~/.cabal/bin:$PATH"
export PATH="~/.local/bin:$PATH"

After editing, source the .bashrc file to apply changes:
source ~/.bashrc
Verify Cabal installation:
cabal --version

Install GHC:
wget https://downloads.haskell.org/~ghc/8.6.5/ghc-8.6.5-x86_64-deb9-linux.tar.xz
Extract and install GHC:
tar -xf ghc-8.6.5-x86_64-deb9-linux.tar.xz
rm ghc-8.6.5-x86_64-deb9-linux.tar.xz
cd ghc-8.6.5
./configure
sudo make install
cd ..

4. Install Libsodium (For Cryptography)
Libsodium is a necessary library for cryptographic operations in Cardano node. To install it:
git clone https://github.com/input-output-hk/libsodium
cd libsodium
git checkout 66f017f1
./autogen.sh
./configure
make
sudo make install
After installing Libsodium, set the library path:
export LD_LIBRARY_PATH="/usr/local/lib:$LD_LIBRARY_PATH"
5. Download the Cardano Node Source Code
Now, we need to download the latest Cardano node source code from GitHub:
git clone [https://github.com/input-output-hk/cardano-node.git](https://github.com/input-output-hk/cardano-node.git)
cd cardano-node
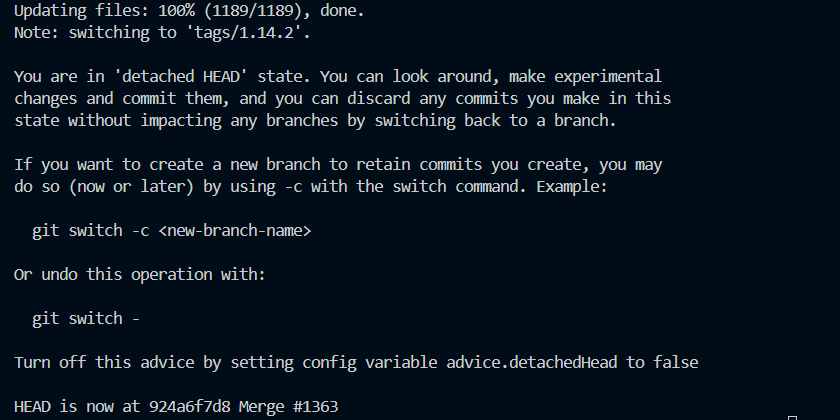
Fetch all tags and checkout a specific release:
For this guide, we are using tag 1.14.2, which is suitable for testing on the Preview Testnet:
git fetch --all --tags
git checkout tags/1.14.2
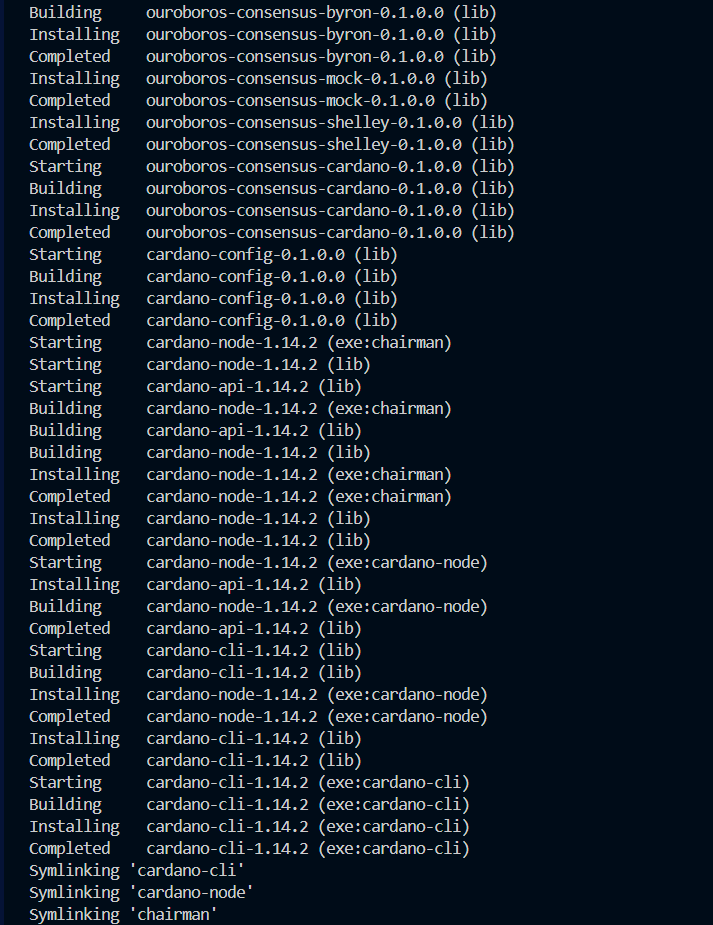
6. Build and Install the Cardano Node
Now that everything is set up, we can build and install the Cardano node.
Build the node using Cabal:
cabal install cardano-node cardano-cli
This will build and install both cardano-node and cardano-cli into ~/.cabal/bin by default.
Verify Installation:
Check if the binaries are installed and available in your PATH:
cardano-node --version
cardano-cli --version
#Conclusion
We’ve successfully set up the Cardano node on your server. By following the above steps, you’ve created a user, installed necessary dependencies, downloaded the source code, and built your Cardano node.